homeschool

What We've Been Up To

The start of the 2020/21 school year has looked very different for our schools and for the Growing Chefs program. When schools were closed in March last year and learning shifted online, our program team was able to quickly adapt our classroom program to launch our Growing Chefs At Home Program. This program provided weekly lessons and activity content for teachers to share as a part of their online lesson plans, and for families at home to engage with food literacy learning. 

Given the incredibly positive response to these materials, the Growing Chefs program team continued to build out our online programming to continue offering engaging and interactive food literacy lessons to classrooms and families at home… all focused on teaching kids valuable gardening and cooking skills!

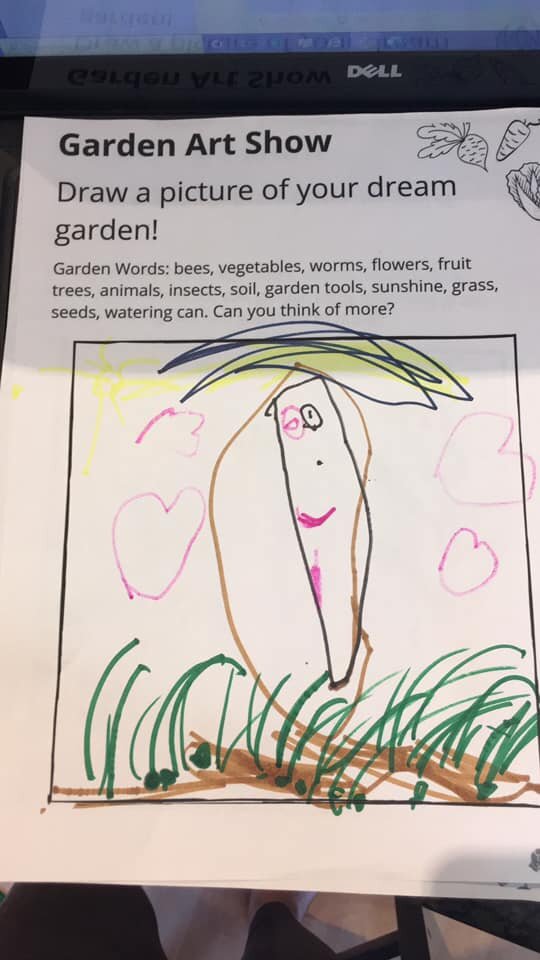
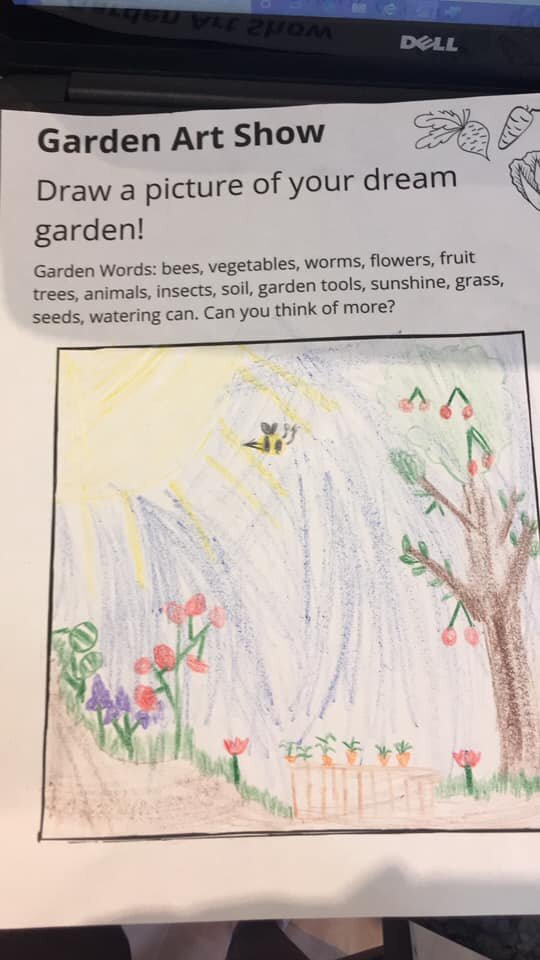
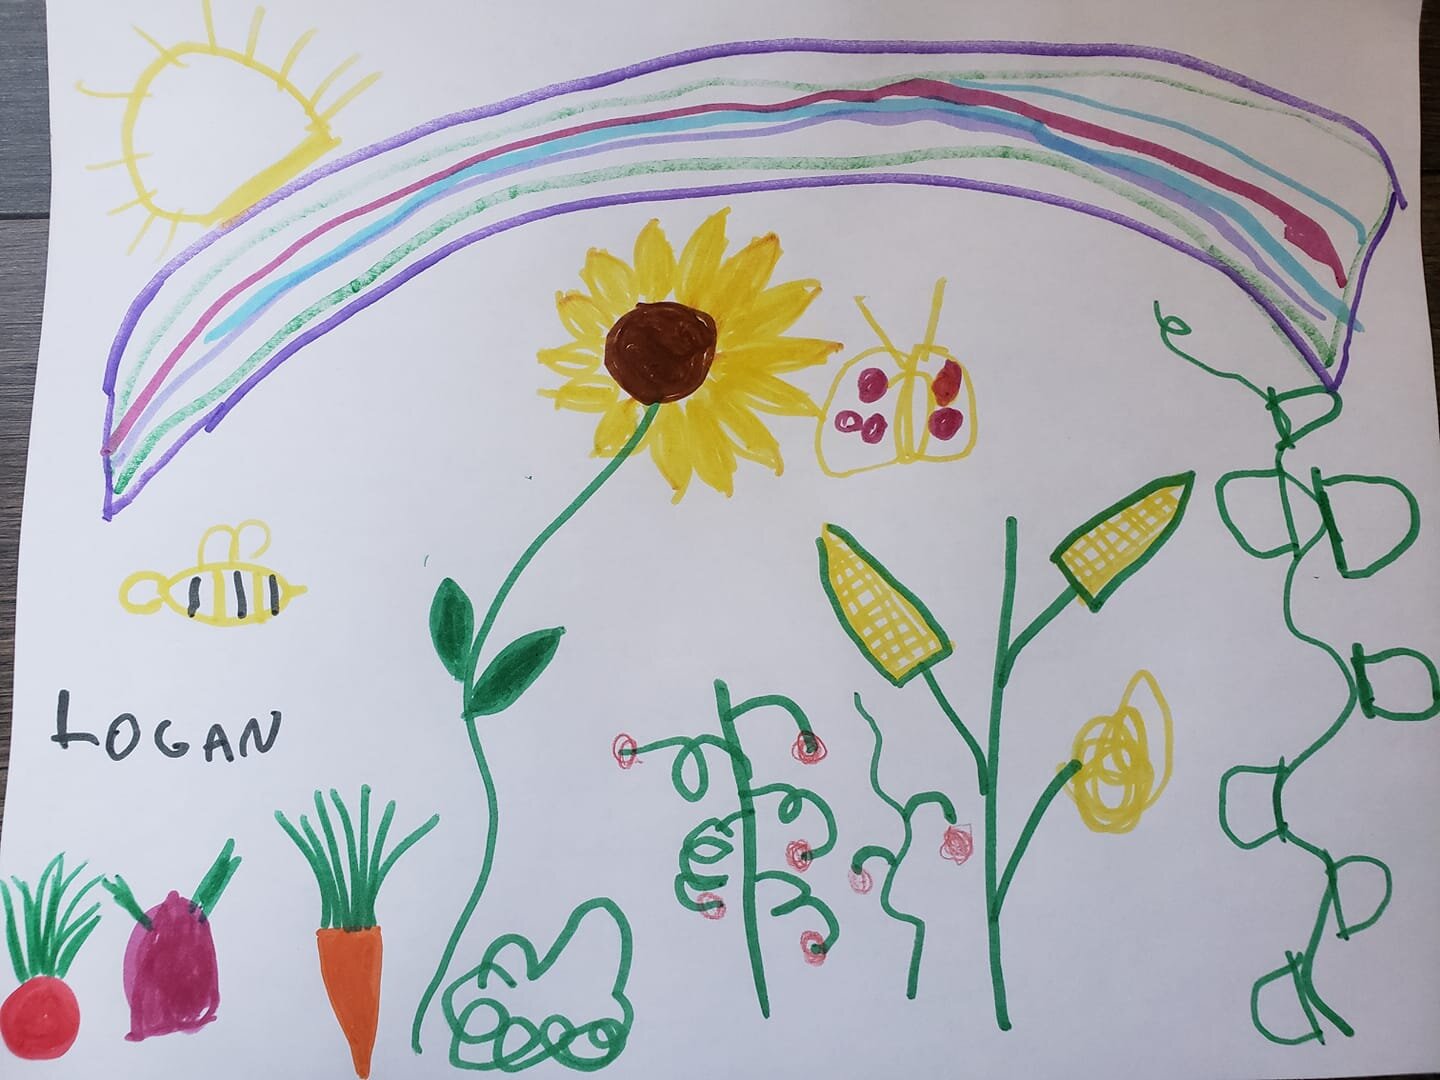
Growing Chefs Home-Learning Program

Connecting Classrooms with Local Food Professionals Through Our Vegeta-pal Program

The Growing Chefs intermediate program for grades 4-7 went virtual in the fall, with “Growing Chefs At Home” continuing in a new format specifically catering to families and home-learners. We have just wrapped up the first of four cohorts of learners currently engaged in this new form of our intermediate programming. Our remaining cohorts will be concluding their lessons over the next month. Our 200 home-learners are guided through a series of ten themed lessons delivered on a weekly basis that include video lessons, printable worksheets, learning activity ideas, recipes, and more! All lessons aim to help connect learners with local healthy food in a fun and imaginative way.

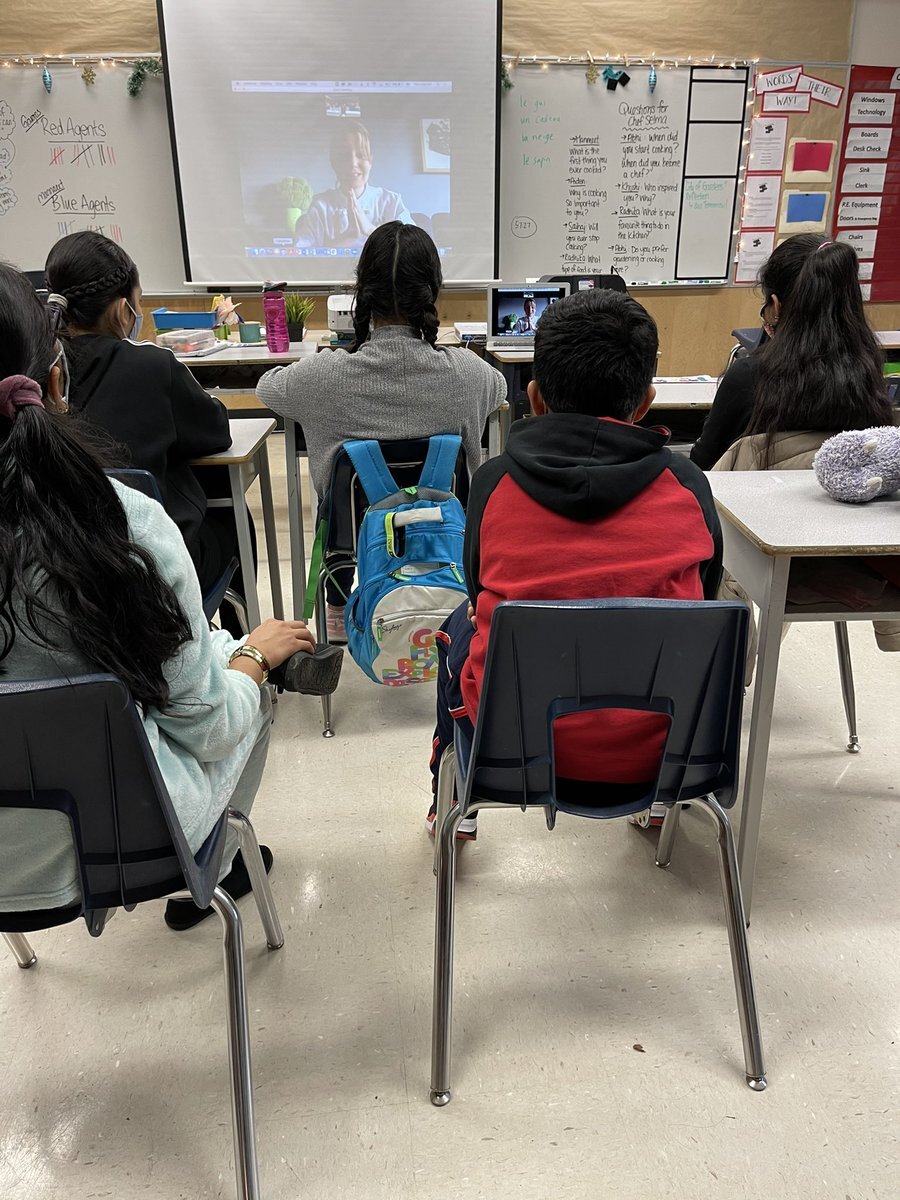
Do you remember the excitement of having a pen pal when you were in school? In an effort to continue building connections between schools and the local food community, as well as continuing to engage our skilled and passionate volunteer base, Growing Chefs launched a pilot for a new “pen pal” style program in October. Teachers around B.C. signed up to be connected with a local chef or farmer, and we paired their class with local food champions who registered to volunteer as our “Vegeta-pals”. Vegeta-pal pairings exchanged email and video messages and, with support from our Growing Chefs team, these volunteers helped students learn more about healthy local food. Keep an eye out for the opportunity to join our upcoming spring cohort of Vegeta-pals coming soon!

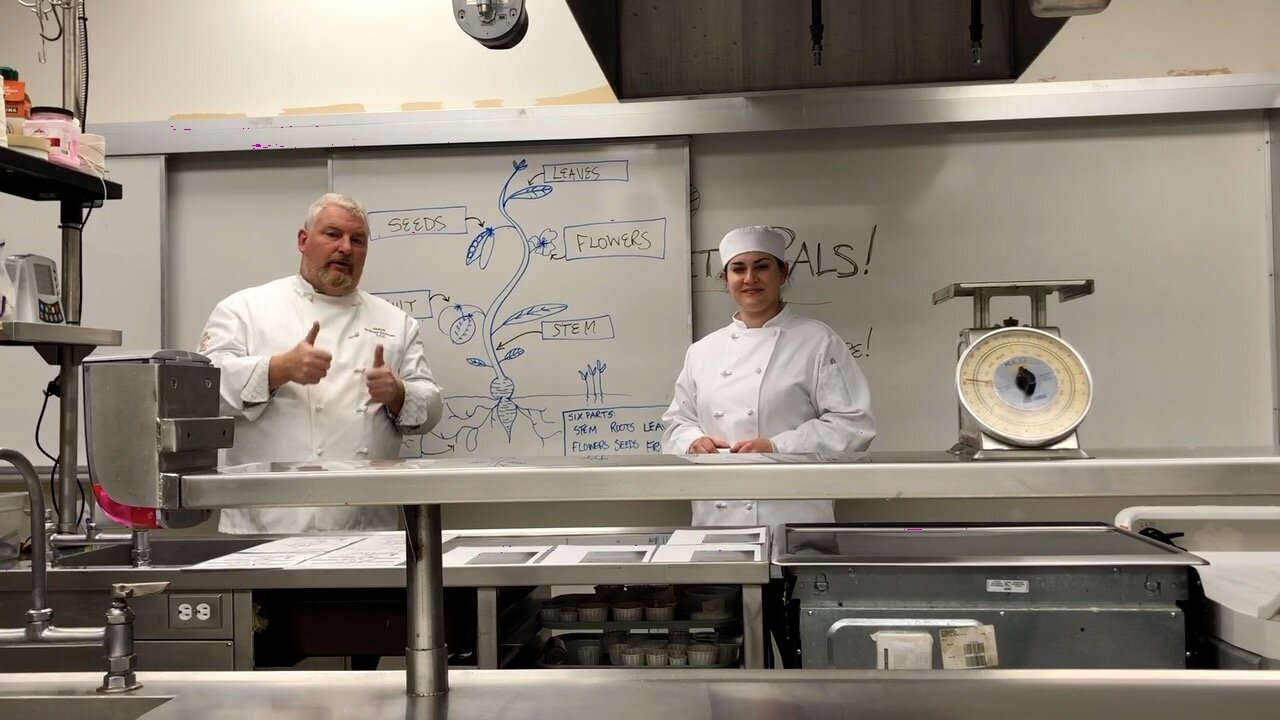
Virtual Field Trips now available for Classrooms and Home-learners

In order to foster community connections and interact more directly with students, Growing Chefs has been developing a series of interactive virtual field trips for classrooms and home learners. After piloting our first field trip with three classrooms in December, we are so excited to announce that these field trips are now open for teachers to register their classes to take part in!

These virtual field trips allow students to explore their local food systems, interact live with local food experts related to the theme of the field trip, see and explore unique locations, and think critically about new ideas… all while staying in the comfort and safety of the classroom or home.

Check out the video below for a teaser of what we’ll explore on our field trip to Fresh Roots Urban Farm and sign your classroom up for one of these upcoming workshops today!

More to come this March!

As Growing Chefs continues to adapt, we recognize that this is still a challenging time for everyone. We are continuing to listen to educators and families to ensure that the programming, content, and support we provide is designed to meet the needs of the community. Our spring primary program for grades 1-3 will be run in a virtual format once again, starting up just after spring break. Since spring is the perfect time to get students’ hands in the dirt, start gardens, and get outside, we are working on some additional materials and support with the Master Gardeners Association of Vancouver to help teachers and schools get their students growing this year! Stay tuned for more updates as spring approaches.

Ten “School Skills” Kids Can Learn at Home While Cooking

10 “School Skills” Kids Can Learn at Home While Cooking

 “Mom, I’m doubling this recipe” my almost 8 year old kid says as she mixes pancake mix with water, oil and eggs. “Great, go for it!” I say nonchalantly. Inside my head I’m doing a little happy dance. She read the directions on the box (language), gathered the items that she needed (following directions), measured ingredients (math) and doubled the recipe (more math). All of this is happening with a big smile on her face - she doesn’t know it, but she is learning. 

As we enter the eighth week of at-home learning in BC, we are using some of our time to learn in the kitchen. We don’t have a lesson plan, but we are taking the time to talk more about concepts when they come up (what does a 1/3 of a cup really mean? How does baking soda work?) and exploring some food questions we don’t normally take the time to consider (where does the name ‘caesar salad’ come from?). We are eagerly anticipating the return of school (as early as next week for some schools), but for now we are busy doing some hands-on learning at home and producing some tasty results.

Cooking can teach children (and adults too!) so many great skills. Here are a few examples:

LANGUAGE

  • Reading, writing, and verbal communication through recipes.

  • Increasing vocabulary and introducing children to other languages (sauté is French, bagel is Yiddish, etc.).

GEOGRAPHY AND CULTURE

  • Exploring where different types of foods are from and the diets of different cultures.

  • Mapping the food miles of a meal, and the path food must travel to our plate.

AGRICULTURE AND SUSTAINABILITY

  • Learning about how and where different foods grow.

  • Discussing food miles.

  • Understanding how to reduce waste (both packaging and food waste).

MATH

  • Following a recipe includes counting, fractions, and measuring.

  • Many kitchen skills relate to shapes and spatial reasoning (cutting, plating).

  • Opportunities to introduce budgeting.

SCIENCE

  • Learning about parts of the plant and parts of an animal (cuts of meat).

  • Making observations and exploring food using our five senses.

  • Opportunities for experimenting and making predictions.

  • Chemistry: physical and chemical reactions in the kitchen (bread rising, bread to toast, emulsification, etc.). 

HISTORY

  • Learning what people ate in the past and why.

  • Opportunities to explore different food preparation methods and tools, and how this has impacted our diet.

HEALTH AND SAFETY

  • Understanding nutrition, food safety, and cleanliness.

CREATIVITY

  • Exploring new foods.

  • Creating recipes.

  • Using food as art (plating). 

SOCIAL SKILLS

  • Learning responsibility, cooperation, sharing, self-esteem, and patience.

AND, CONFIDENCE!

Understanding Compost: Creating your own Soil-arium

This week is all about soil and the importance of composting.

Do you compost at home? Have you ever thought about what is actually happening in your compost? Christine teaches us how to make our own soil-arium at home so we can observe and track the decomposition process that occurs when we compost organic matter turning it into nutrient-rich soil for our plants! Join us!

Why is Composting so Important?

Composting is an important process that recycles the nutrients in food - to be reused to grow more food. When we throw our food scraps into the garbage we lose those nutrients forever. Not only are we throwing away very important nutrients, but food scraps in the landfill release something called methane gas which contributes to global warming. By composting, we are saving valuable nutrients that we can use to grow more nutritious food - and we are also helping to protect our environment.

A great example of composting takes place on the forest floor! We don’t see people going to clean up all the fallen leaves, trees, branches, etc. This is because decomposers (living organisms) such as worms, fungi, beetles, and bacteria help break down these materials. By creating a soil-arium or compost, we are building a home for decomposers to do their important work! Even if you can’t see these organisms, they are there and busy helping to create soil for us. It is important we give these living organisms the things they need to survive!

Learning Objectives

  • Be able to explain what composting is and why it is important

  • Understand how to start a basic composting system

  • Learn about the life cycle of food

Activity Preparation

Items needed:

Set-up

Little to no set-up is required. Find a sunny windowsill spot where the soil-arium can be observed throughout the composting process (approximately 12 weeks).

Activity Instructions

1. Add a small handful of dirt to the bottom of your glass jar.

add dirt.png

2. Add a layer of shredded newspaper or cardboard.

3. Add a layer of kitchen scraps.

4. Add a layer of organic yard debris.

5. Repeat this order of layering until your jar is almost full to the top.

Soil-arium still.png

6. Add your water and then cap the top with holes poked in the lid.

7. Draw a line to mark the top of your original composting pile.

8. Add a little bit of water as needed, and stir daily to provide oxygen and move around the bacteria so they can find new food.

9. Every two weeks, draw a line to mark the new top as the composting process continues.

Observing Changes in Your Soil-Arium

The composting process will be different with each person’s soil-arium. The composting process can take several months, so we can make some observations during this time.

Measuring/Tracking Compost:

  1. On Day 1 of your soil-arium, mark and measure the height from the bottom of the container to the top of the pile of compost.

  2. Every week or two, you can re-measure, and note changes in the height of the compost as things decompose.

  3. How much water are you adding?

  4. How big are the pieces of food scraps that you have added to your compost? We can help speed up the composting process by breaking down what we add into smaller pieces.

  5. How heavy is your soil-arium?

  6. You may want to try making some predictions of what may happen in your soil-arium over time.

Making Observations of the Composting Process:

  1. You may want to try creating a journal to record and keep track of what you have added to your soil-arium.

  2. What changes are you noticing with your soil-arium? After a few weeks, can you still see and identify all the food scraps that you have added? 

  3. Have some of the food scraps decomposed more quickly than others?

  4. Can you see any flies, worms, or other insects in your soil-arium?

  5. How does your soil-arium smell? Adding more dry browns to the top layer in the Soil-arium will help it from getting stinky! Adding more browns will slow down the composting process, but it also helps from ‘drowning’ the compost with too much moisture - which can kill the living organisms responsible for composting.

  6. How does the texture of it feel in your hand? Remember, healthy compost should have a similar moisture to a wrung out sponge.

Compost Recipe

Remember that your compost is a living thing, and it requires our love and attention to make it thrive - just like a pet! It needs a balanced diet of browns and greens, air, and water (as needed). 

Now, it is your turn to go find some browns and greens to add to your soil-arium!

Growing Chefs! at Home: Lesson 7

Growing Chefs! staff member Christine is here to talk to you about the basics of soil and composting and why they are important for growing our food, and Chef Brennen from our volunteer team brings us into his backyard to introduce us to some of his friends.

Plus we’ve got two fun science experiments you can try at home to explore more about soil and compost!

Lesson 7 compost.jpg

Getting ready for exploring soil and composting - For this lesson, all you need is is your thinking cap!

Today we will talk about Soil and Composting. This is an introductory video to understanding what soil is, and why composting is so important. Not only for environmental reasons, but also for the added benefits of using compost as a delicious food for your plants at home. 

Now we know a little more about what components make up healthy soil, what compost is and why composting is important!

Below we have a great video for you with another of our incredible classroom volunteers - Chef Brennen! Brennen brings us into his backyard and introduces us to his worm farm!

Our Spring program is aimed at kids in grades 1, 2, and 3, but folks of all ages will likely learn something new! If it’s possible for an adult to be around during these lessons, that would be great. Our growing chefs might need their help a couple of times. We will let you know in the video when there are good moments to offer some help.

Related Activities:

Understanding Compost - Build your own at home Soil-arium and explore how compost breaks down creating nutrient-rich soil for our plants. Full activity outline and video found here.

Identifying Soil Type - Become a soil-ologist and examine the soil in your own yard and garden. Learn about the different components of soil and find out what grows best in each type of soil. Full activity outline and instructional video found here.

You can find this new online content here on our website, and we are making announcements about it on our social media (Facebook, Twitter, Instagram). 

Thank you so much for your patience while we reinvent ourselves and our programs.

How Plants Grow - Celery Experiment

This week, we are learning about how plants grow and how all the parts of the plant contribute to their growth. Here is a fun and easy way to demonstrate how the stem (also called a stalk or leaf stalk) of a celery plant carries water and nutrients all the way from its roots up to the leaves of even the tallest of plants.

You Will Need:

  • A celery stalk (or two) with leaves still attached

  • A cup or mason jar

  • Water 

  • Food Colouring (red or blue work best for this experiment)

Instructions: 

1) Cut the bottom inch off on the celery stalk.

2) Fill the jar about halfway up with water.

3) Add 5 or so drops of food colouring into the water (a few more drops if you have a larger vessel with more water).

4) Place the jar in a sunny location and wait 2 hours.

5) Observe the celery stalks. You may see the food colouring working its way up the stalk (moving through the xylem of the celery plant). Xylem are tiny tubes in the plant (like veins in our bodies) that move water from the roots to the leaves in a plant. Because we have added food colouring to the water, you should be able to see the colour as the water moves up the stalk toward the leaves.

6) Break off a small piece of the leaf stalk, you may see food colouring in the xylem.

Celery Photo 4.jpg

7) Wait overnight. In the morning, observe your celery stalks and leaves. Did the food colouring make its way to the celery leaves?

Celery Photo 5.jpg

Discussion Questions:

What happens to the water once it reaches the leaves?

  • Some of the water is used by the plant’s leaves to make food through the process of Photosynthesis. Sunlight provides the energy for plants to make carbon dioxide (what we breathe out) and water into sugars (food) and oxygen (what we breathe in).

  • Sometimes you might notice droplets of water on the ends of the leaves of a plant, this often is a good indicator for houseplants that the soil is very moist. When a plant has more water than it needs the leaves release some of this water to be evaporated into the air from its leaves. This process is called Transpiration and can actually help the plant take up more water.

How is the water and food colouring moving up the plant?

  • The process of water moving from roots to leaves is called Capillary Action. Water molecules like to stick together and to the walls of the tubes that make up what is called a plant’s xylem. These tubes run from the plant’s roots, up the stem, and all the way up to their leaves. As water then evaporates from the leaves it pulls up more water from the roots helping water to move up the plant.

This week we’ve been talking about and learning the six different parts of a plant. In this activity, we learned about how the roots, stem, and leaves of a plant all work together to help it get the water it needs using a celery stem. When we eat celery we are eating the stem of the plant (also called a stalk or leaf stalk) of the celery plant.

  • Think about what other stems, roots, flowers, seeds and leaves we eat on a regular basis. You may never look at your favourite vegetables in the same way! 

Expansion Activity:

Try using a large celery stalk and splitting it from the bottom to about halfway up the stalk. Place one half of the stalk into a container with blue food colouring and the other half into a container with red food colouring. What do you think will happen when the colour from each reaches the part of the stalk where the two halves are joined? What will happen when the colours reach the leaves?

Don’t forget to wrap up this experiment by enjoying a delicious celery snack. That’s right - this celery is still edible and yummy, so don’t let it go to waste!

Go Ahead and Get “Soily”: Ten Things Kids Learn in the Garden

Yesterday was a big day at my house, our windowsill garden started to SPROUT! We planted our seeds and waited... waited... waited. Just when we thought that maybe we did it wrong, POP, POP, POP, sprouts shooting up in all our pots (tomatoes, beans, and peas). Now you are probably thinking that this doesn’t sound very exciting, but two things: We have been socially isolating, so these sprouts are the only live “guests” we have had in a couple of months. We also have a 7-year-old kid, and the best thing about kids is that they appreciate how cool seeds and sprouts are. They are genuinely pumped to see those little sprouts pop out of the soil. Not only are these little sprouts adding some excitement to our life, but they are also an important part of the hands-on learning we are doing at home this spring.

DSC_0260.JPG

What exactly might we learn from these sprouts? Here is a list:

Math: 

Counting, Patterns, Estimating, Measuring, Graphing, Calculating (volume, area and weight).

Easy “Peasy” Garden Math Activities:

  • Count the seeds

  • Make a pattern with seeds 

  • Measure the growth of seedlings

  • Graph the growth of a seedling over time

  • Estimate the number of seedlings that will grow or how many (fruit/vegetables) we will harvest

  • Calculate the weight of your harvest 

  • Calculate the volume of soil you will need to fill planters

  • Calculate surface area of a leaf  

Science: 

Seeds (and their parts), pollinators, water cycles, parts of the plant, senses and seasons (this list could go on forever). The garden is also the perfect place to conduct a little science experiment. 

Easy “Peasy” Science Experiment to try:

1) Plant seeds in three small pots label them as 1, 2 and 3:

  • Give seed 1 just water (put it in a dark spot)

  • Give seed 2 just sunlight (no water)

  • Give seed 3 both sun and water

2) Make a hypothesis about what might happen.

3) Let the seeds grow for about 2 weeks. 

4) Keep a log of how all three seeds are growing and test your hypothesis.

* For older learners you could try other variables (feed one seed soda instead of water, play nice music for one seed, put one seed outside and one inside). 

Responsibility:

Watering, ensuring adequate sunlight, fertilizing and transplanting are great responsibilities that kids can take-on in the garden. Building a sense of responsibility will be useful in school, friendships, within your family, and in the community.  

DSC_0252.JPG

Resiliency & Creativity:

One of the best opportunities for learning in the garden is when things don’t work out as planned. When things don’t grow (or they wilt, freeze, or overheat) kids have the opportunity to learn that it is ok to fail and also have the opportunity to think creatively to solve the challenge.

Appreciation:

An appreciation for the amount of planning, work, and care that is required to transform a seed to a fruit/vegetable. Even more appreciation for the farmers that grow food on a much larger scale.

Patience:

Remember the part at the beginning when I said that we waited ...waited ...waited? We only waited about a week, for a kid this might feel like an eternity, but it is a great way to practice being patient and a good reminder that instant is not always better. 

Ownership and Pride:

Kids will feel proud that they can tell their family, friends, and teachers about what they have cared for and grown. They might even get to share their harvest!

DSC_0269.JPG

Go Ahead and Get “Soily”:

Soil, worms, and bugs sometimes get the bad rap as being, “eww - gross!”. Introducing kids to all the cool things soil, worms, and bugs do will make them more likely go ahead and get their hands soily. Science tells us that playing and working with soil is good for kids' mental and physical health. Grown ups too!

Dexterity:

Planting seeds, transplanting, digging, and harvesting are a great way to develop fine motor skills. This can be especially useful for younger gardeners. 

Discovery: 

Eureka! I see a tiny tomato! The garden is the perfect place to see many amazing things in action. It is a perfect place to discover shoots, buds, flowers, bugs, worms, fruit and vegetables. 

Blog Post written by Afton Bell of Growing Chefs!

Growing Chefs at Home: Lesson 6 - How do plants grow?

Chef Selma and her broccoli friend are back! This week, we will check in on our garden and chat about how plants grow! How is your windowsill vegetable garden doing?

poster.jpg

Getting ready for this lesson

If you have a little windowsill garden going, make sure you are close to it for this video, because we will be talking about what you can see in the garden!

Materials needed for this lesson:

  • Clean pair of scissors

  • Colander or bowl

  • Sheet of paper

  • Pencil

  • Coloured pencils or crayons

  • Parts of a plant activity sheet (if you have access to a printer but not required to enjoy this lesson)

Today we’ll talk about plants, how they grow, and the different parts of a plant as well as think about some different vegetables and what part of the plant they might be. There are some exploring, writing, and drawing exercises in this lesson. You can expect this lesson to fill about 20 minutes. Be sure to keep scrolling past the video for some additional at-home activities!

Related Activities:

  1. Get moving and stretch out with our follow-along video of our vegetable stretch!

  2. How do the parts of a plant work together and how does water get from the roots to the leaves? Check out this simple science experiment we’ve outlined for you to do at home using a celery stem to track the movement of water up the plant to the leaves.

  3. Our gardens are growing more and more every day now. We’ve got a fun BINGO game to get kids exploring in the garden and to teach them some new garden and plant-related words! A note that some of these terms are a bit more advanced making this a fun learning game for kids of all ages and adults alike! We’ve prepared 5 different bingo cards as well as a list of these new terms to explore here.

Our Spring program is aimed at kids in grades 1, 2, and 3, but folks of all ages will likely learn something new! If it’s possible for an adult to be around during these lessons, that would be great. Our growing chefs might need their help a couple of times. We will let you know in the video when there are good moments to offer some help.

You can find this new online content here on our website, and we are making announcements about it on our social media (Facebook, Twitter, Instagram). 

Thank you so much for your patience while we reinvent ourselves and our programs.


Growing Chefs! at home: Lesson 3


Untitled.png

Welcome to our third lesson on “What Vegetables Do For Us”. This week, we will dive into the world of nutrition with chef Farah. 

This is the fourth video in a series, following Lesson Two last week, where we learned how to use all five senses and descriptive words to engage with new foods. Keep an eye on our social media platforms and website every Tuesday for new lessons!

During this lesson, we will discuss what vitamins are, explore the nutritional content of various vegetables, discover the benefits of Vitamins A, B, C, E and K, and provide tips on how to incorporate more vitamins into your daily meals. Below is a worksheet that you can fill out along the way. 

We would love to hear about your food adventures! Tag us on Facebook, Instagram or Twitter so we can hear about the delicious foods our explorers have discovered.

You can find all of our new online content here on our website. We will also be announcing and releasing more fun interactive activities on our social media channels. Thank you for joining us again in our virtual classrooms this week!

What Veggies Do For Us Worksheet (1).png

Feel free to print off as many worksheets as you would like! Please find the black and white PDF version available here.

Garden Art Show

Garden Art Show 1.jpg

In Lesson 1 of our Spring Gardening and Cooking Program we talk about gardens and even plant our own windowsill garden. We hope you are planting a windowsill garden along with us at home. If you are, we would love to see drawings of what your garden will look like once it starts to grow. If you haven’t started growing a garden yet, draw us a picture of your “Dream Garden”.

Caregivers: Please take a photo of your child’s drawing (on the below printable or any piece of paper) and add it to the comments along with their name and age by April 10th to be part of our online Garden Art Show. We will feature the art on our website and our social media.

Drawing Inspiration Words: bees, vegetables, worms, flowers, fruit trees, animals, insects, soil, garden tools, sunshine, grass, seeds, watering can. 

Garden Art Show.jpg

Garden Gallary