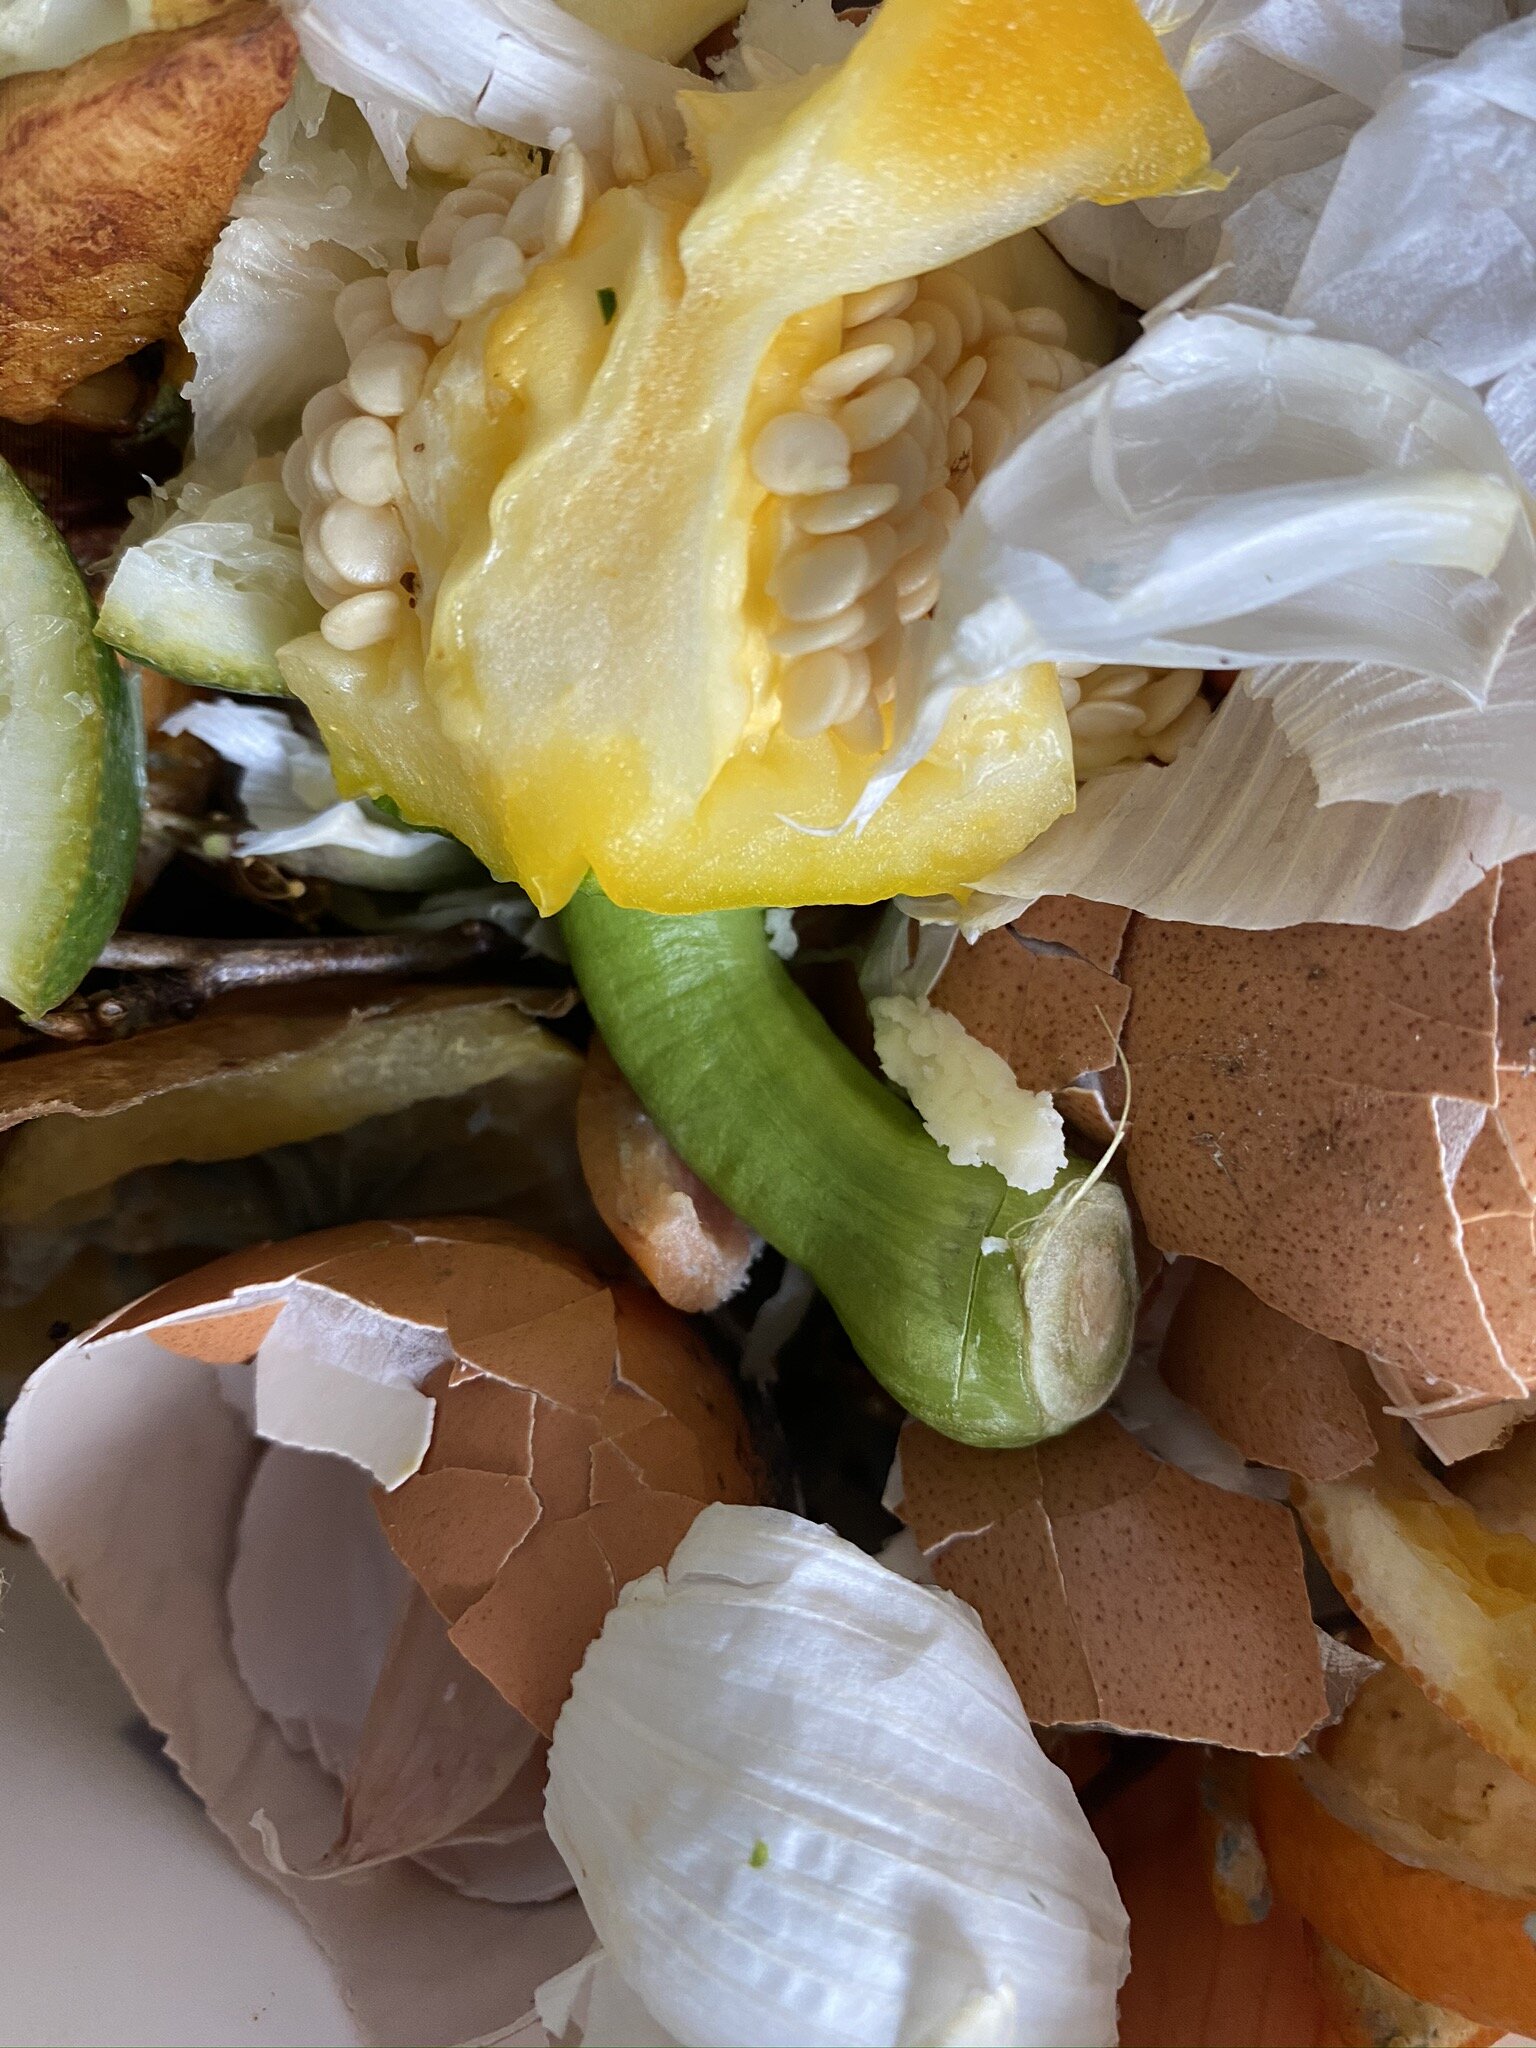
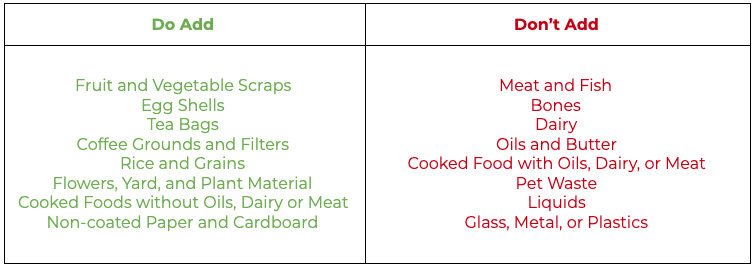
This week, Christine from our team has been talking all about soil and composting! If you missed her lesson on the components of soil and the importance of composting you can find it here in our Growing Chefs! at Home Lesson 7 post.
For a fun science experiment today we are going to explore the soil in our own gardens to see if we can learn more about the different components of this soil and see if we can identify different soil types just like a soil scientist!
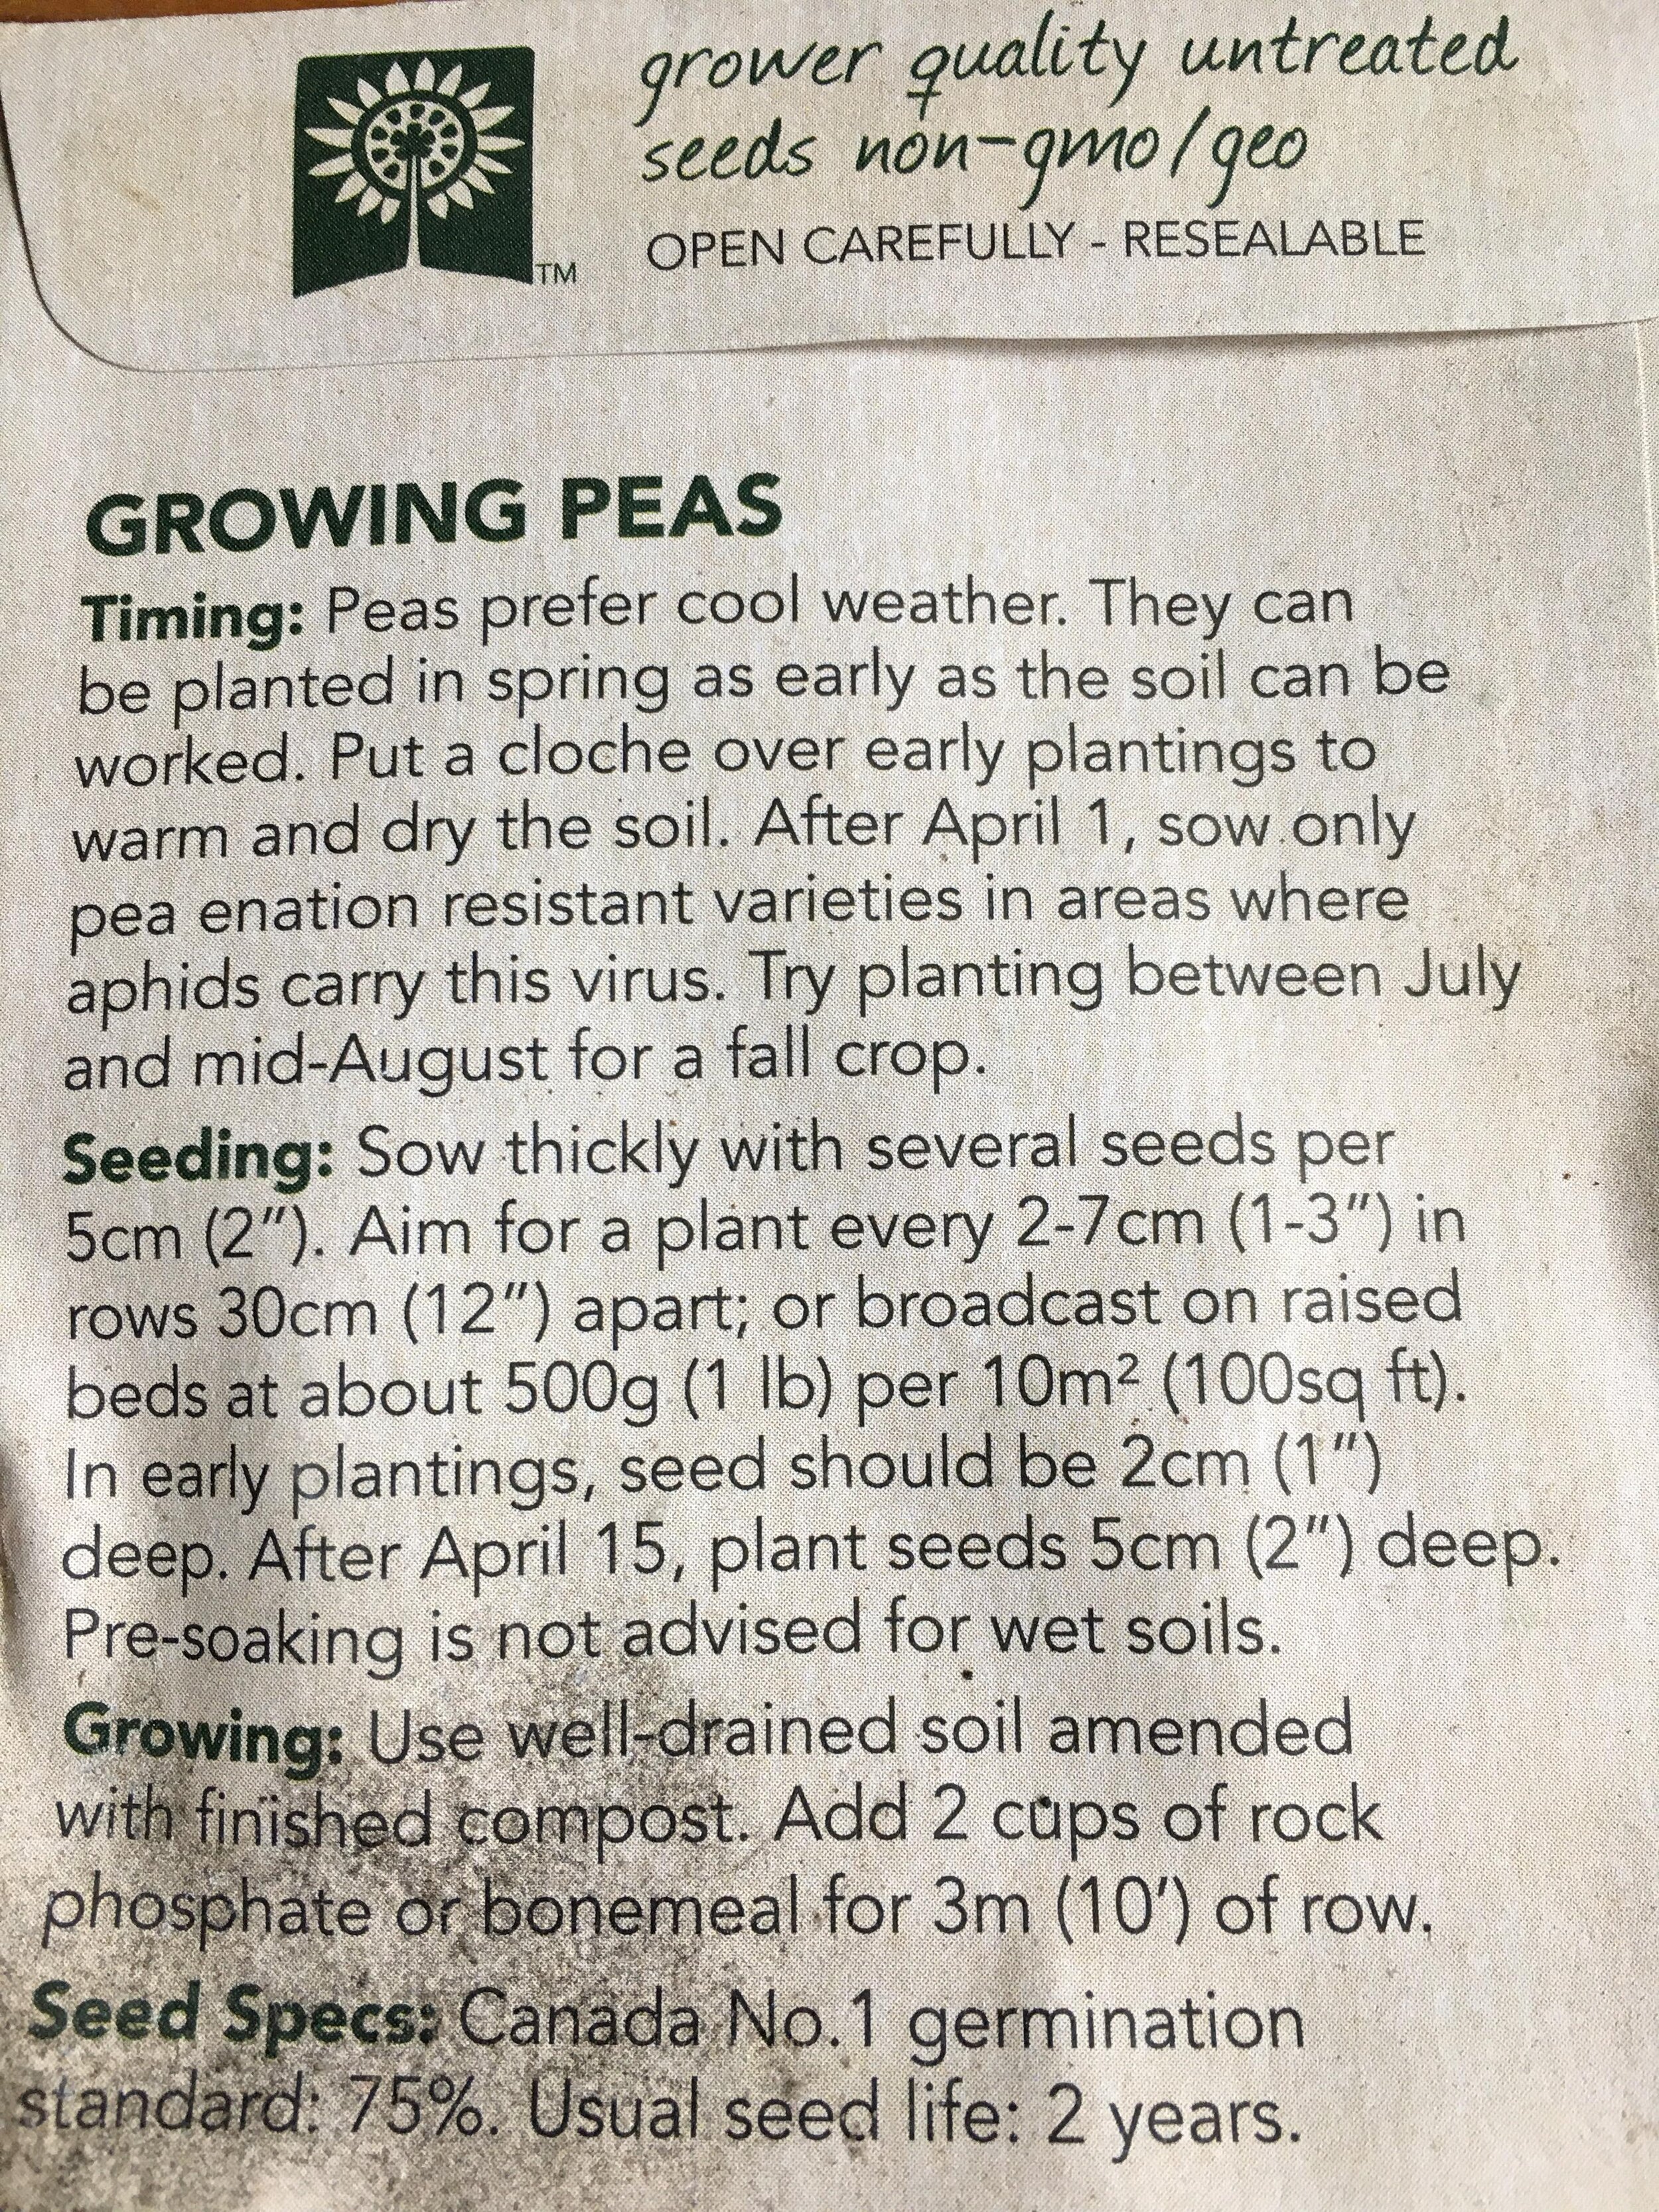
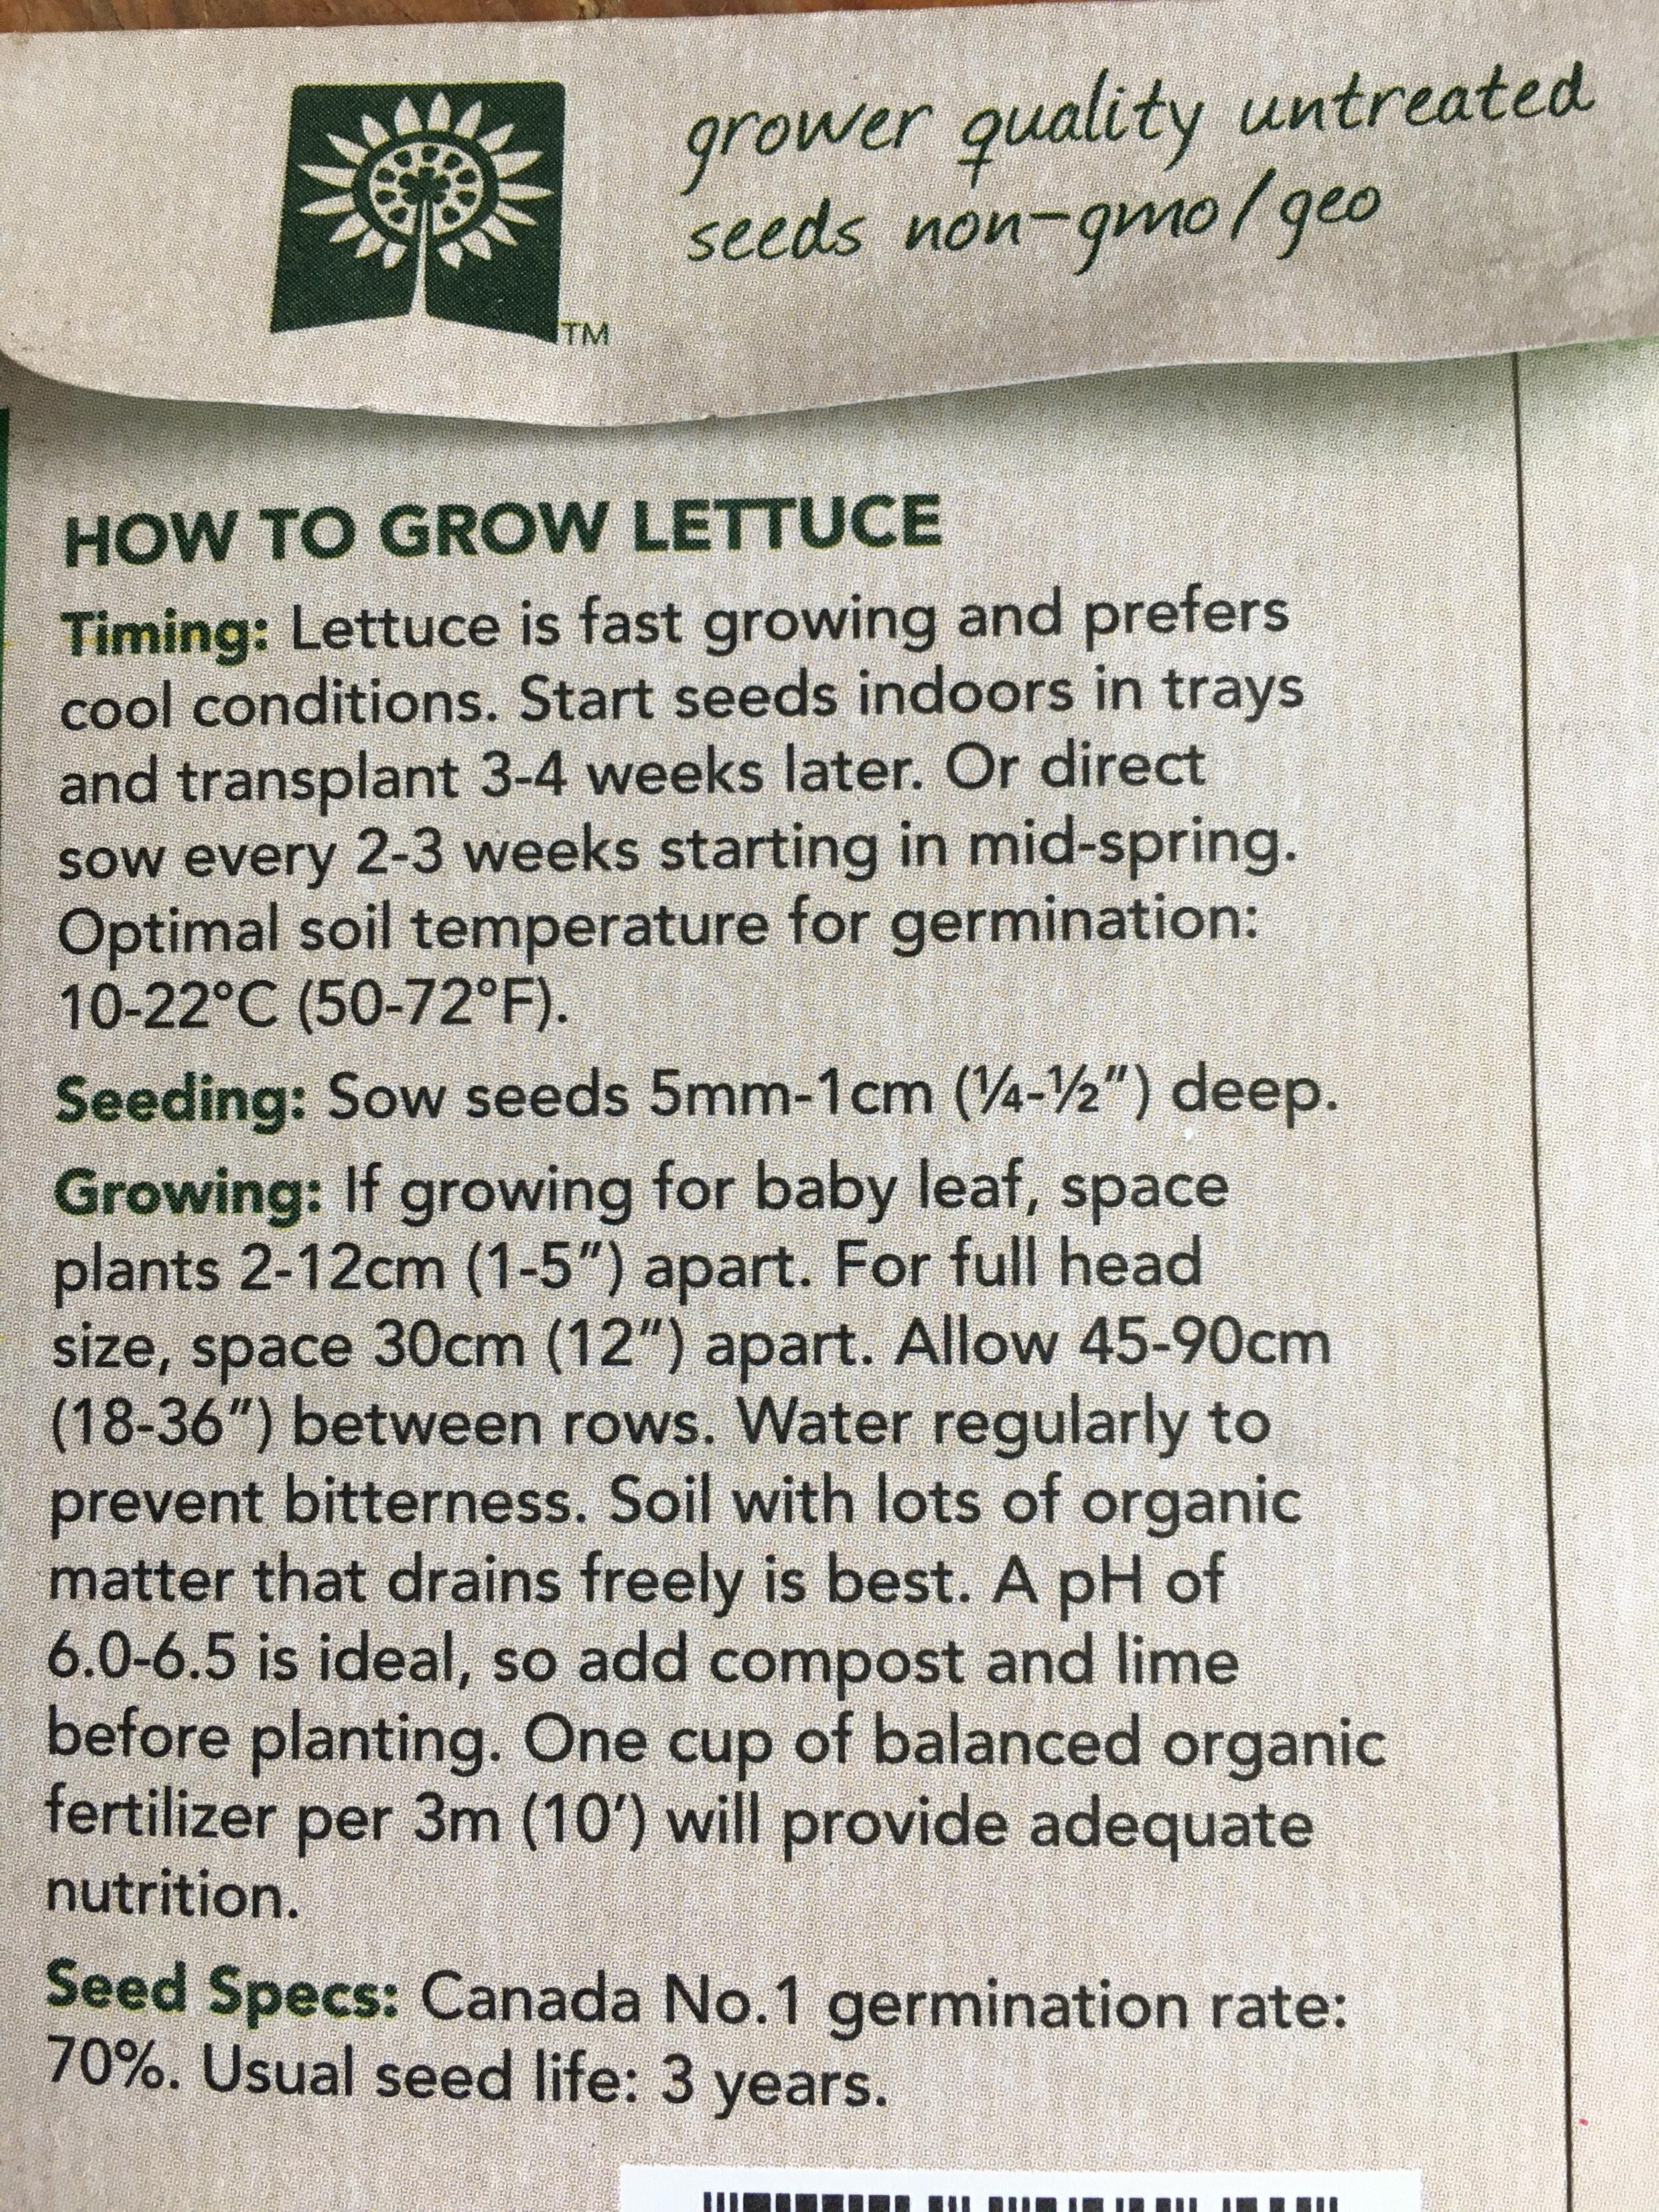
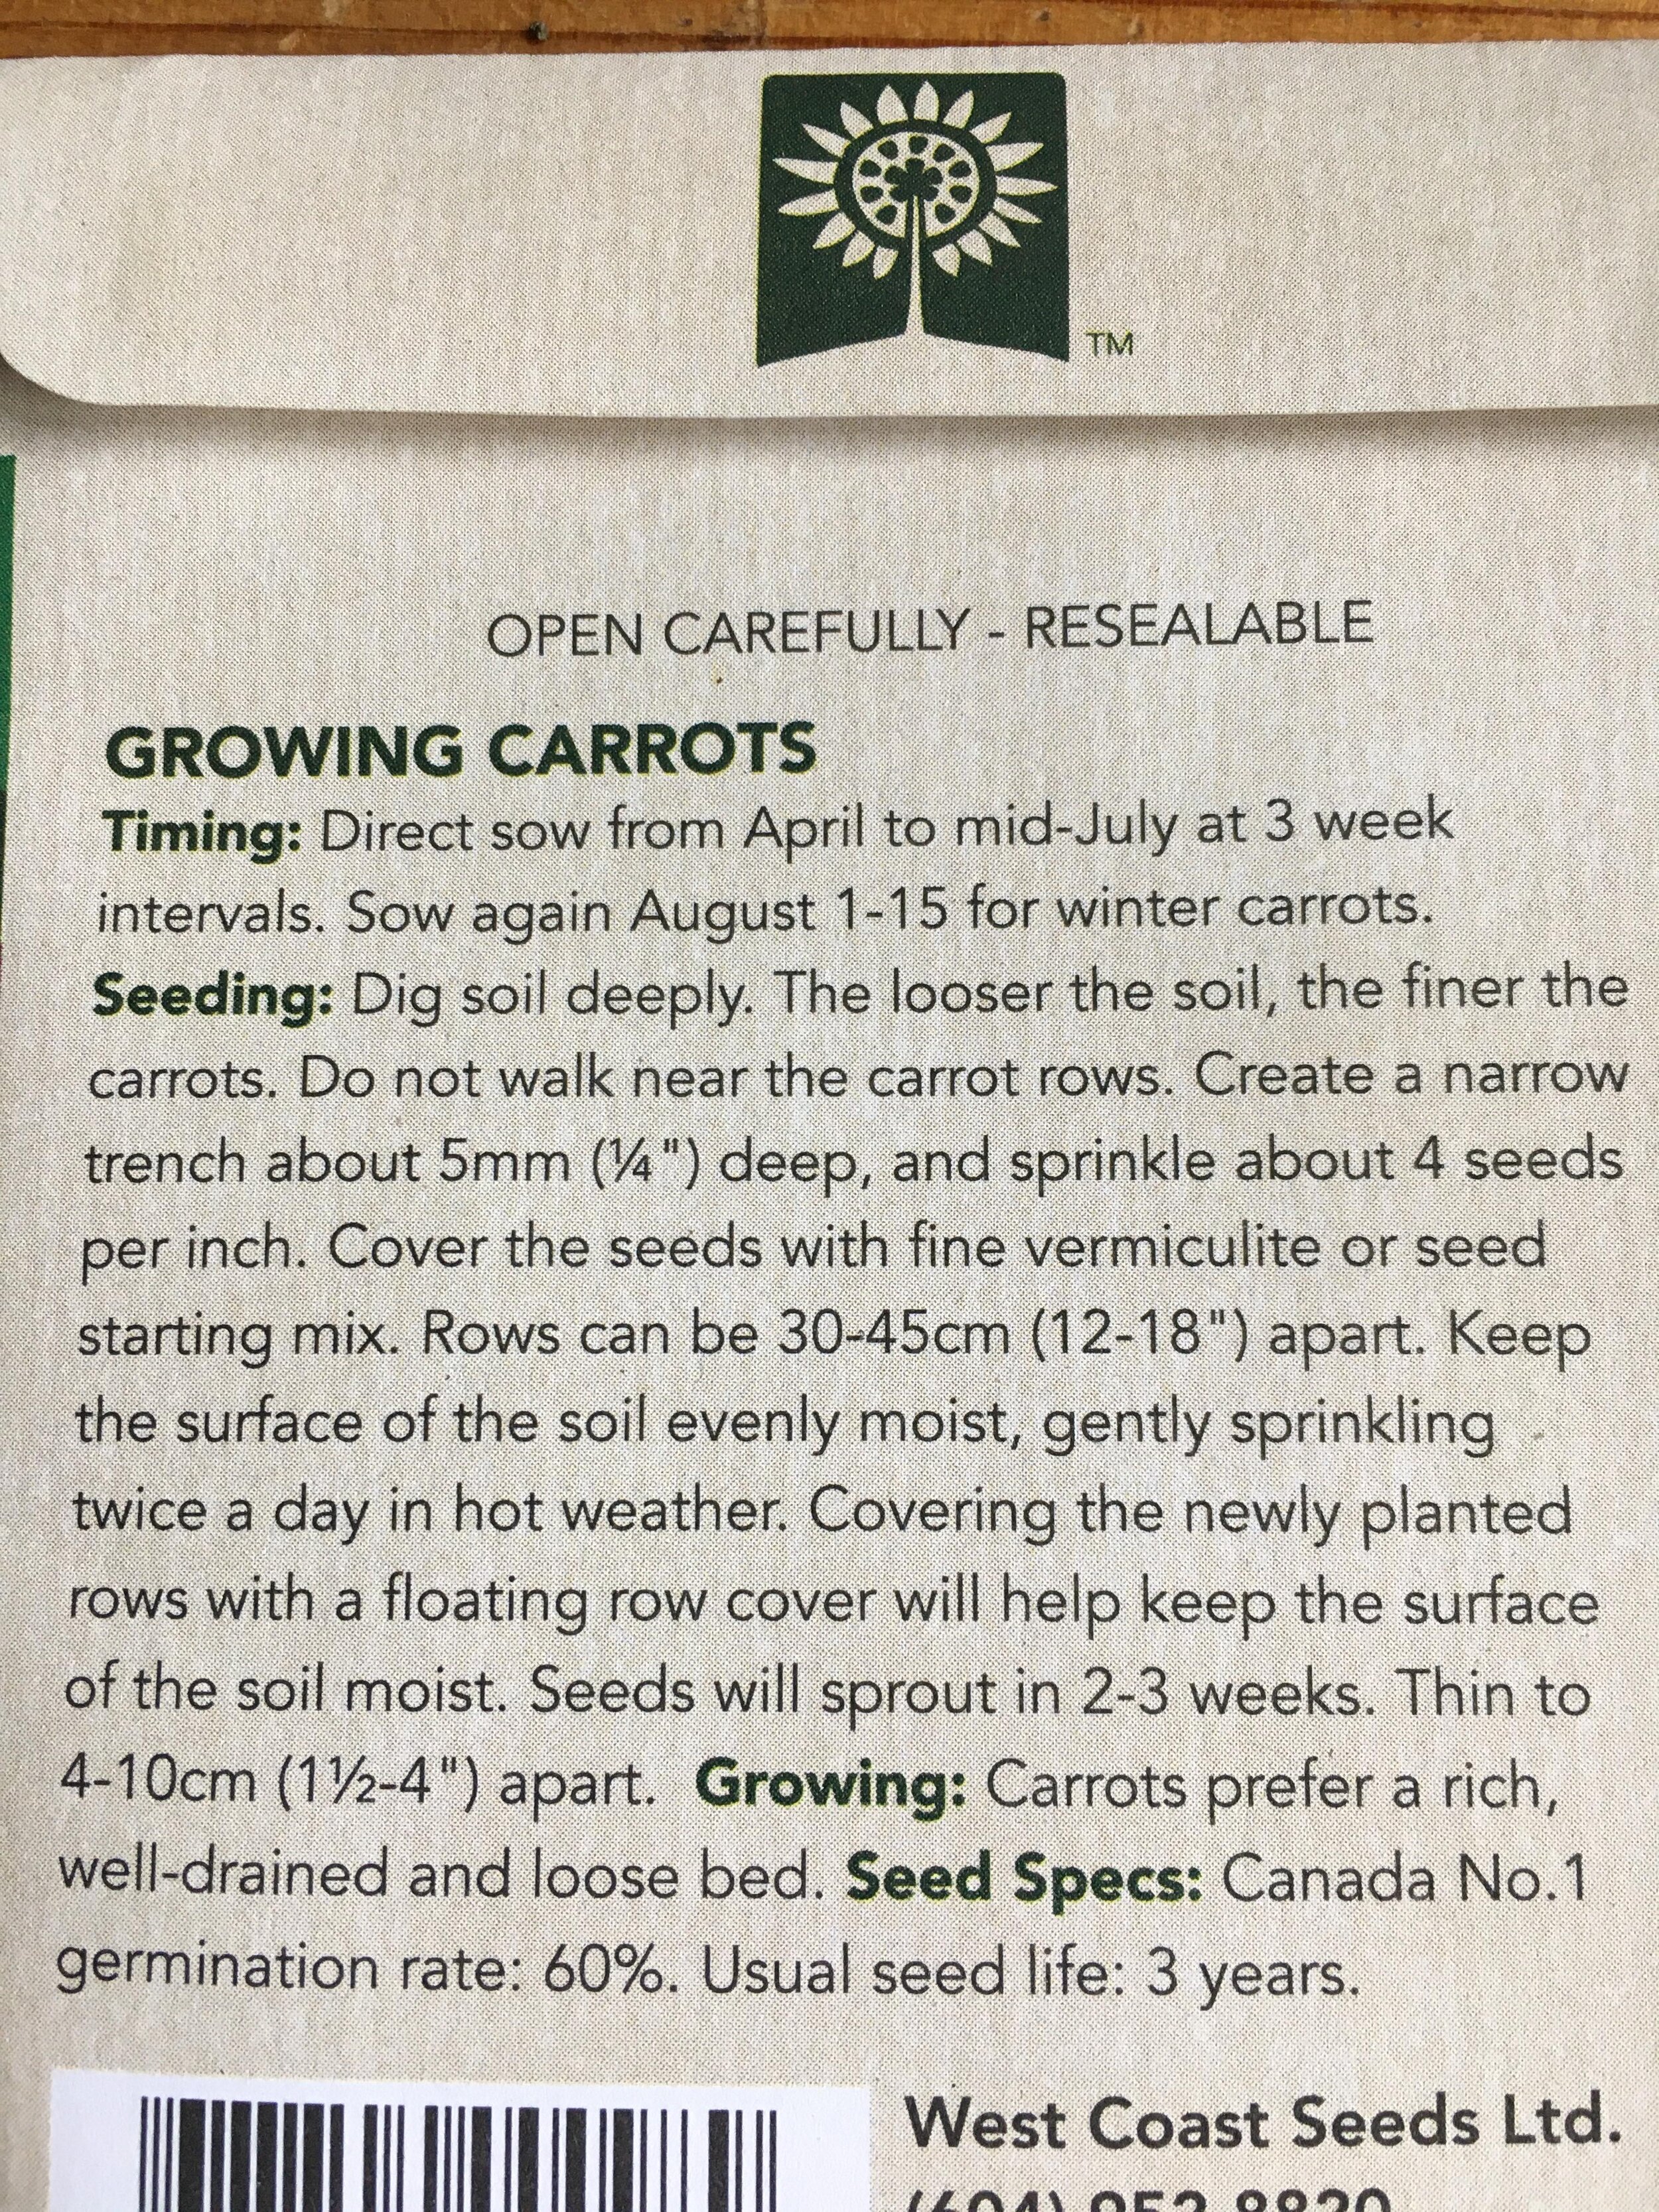
In this activity, kids will learn about the different components that make up soil, and how to identify various soil types. It is important to be able to identify your soil type so that you are able to grow the plants that prefer that environment. If you don’t have the correct soil type to grow the plants that you want to grow, then you can add the nutrients and mix in additional soil content to make the perfect mix for your plants’ needs. You’ll notice that your seed packs often list the growing conditions for the different vegetables you are planting, see below images under the “growing” section.
Learning Objectives For This Activity:
Understand the basic components of healthy, nutritious soil
Identify the main soil types
Learn about why we need to examine our soil and that different plants prefer different types of soil
What is Soil?
Soil is a combination of water, air, minerals, and organic matter. Soil is at the top layer of the earth’s surface and can be thought of as a living thing, and as the ‘skin’ of the earth. People often refer to soil as dirt, but there is an important difference. Dirt is soil that has been misplaced on Earth, and no longer has any life left to feed plants. Dirt is something we can find under our finger-nails, or on our clothes after playing outside.
Soil Types:
Clay Soil: Soil with a high clay content is considered a ‘heavy’ soil that is made up of tiny particles that can not be seen by your eye without a microscope. This type of soil has a smooth texture, which tells us that the tiny particles are packed very closely together and therefore the water drains through clay soils very slowly. Clay soil holds water so tightly, that it is hard for the plants to get a nice drink of water.
You can tell if you have clay soil if you roll it into a ball in your hand, and the soil will hold its shape.
Plants that like clay soil:
Brassicas: cabbage, broccoli, Brussels sprouts.
Some tall growing vegetables: beans, peas, and corn like tightly packed clay soil to help anchor their roots.
Leafy greens: kale, chard, etc.
Squash and pumpkins.
Sandy Soil: Sandy soil has small pieces of minerals that you can see with your eyes, and feel with your hands. Because this type of soil has texture that you can feel, and therefore tells us that there is space between the pieces of sand. This shows us that it allows water to drain through it quickly, which is important for plants that do not like to sit in water, and like to dry out in between having their drink of water. When soil allows for water to move through it quickly, that also means that nutrients move through the soil quickly as well. This would mean that in sandy soils, it may be hard for plants to soak up the nutrients. Sandy soils hold heat well, which helps many seeds grow in the Spring.
Plants that like sandy soil:
Root crops: potatoes, carrots, radishes, turnips, beets etc.
Bulb plants: onions, garlic, etc.
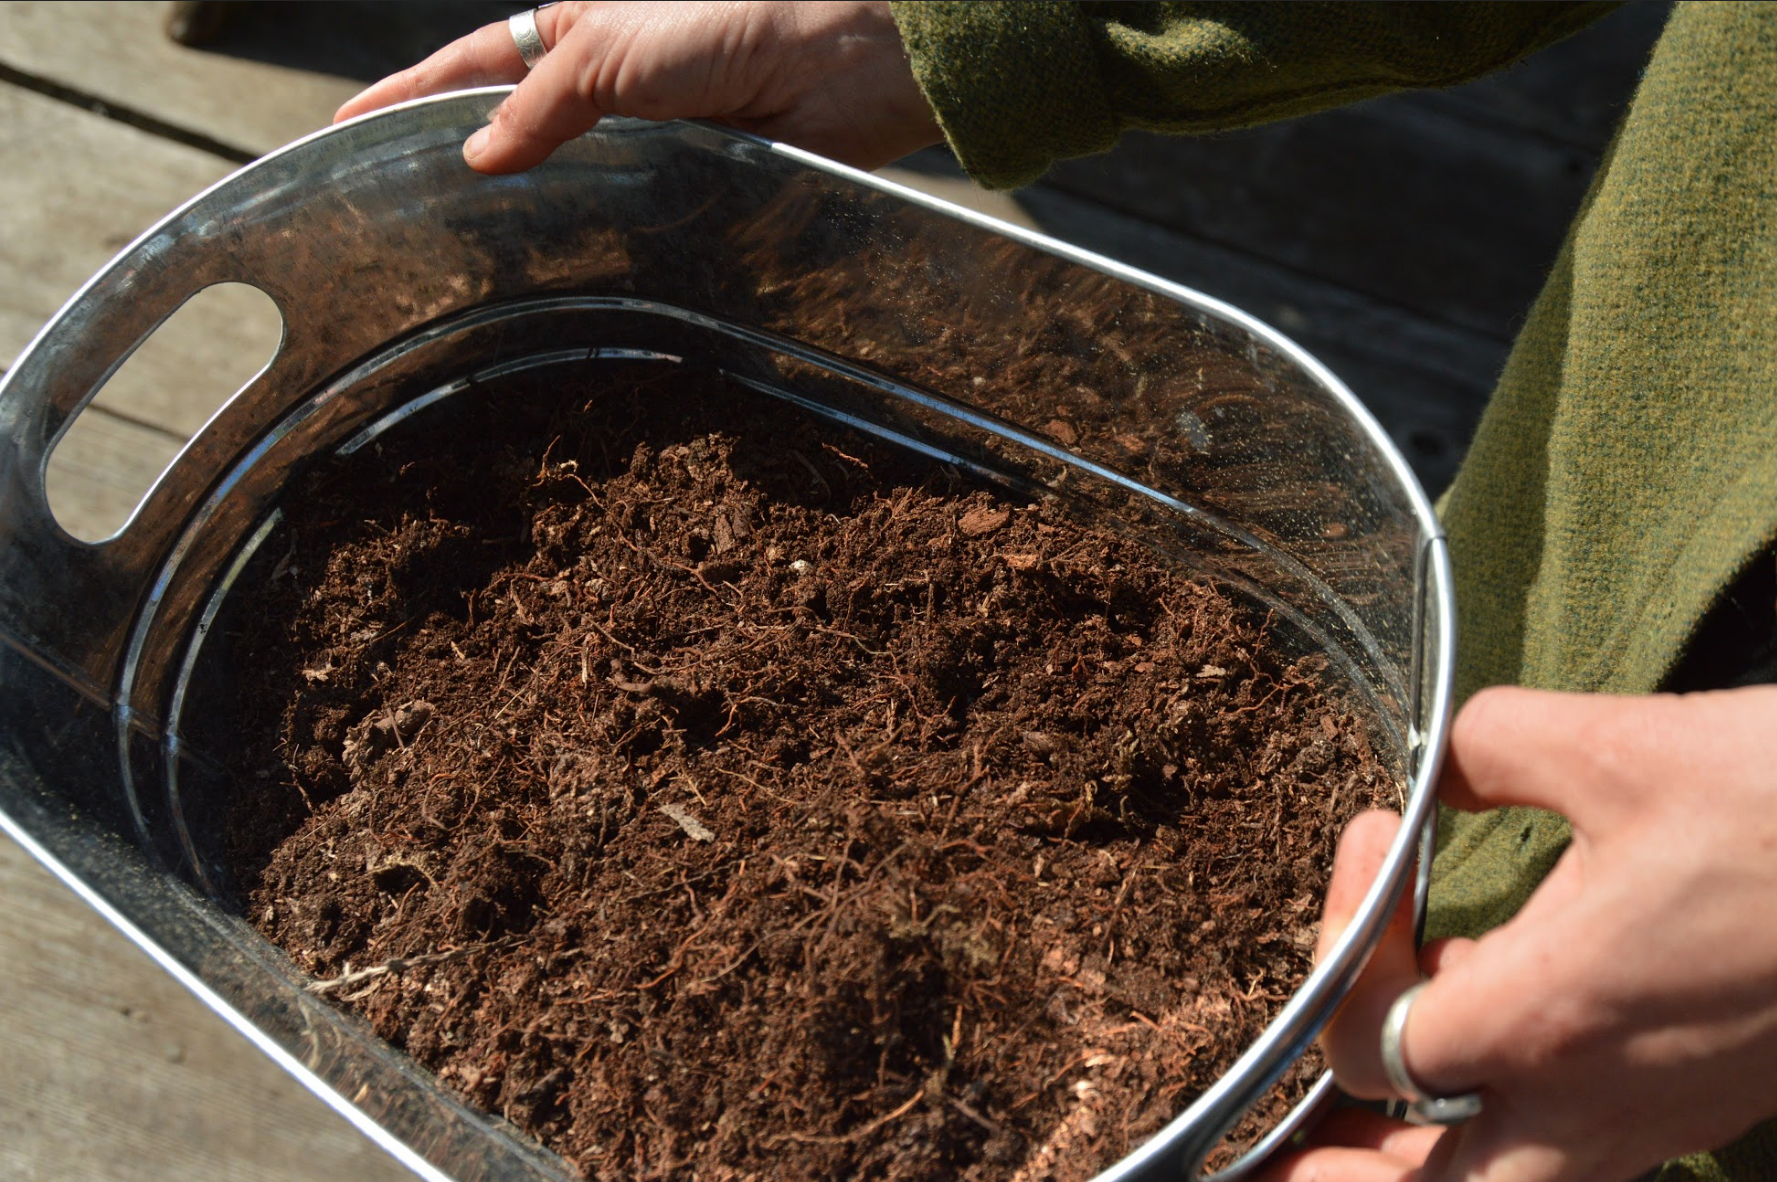
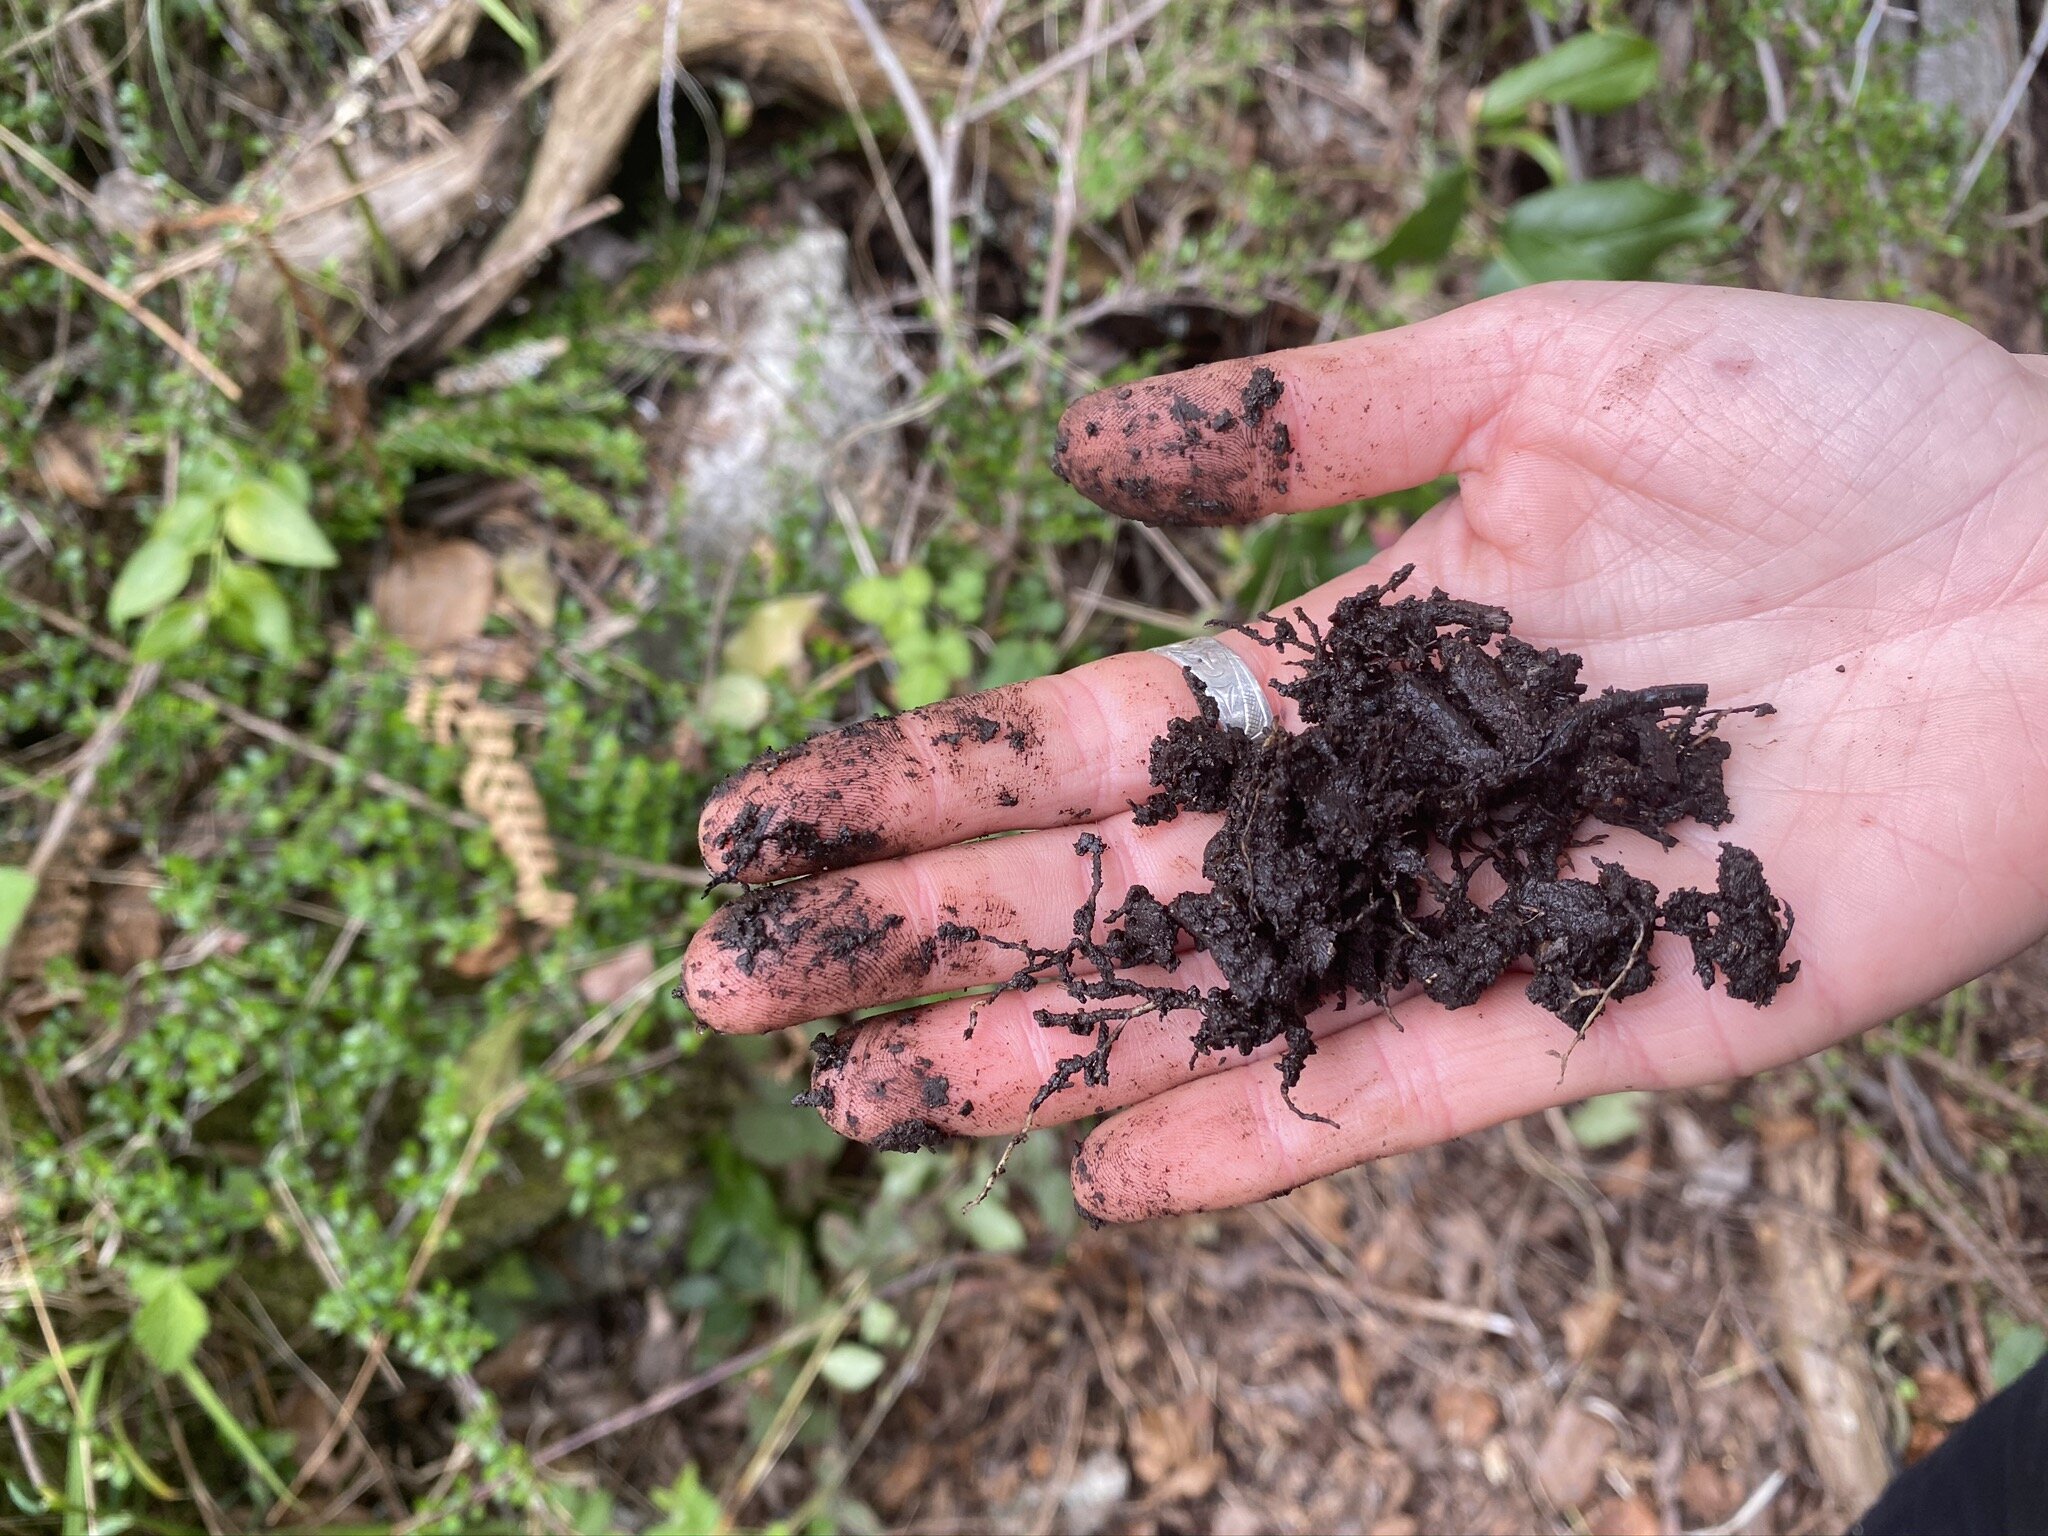
Loamy Soil: Loamy soil contains high levels of organic matter, and is the ideal type of soil for growing mostly all fruits and vegetables. Loamy soil is well-balanced with sand, clay, silt and organic content. Having a nice mix of all of these elements gives plants all the benefits of each soil type, without many of the disadvantages.
Remember, just like it is important for us to have a balanced meal with all of the food groups, soil should also have a well-balanced mix of ingredients (sand, clay, organic matter) as soil is the main source of food for plants.
Soil-ologist Science Activity
Items needed:
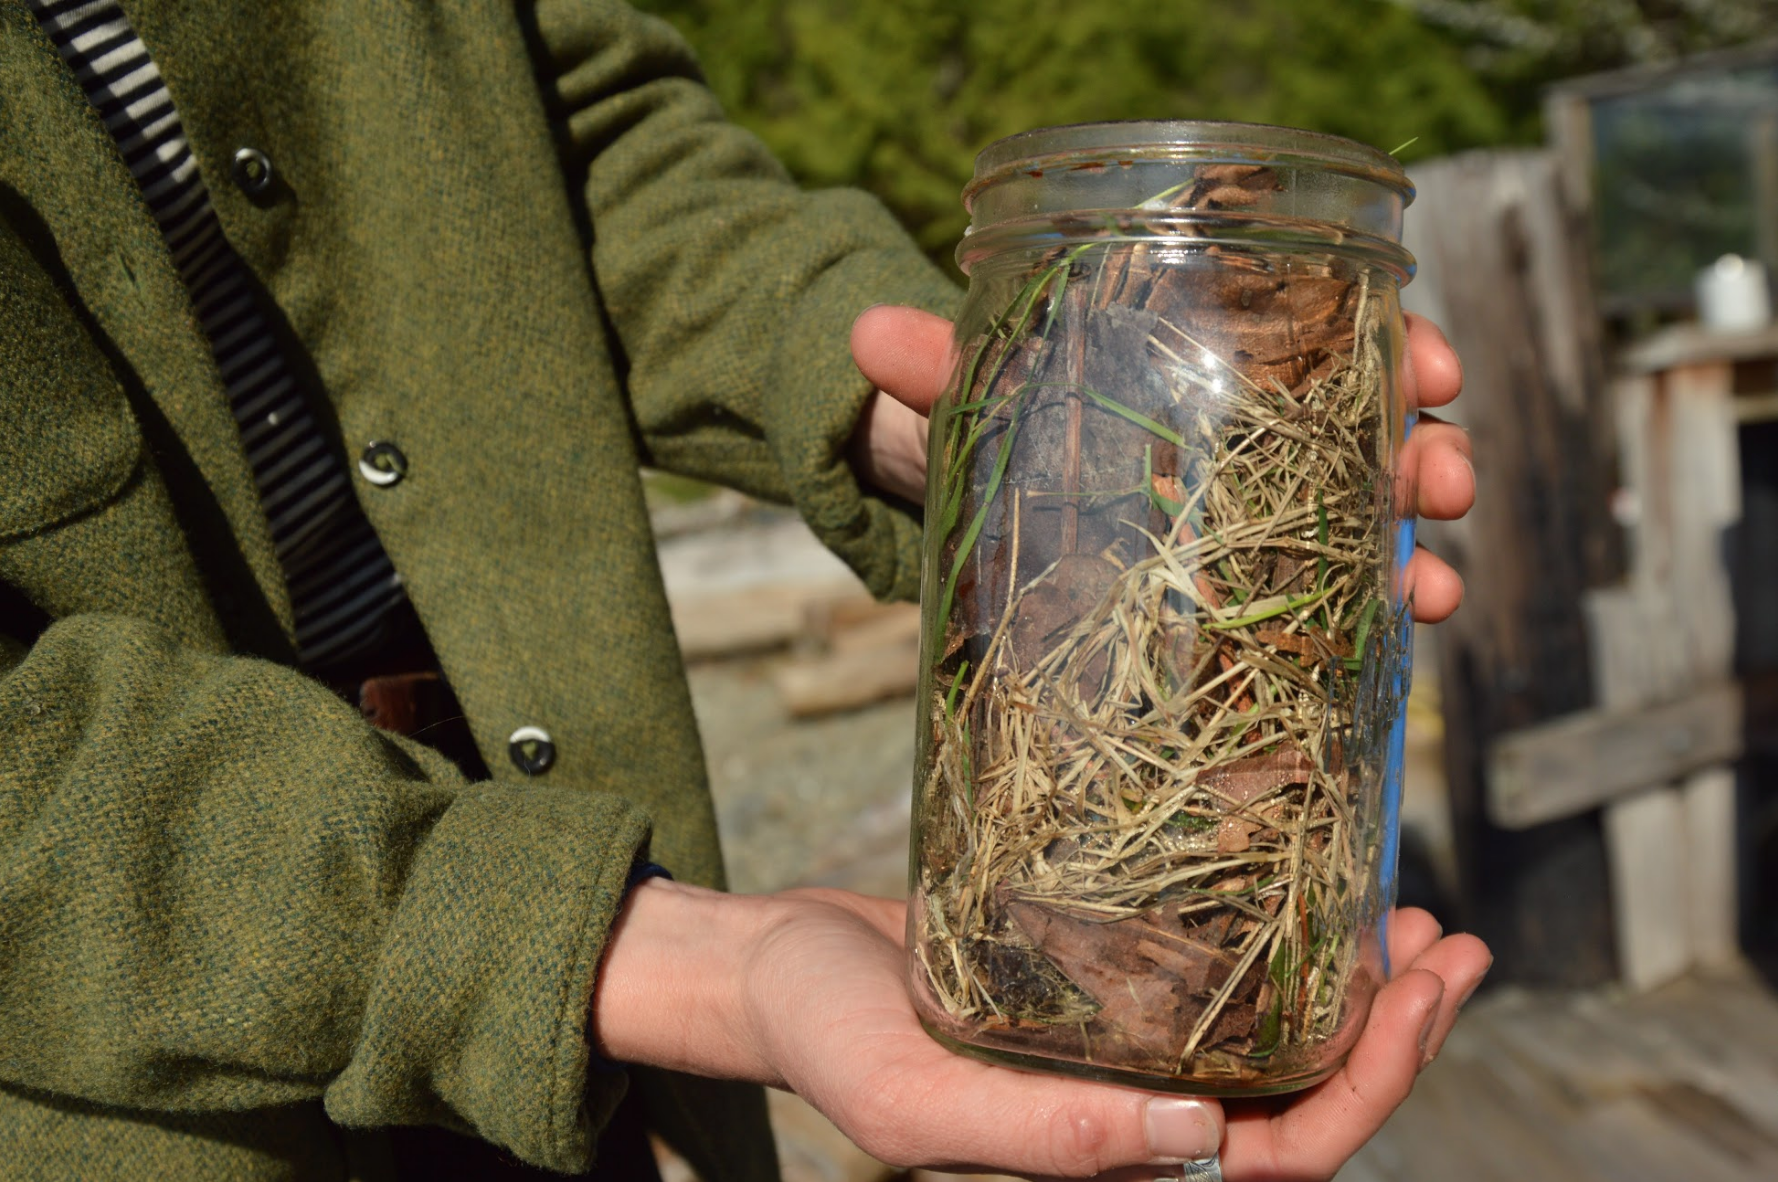
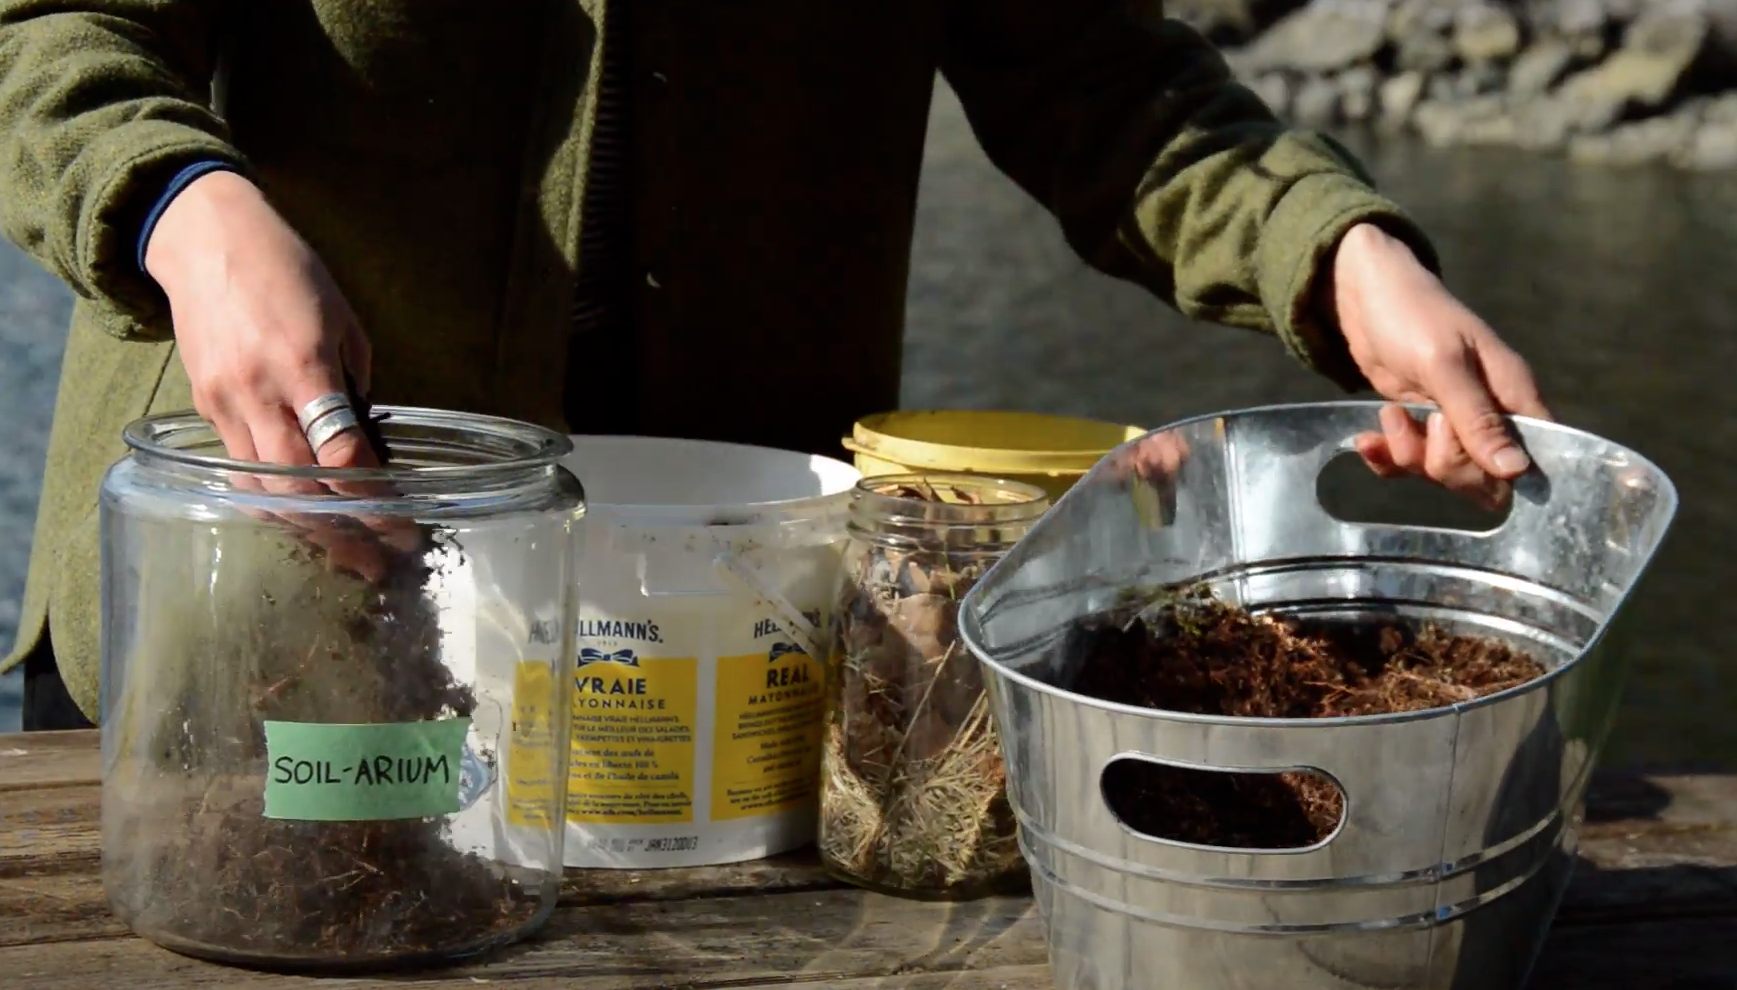
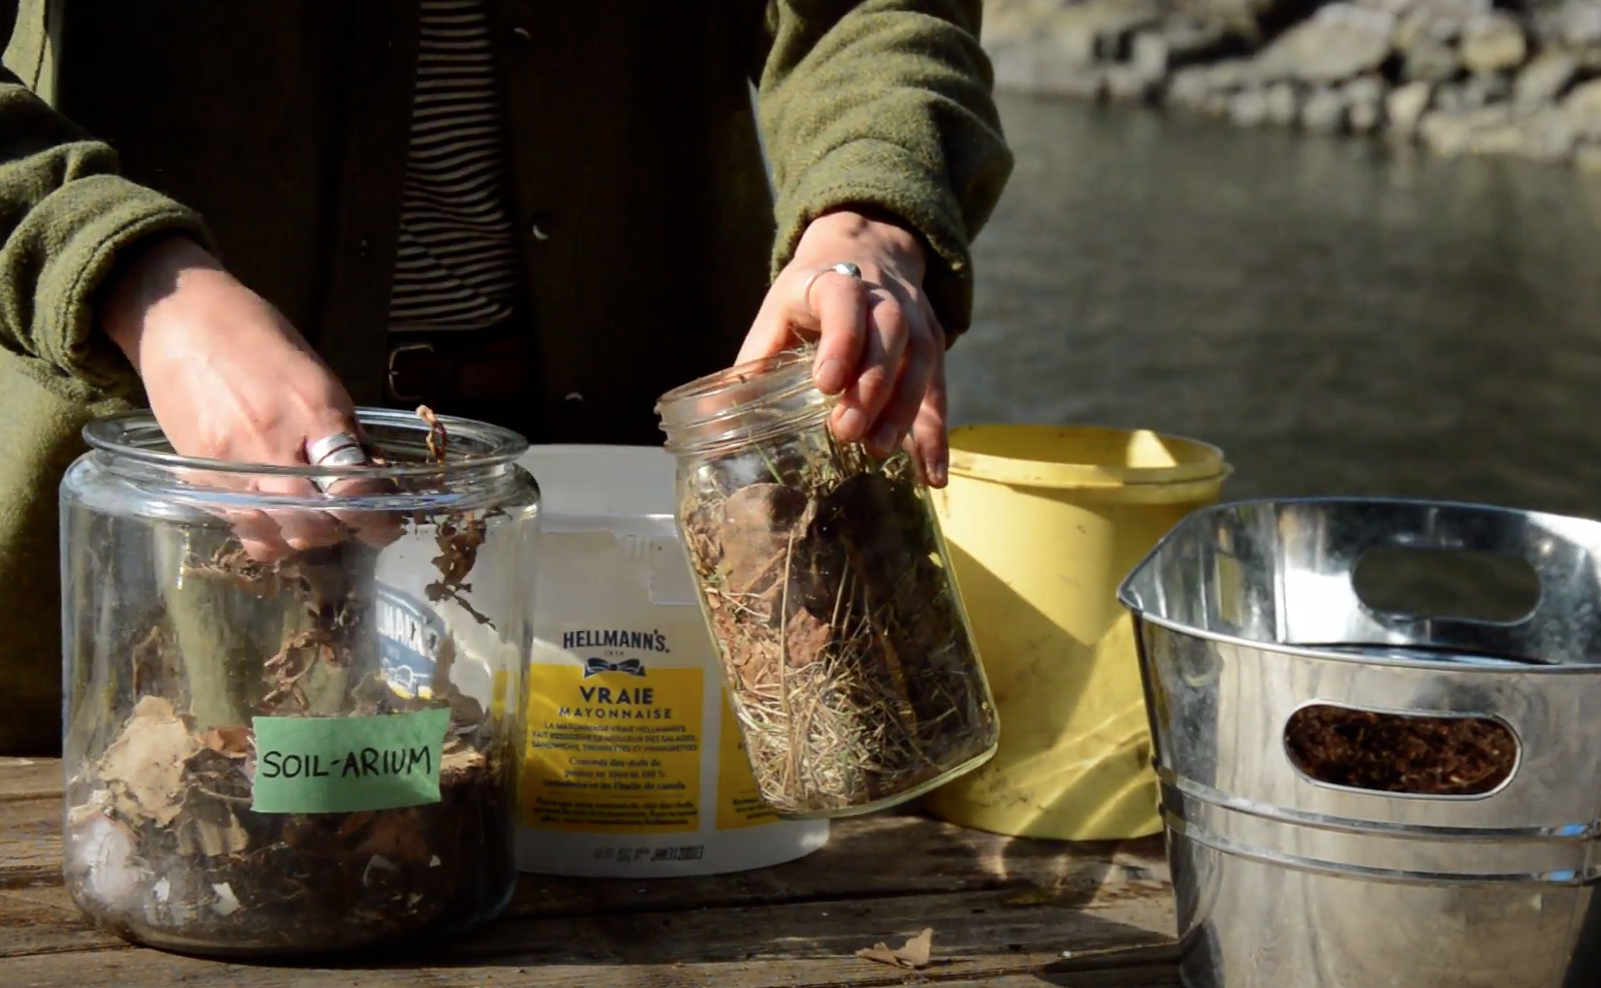
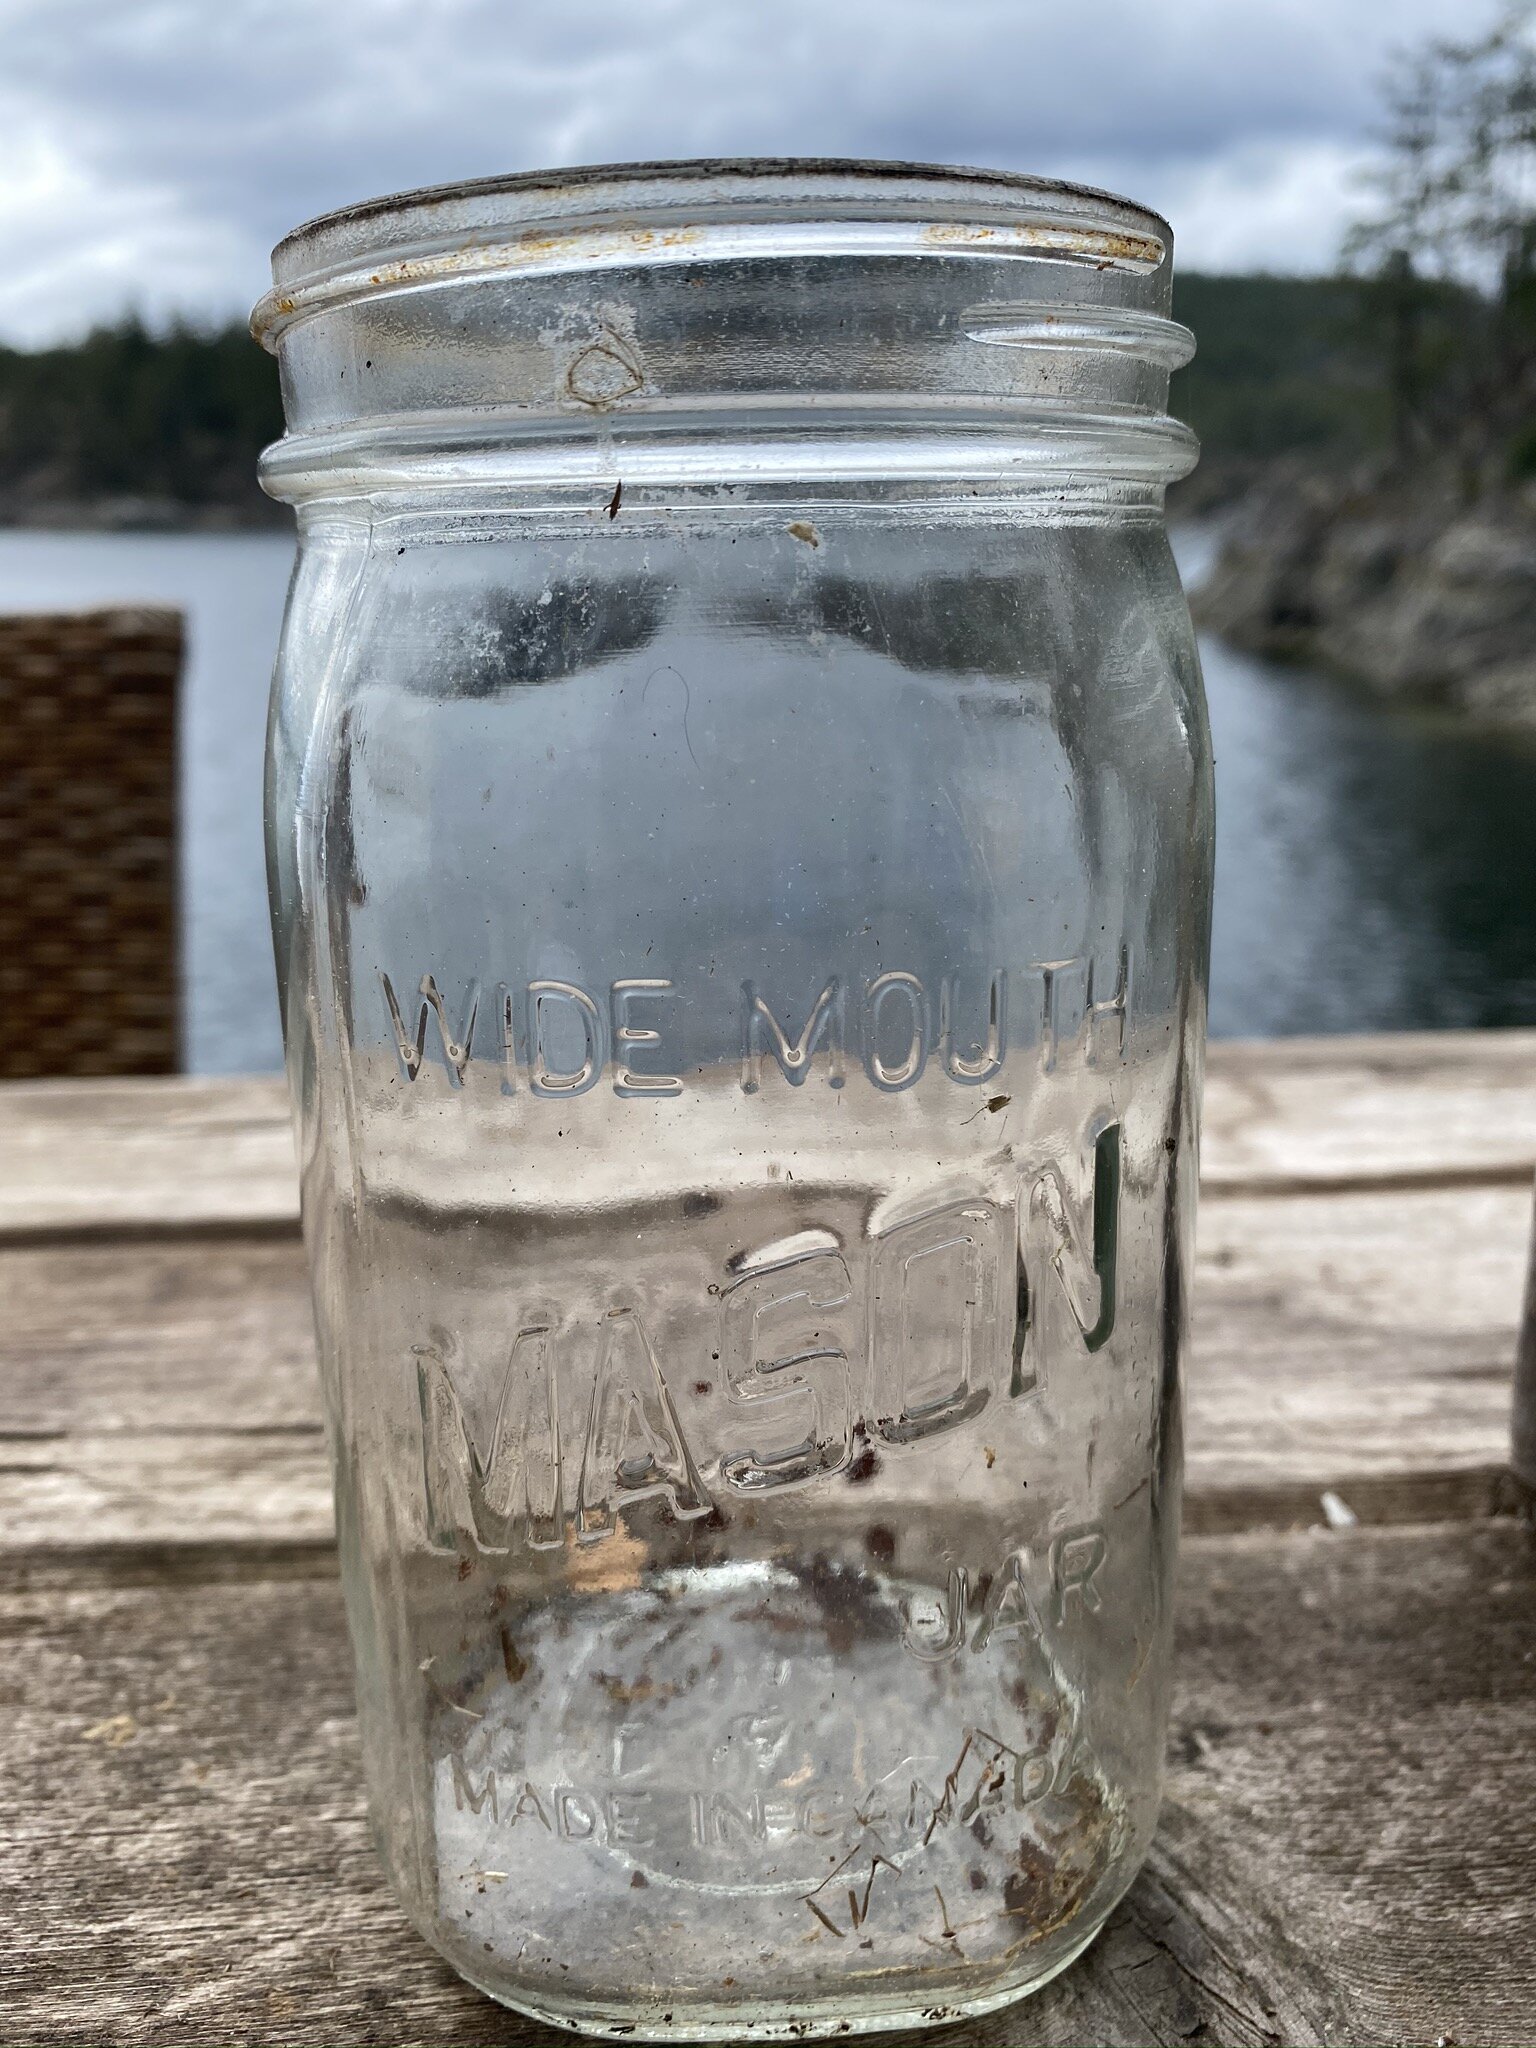
1+ Glass Jars
2 or 3 soil sample(s) from your yard or garden
Water

Activity Instructions:
1. Collect soil samples from as many different locations as you want in your growing space, for each sample you will need one glass jar (soil samples should be collected from 20cm deep in ground).
2. Place one soil sample into each jar.

3. Fill your with water, and place it on a flat surface.

4. Let the soil settle for a minimum of one hour.

5. Examine and identify the soil content using the guidelines below!

Here we can see that in:
Soil Sample #1: The water is murky, and the soil has settled at the bottom, which tells us that there is heavy content in there such as sand and clay
Soil Sample #2: The water is pretty clear, and the soil has most of its content at the top, but also some has settled at the bottom. This tells us that there is lots of organic matter, but also has some sand content.
Soil Sample #3: The water is murky, and has soil floating at the top, but also has some that has settled at the bottom. This tells us that this soil sample has a nice balance of lots of organic matter, sand, and some clay content.
Note: Soil Sample #3 is potting mix from the store that is specially made to have a nice balance of sand, clay and organic matter.
LOAMY SOIL: Large organic particles will float on top
CLAY SOIL: Fine clay and silt particles will settle in the middle
SANDY SOIL: Sand and small stones will settle at the bottom
If water is clear after soil settles: SANDY SOIL TYPE
If water is murky and cloudy after soil settles: CLAYEY SOIL TYPE
What soil type is in your jar?