kids activity

Make a Pollinator Garden Activity

Make a pollinator garden full of bee friendly flowers to attract bees to your garden or help support the gardens and farms in your neighborhood. 

IMG_0899.jpg

You Will Need:

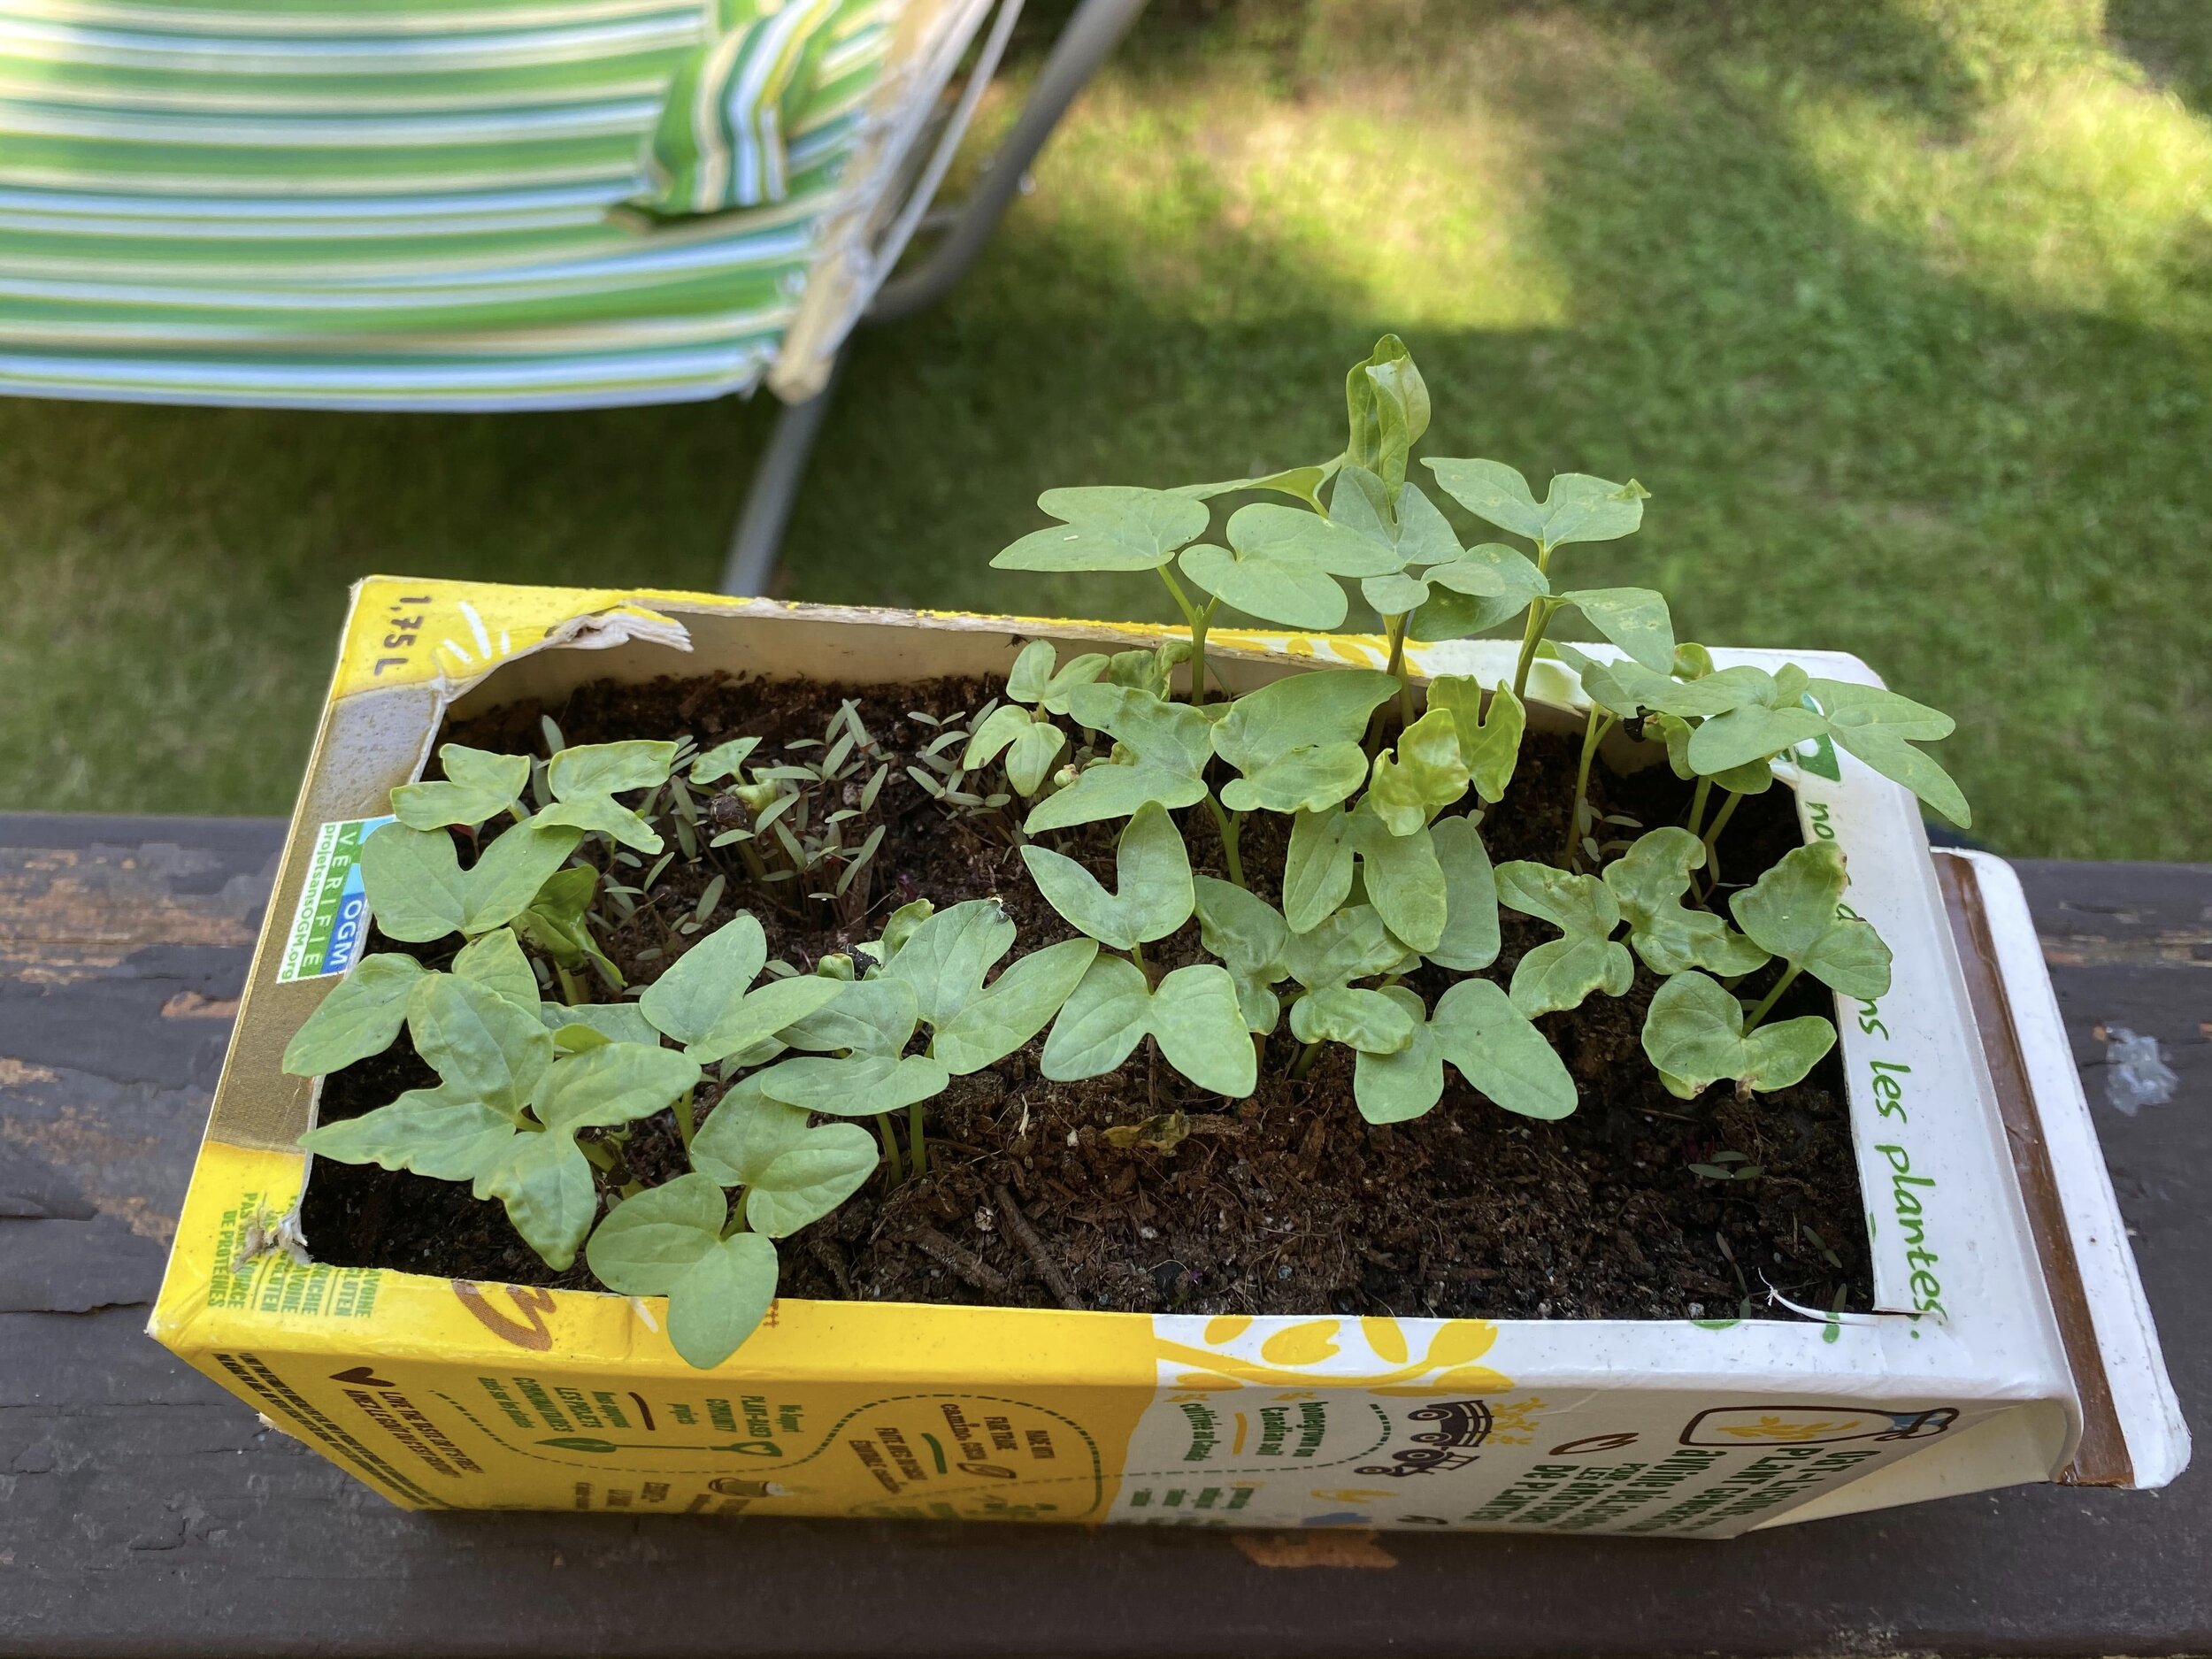
  • a plant pot or any container you have on hand (a yogurt container, or used milk jug work well also). Click here for a tutorial on turning a recycled container into a plant pot. 

  • soil

  • a packet of wildflower or bee friendly seeds

Instructions:

  • Research what flowers attract bees in your area. Wildflowers or local flowers are best for local bees. Blue, purple, white and yellow flowers are very attractive to bees.

  • find your seeds 

  • find a container or a place outside to plant your seeds

  • plant your seeds according to the directions on the packet

  • watch your flowers grow and the bees buzz by

  • plant flowers from spring to fall so the bees have a consistent supply of nectar

What is pollination?

Pollination is when pollen is transferred from one flower to another or within one flower. When a flower is pollinated the plant can make seeds and fruit/vegetables. Bees are one way that plants pollinate. When bees land on a flower to drink its nectar, pollen from the flower sticks to the bee’s legs, the bee carries the pollen and spreads to the next flower. 

Some plants like beans and peas are self-pollinating that is why you can grow them inside on your windowsill. Other vegetables like squash and some types of cucumber need to be pollinated to produce fruit and vegetables.

Pollinator questions to ponder or research:

  • What are some other pollinators besides bees?

  • What else can you put in a pollinator garden to help the pollinators? Hint...sometimes bees get thirsty! 

  • What would happen if we didn’t have any bees?

Make a Garden Planter Out of a Recycled Container

You don’t need anything complicated to grow a container garden at home. In this activity you turn a recycled container into a planter pot. Watch the video below or simply follow the instructions to make your own planter.

You Will Need:

  • a used milk, juice or yogurt container (or any container you have on hand)

  • a small amount of soil (about 6 cups)

  • a packet of seeds (we planted wildflower seeds)

  • sharp scissors

  • a pen to poke drainage holes

  • a tray or larger container to catch drainage water (if you like)

 Instructions:

  • clean your recycled container so that it is free of food residue

  • decide what side of your container you want to be the top and what side will be the bottom

  • ask an adult to help poke about six drainage holes in the bottom of your container

  • ask an adult to help cut a rectangular opening in the top of the planter (skip this step if you are using a container with an open top)

  • fill your container about ¾ full with soil

  • plant your seeds according to the package directions

  • find a tray or larger container to put under your container (to catch any water that might drain out) 

  • water gently, place in a sunny location and wait for your seeds to grow

What other recycled items can you grow a garden in? Let us know your creative ideas!


The Coolest Way to Eat Your Greens! Frozen Greensicles

These Greensicles get their vibrant green color from spinach. Including spinach in a popsicle (or smoothie) adds vitamins A and C as well as potassium and magnesium. Making this easy recipe along with kids is fun and will help get them comfortable cooking with and eating greens. For extra fun make up your own name for the greensicles (hulksicles, grasshoppersicles, greenmonstersicles). 

Frozen Greensicles Recipe

Yield: This recipe makes 4 greensicles
Prep time: 5 minutes
Freeze time: 5 hours (or a bit longer depending on your freezer)

Ingredients:
½ cup spinach or other greens
½ cup pineapple (frozen, canned or fresh)
½ cup milk (dairy or dairy free)
½  cup yogurt (dairy or dairy free)
1 banana (frozen or fresh)

Tools:
Blender*
Popsicle molds**

 Instructions:

  1. Place all ingredients in a blender or food processor and blend mixture until it is smooth and creamy and there are no large chunks of spinach left. If your smoothie is too thick add some extra milk, yogurt or water and blend some more. Ask an adult to assist when working with a bender and food processor.

  2. Pour mixture into popsicle molds

  3. Freeze for 5 hours or until frozen

  4. Release popsicles from the molds and enjoy 

Modifications: 
You can add any fruit you have on hand to your greensicle recipe. Some fruits like blueberries will taste great and also change the color of your greensicle. Have fun experimenting with different flavor and color combos.

*If you don’t have a blender you can use a food processor or put all the ingredients in a zipper bag and smush the mixture with your hands (chop the spinach a fine as possible if you are using this method).

**If you don't have popsicle molds you can freeze this mixture in an empty yogurt container and eat it with a spoon like ice cream or “icegreen”.