food waste

Food Scrap Dyed Eggs

Click here for printable activity instructions.

It’s officially spring, and in our house, that means that we are looking forward to Easter (and dying Easter eggs). This year we thought we would try something different and dye our eggs using food scraps instead of the food colouring we usually use. The idea of a homemade dye appealed to us for a few reasons:

  • We don’t need to buy a kit or food colouring.

  • Simmering our own dye mixture is a chance for us to be creative and learn about the science of making and applying dye.

  • Making our own dye adds some intrigue – we won’t know what colour our eggs will be until we are done! 

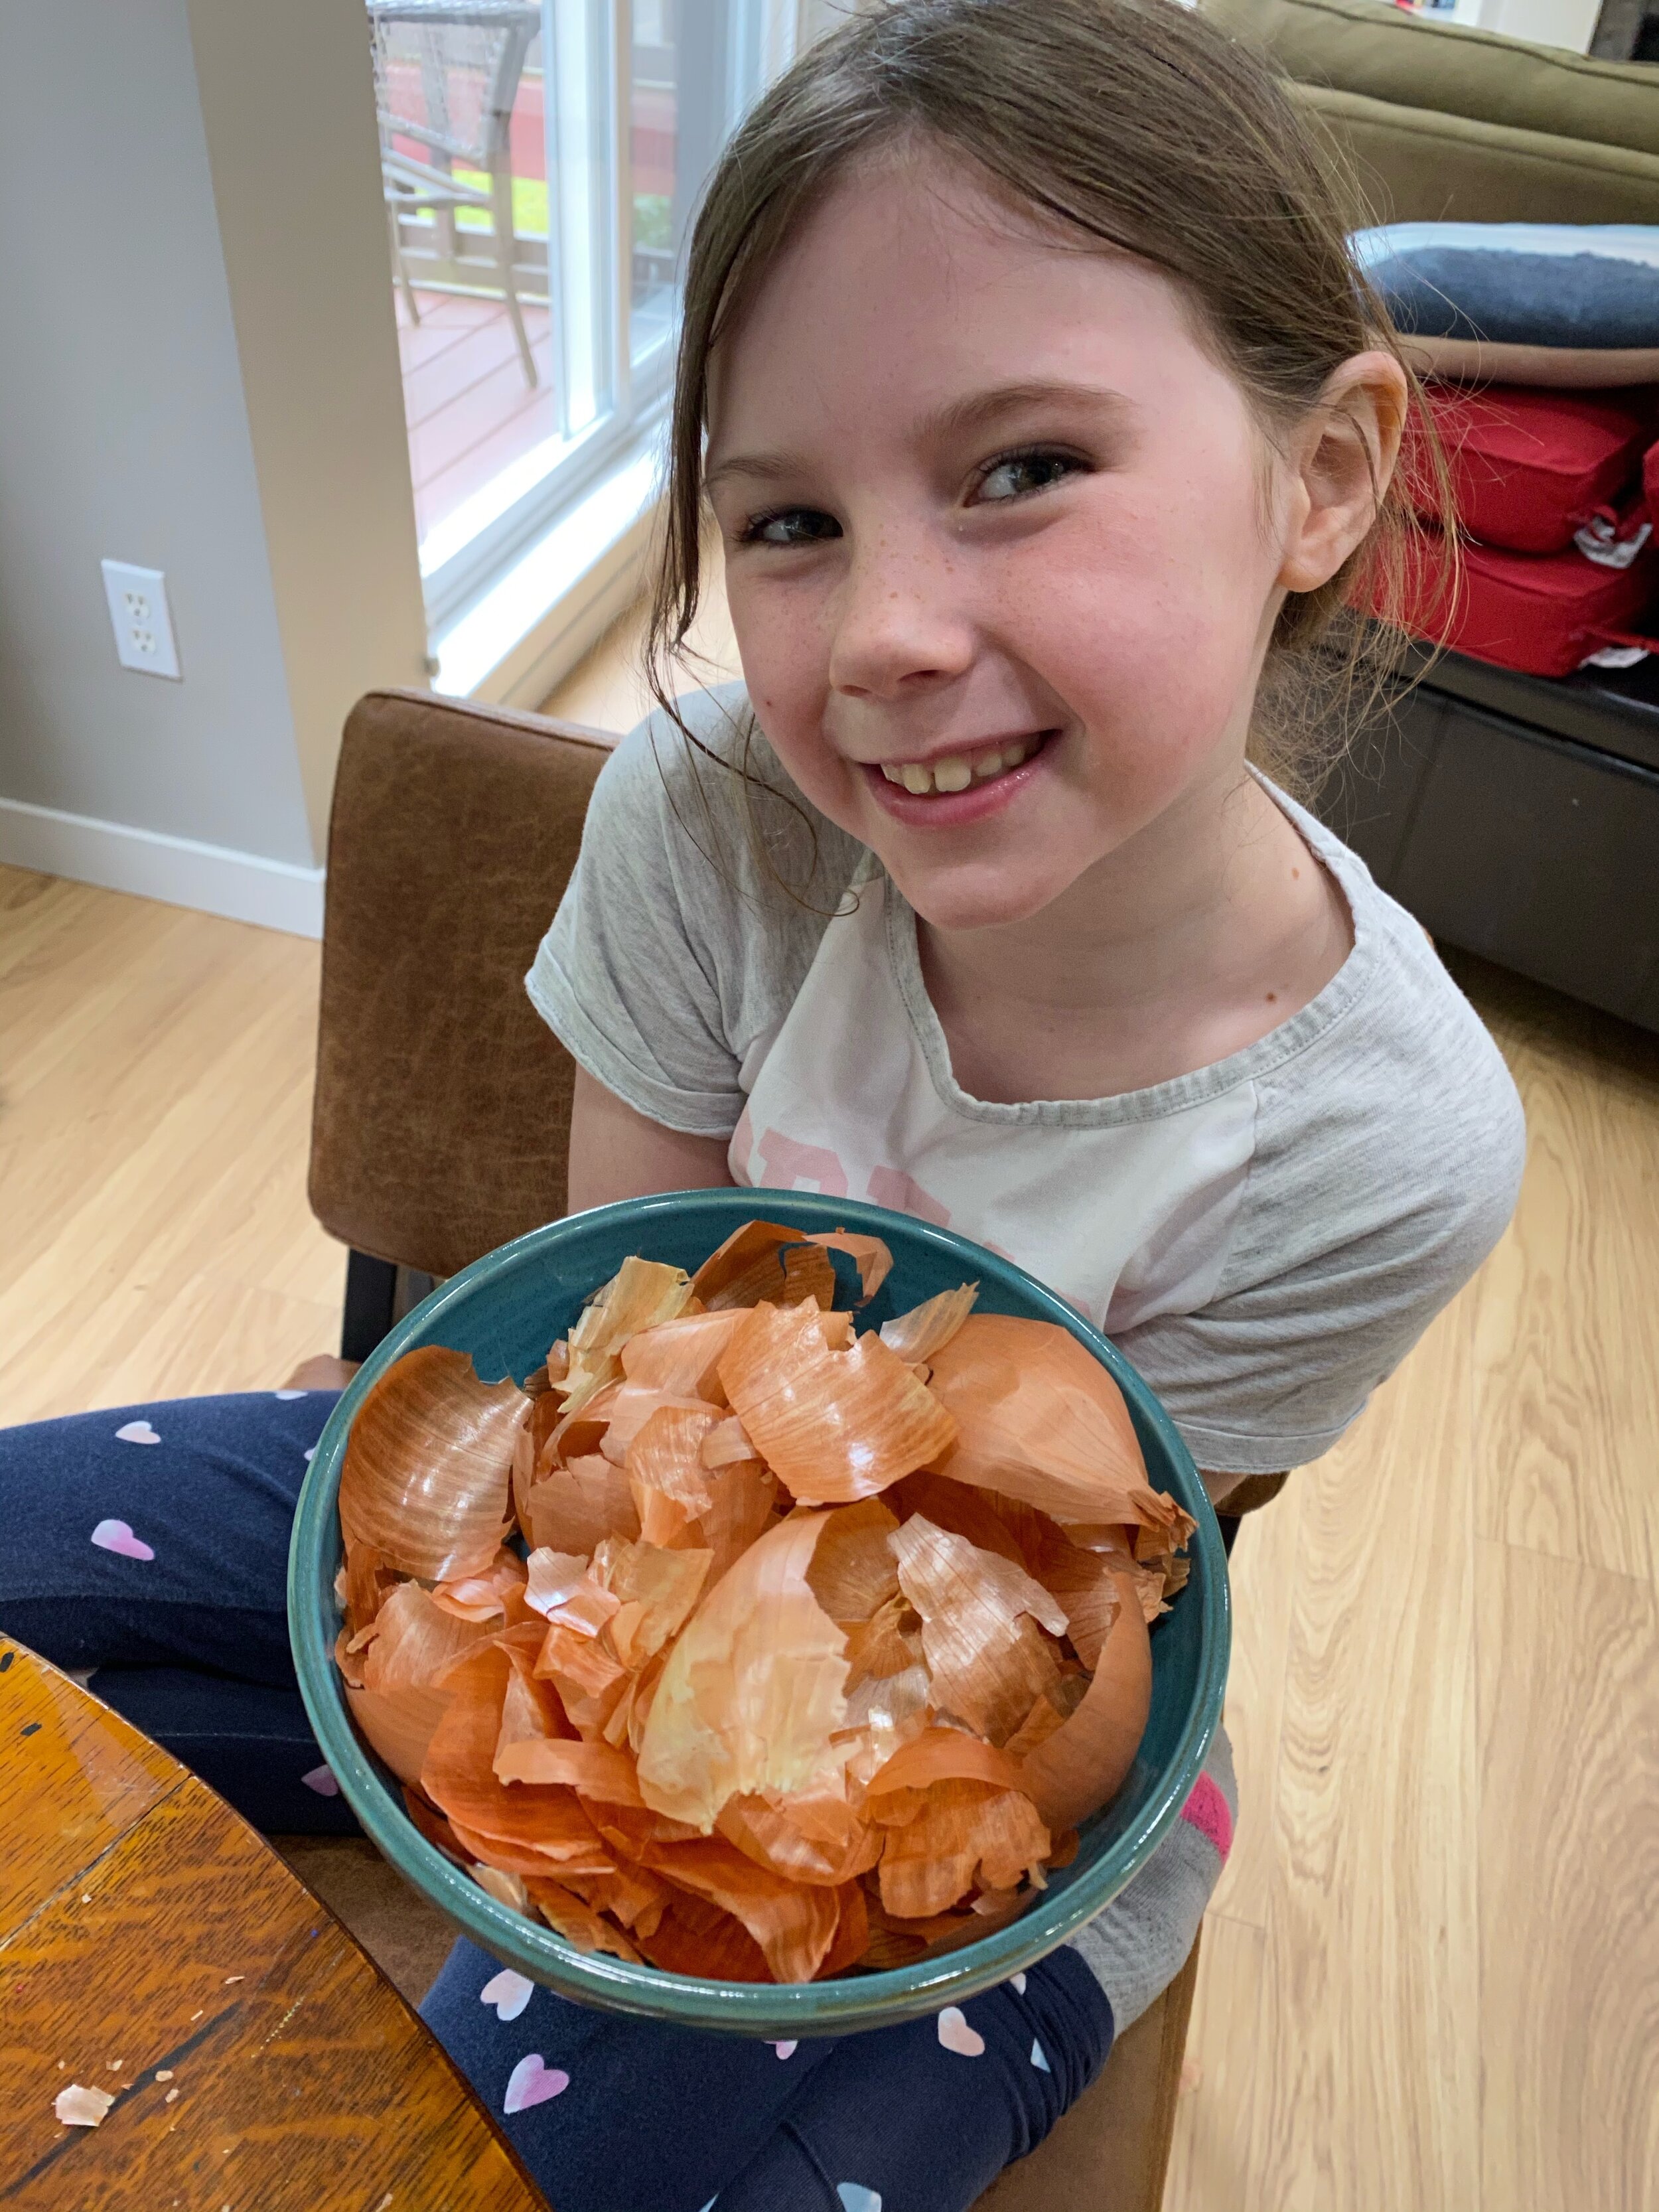
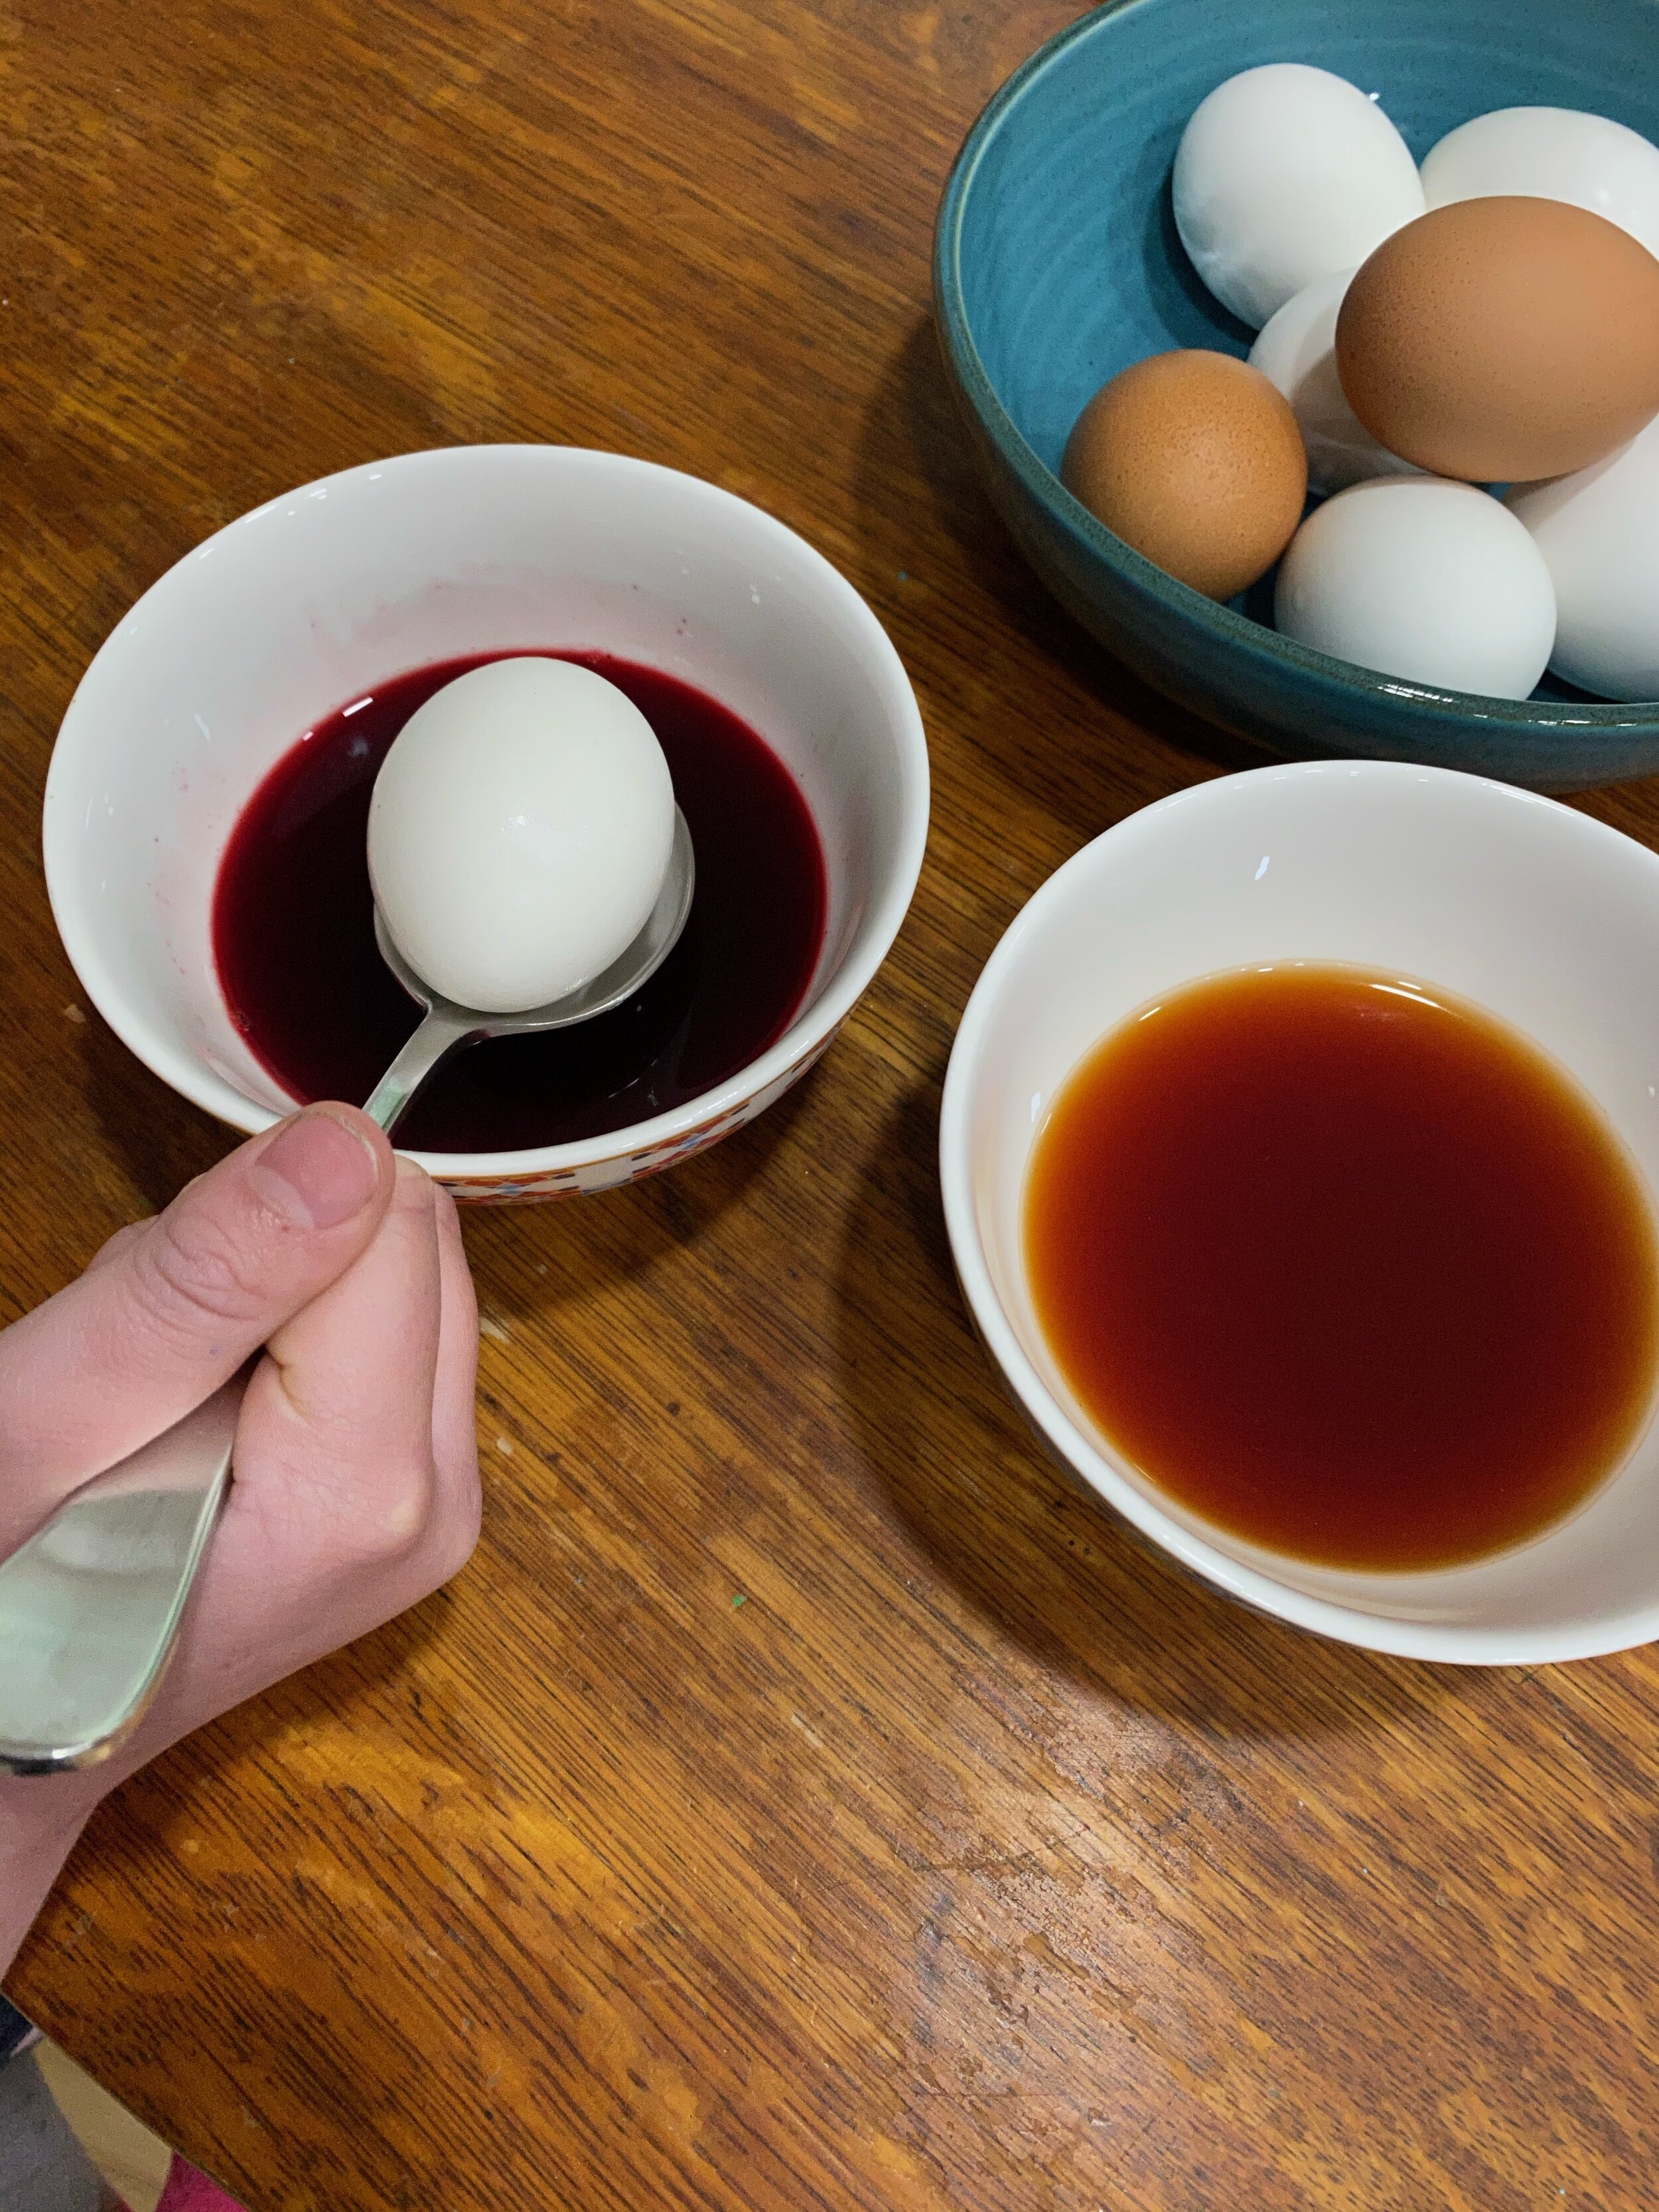
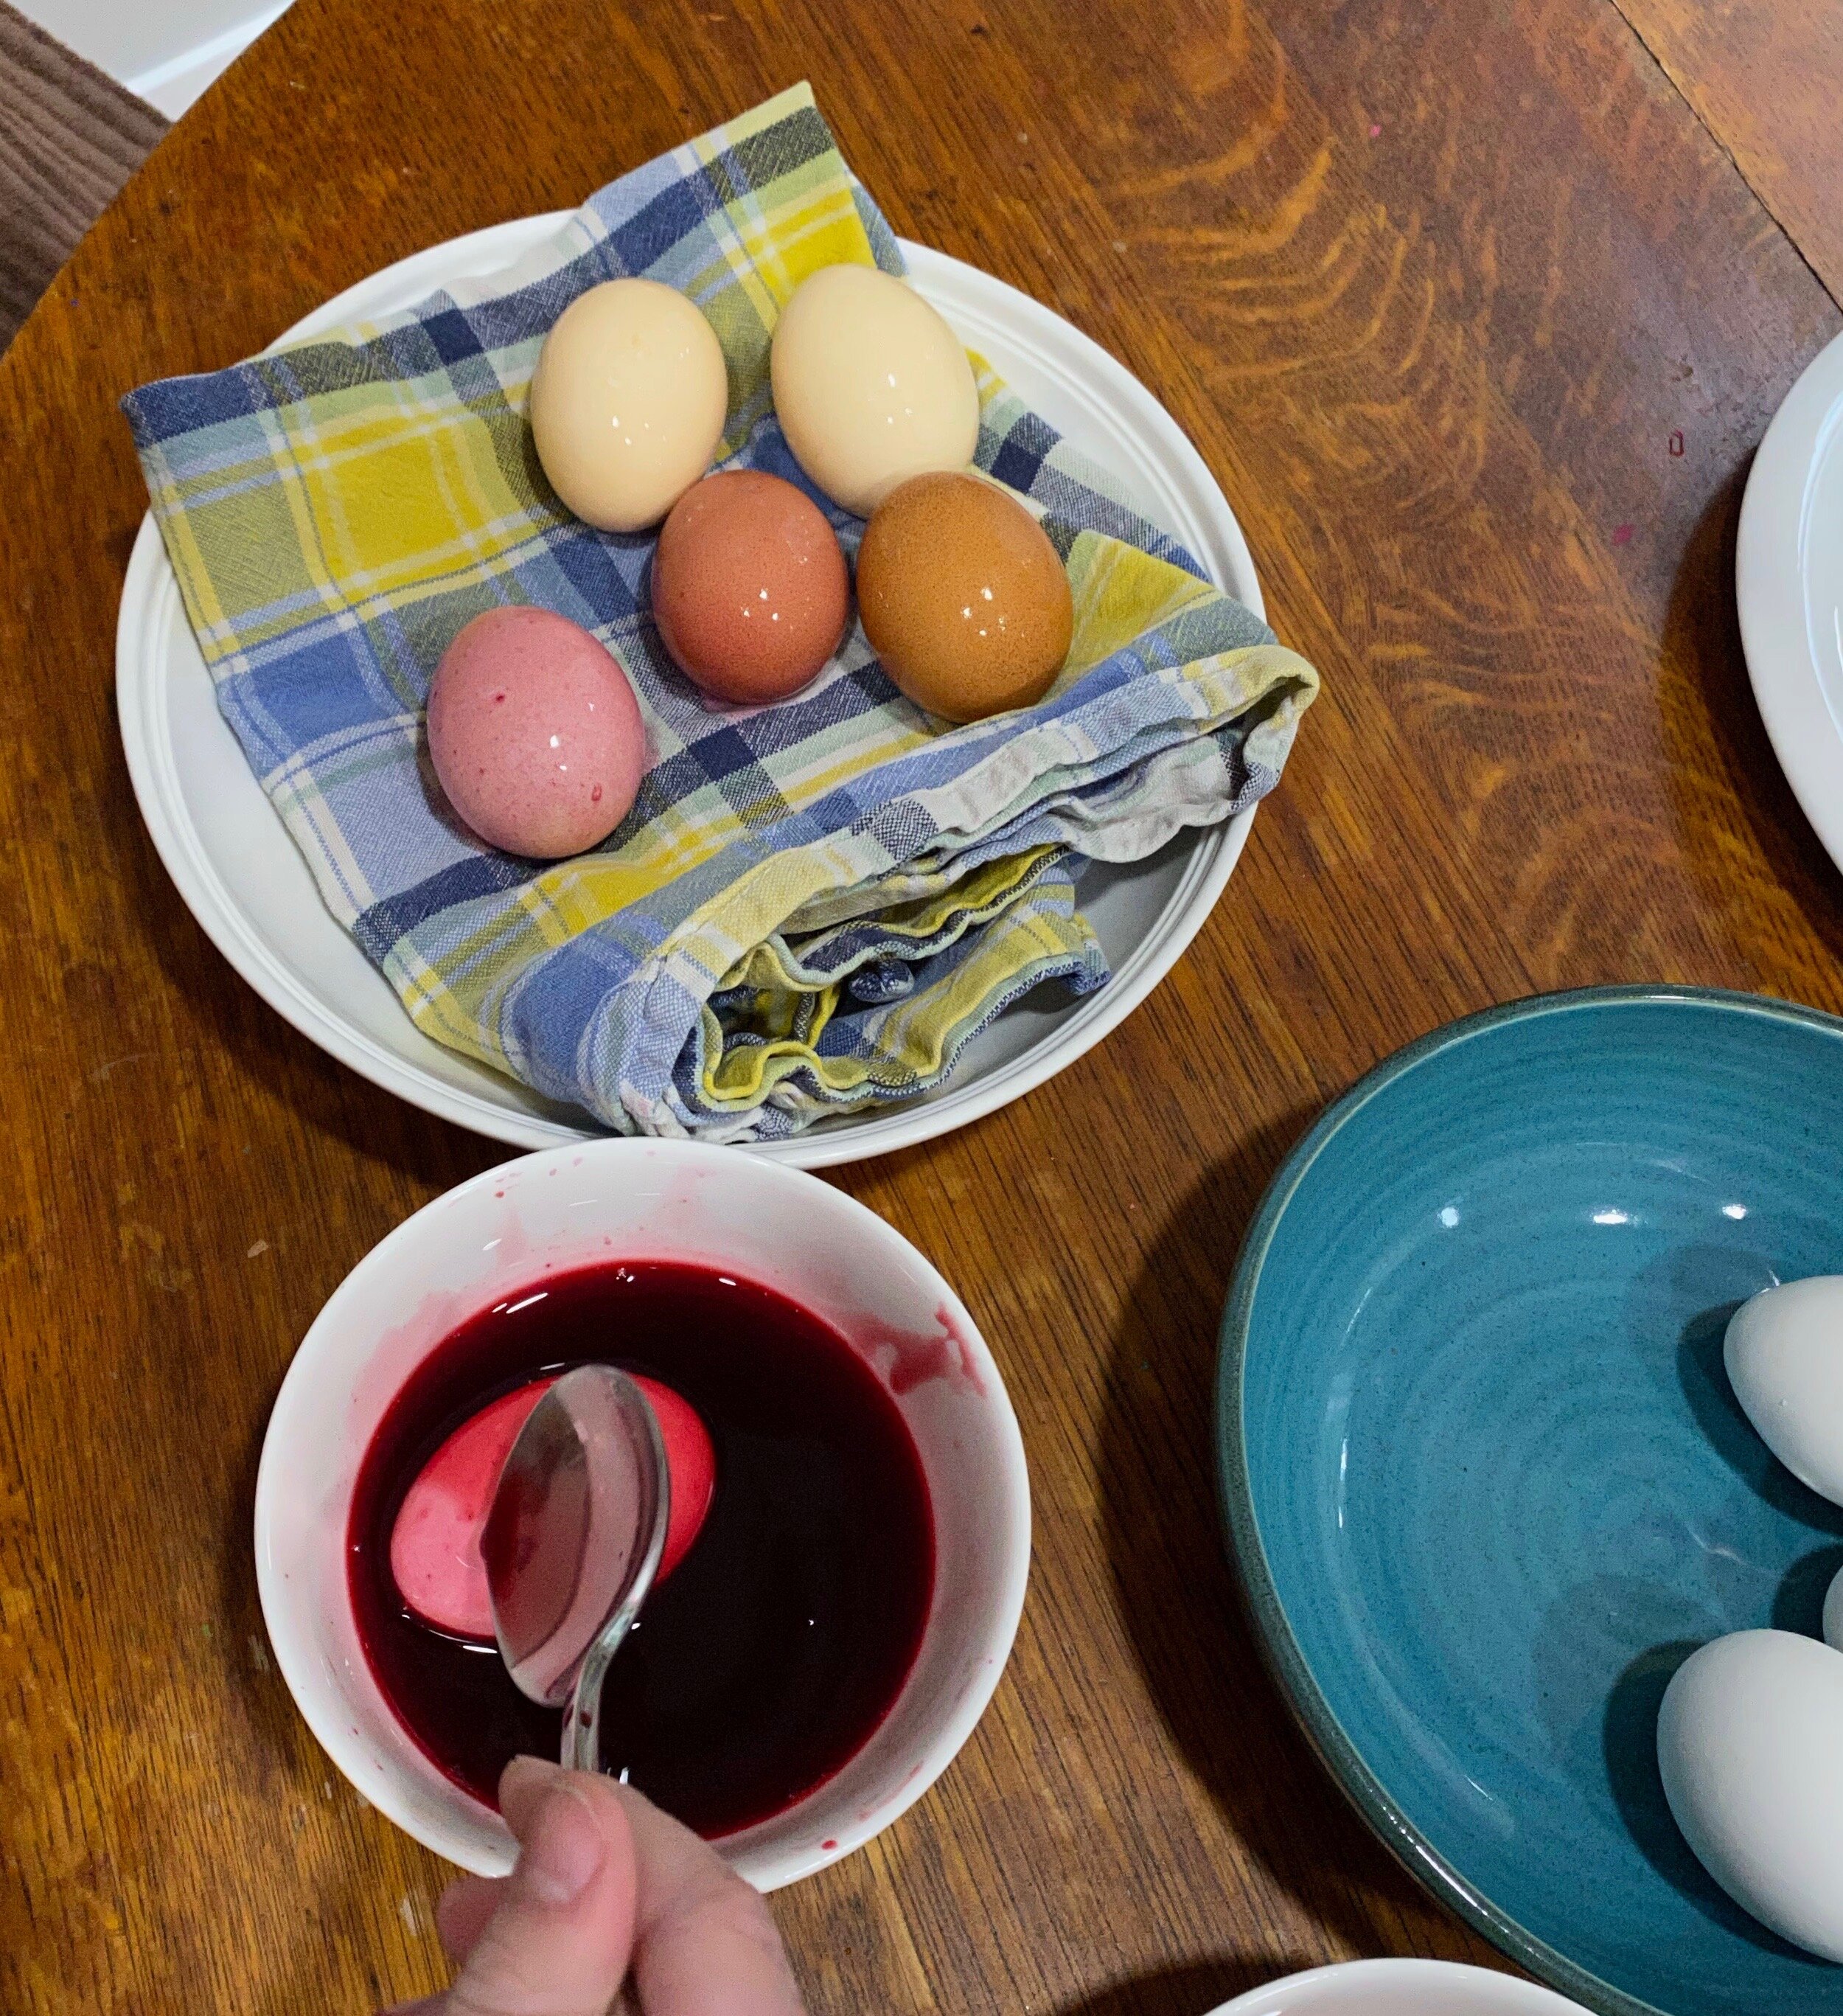
For our egg dye, we decided to make two dye baths using yellow onion skins and beet trimmings.

You may be wondering what colours these food scraps will make - and the answer is more surprising than you may think! Each of these food scraps have the potential to make several different colour results - depending on a few factors:

  1. What egg you apply the dye (white eggs vs. brown eggs).

  2. Mordants - This is what binds the dye to an object and can greatly alter the colour result. An example of a mordant is vinegar or salt. Read more on the science of mordants below.

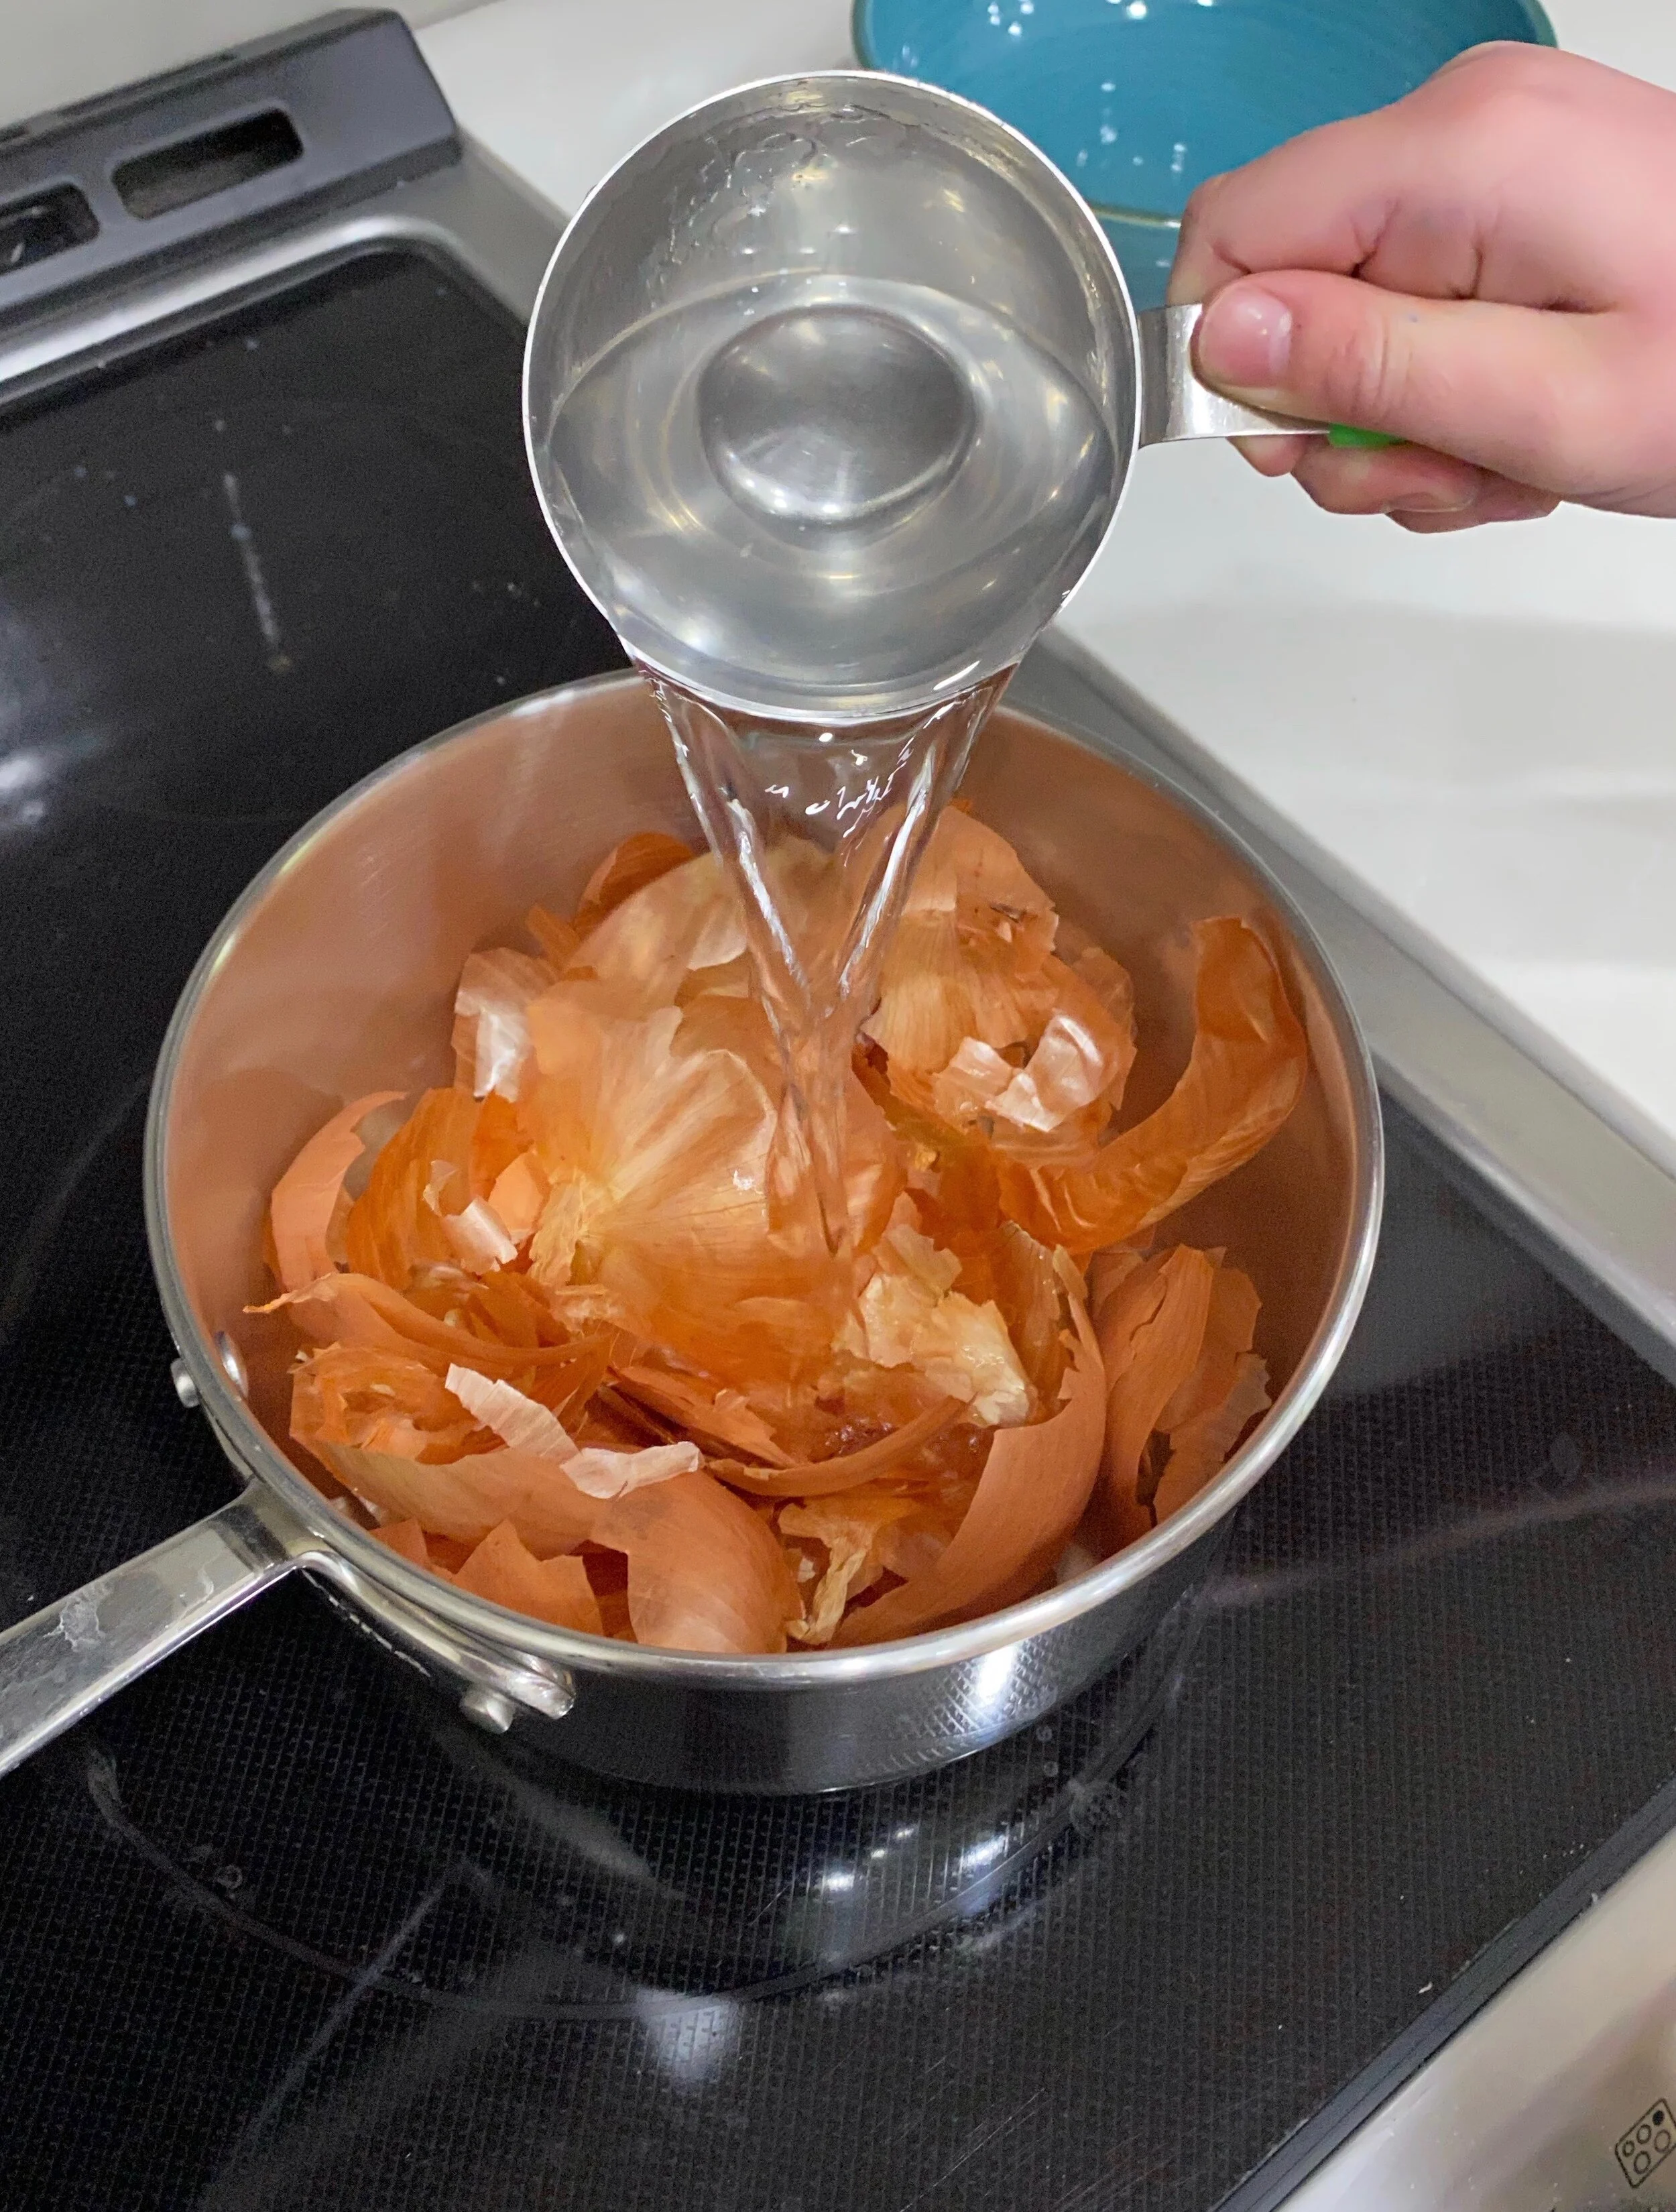
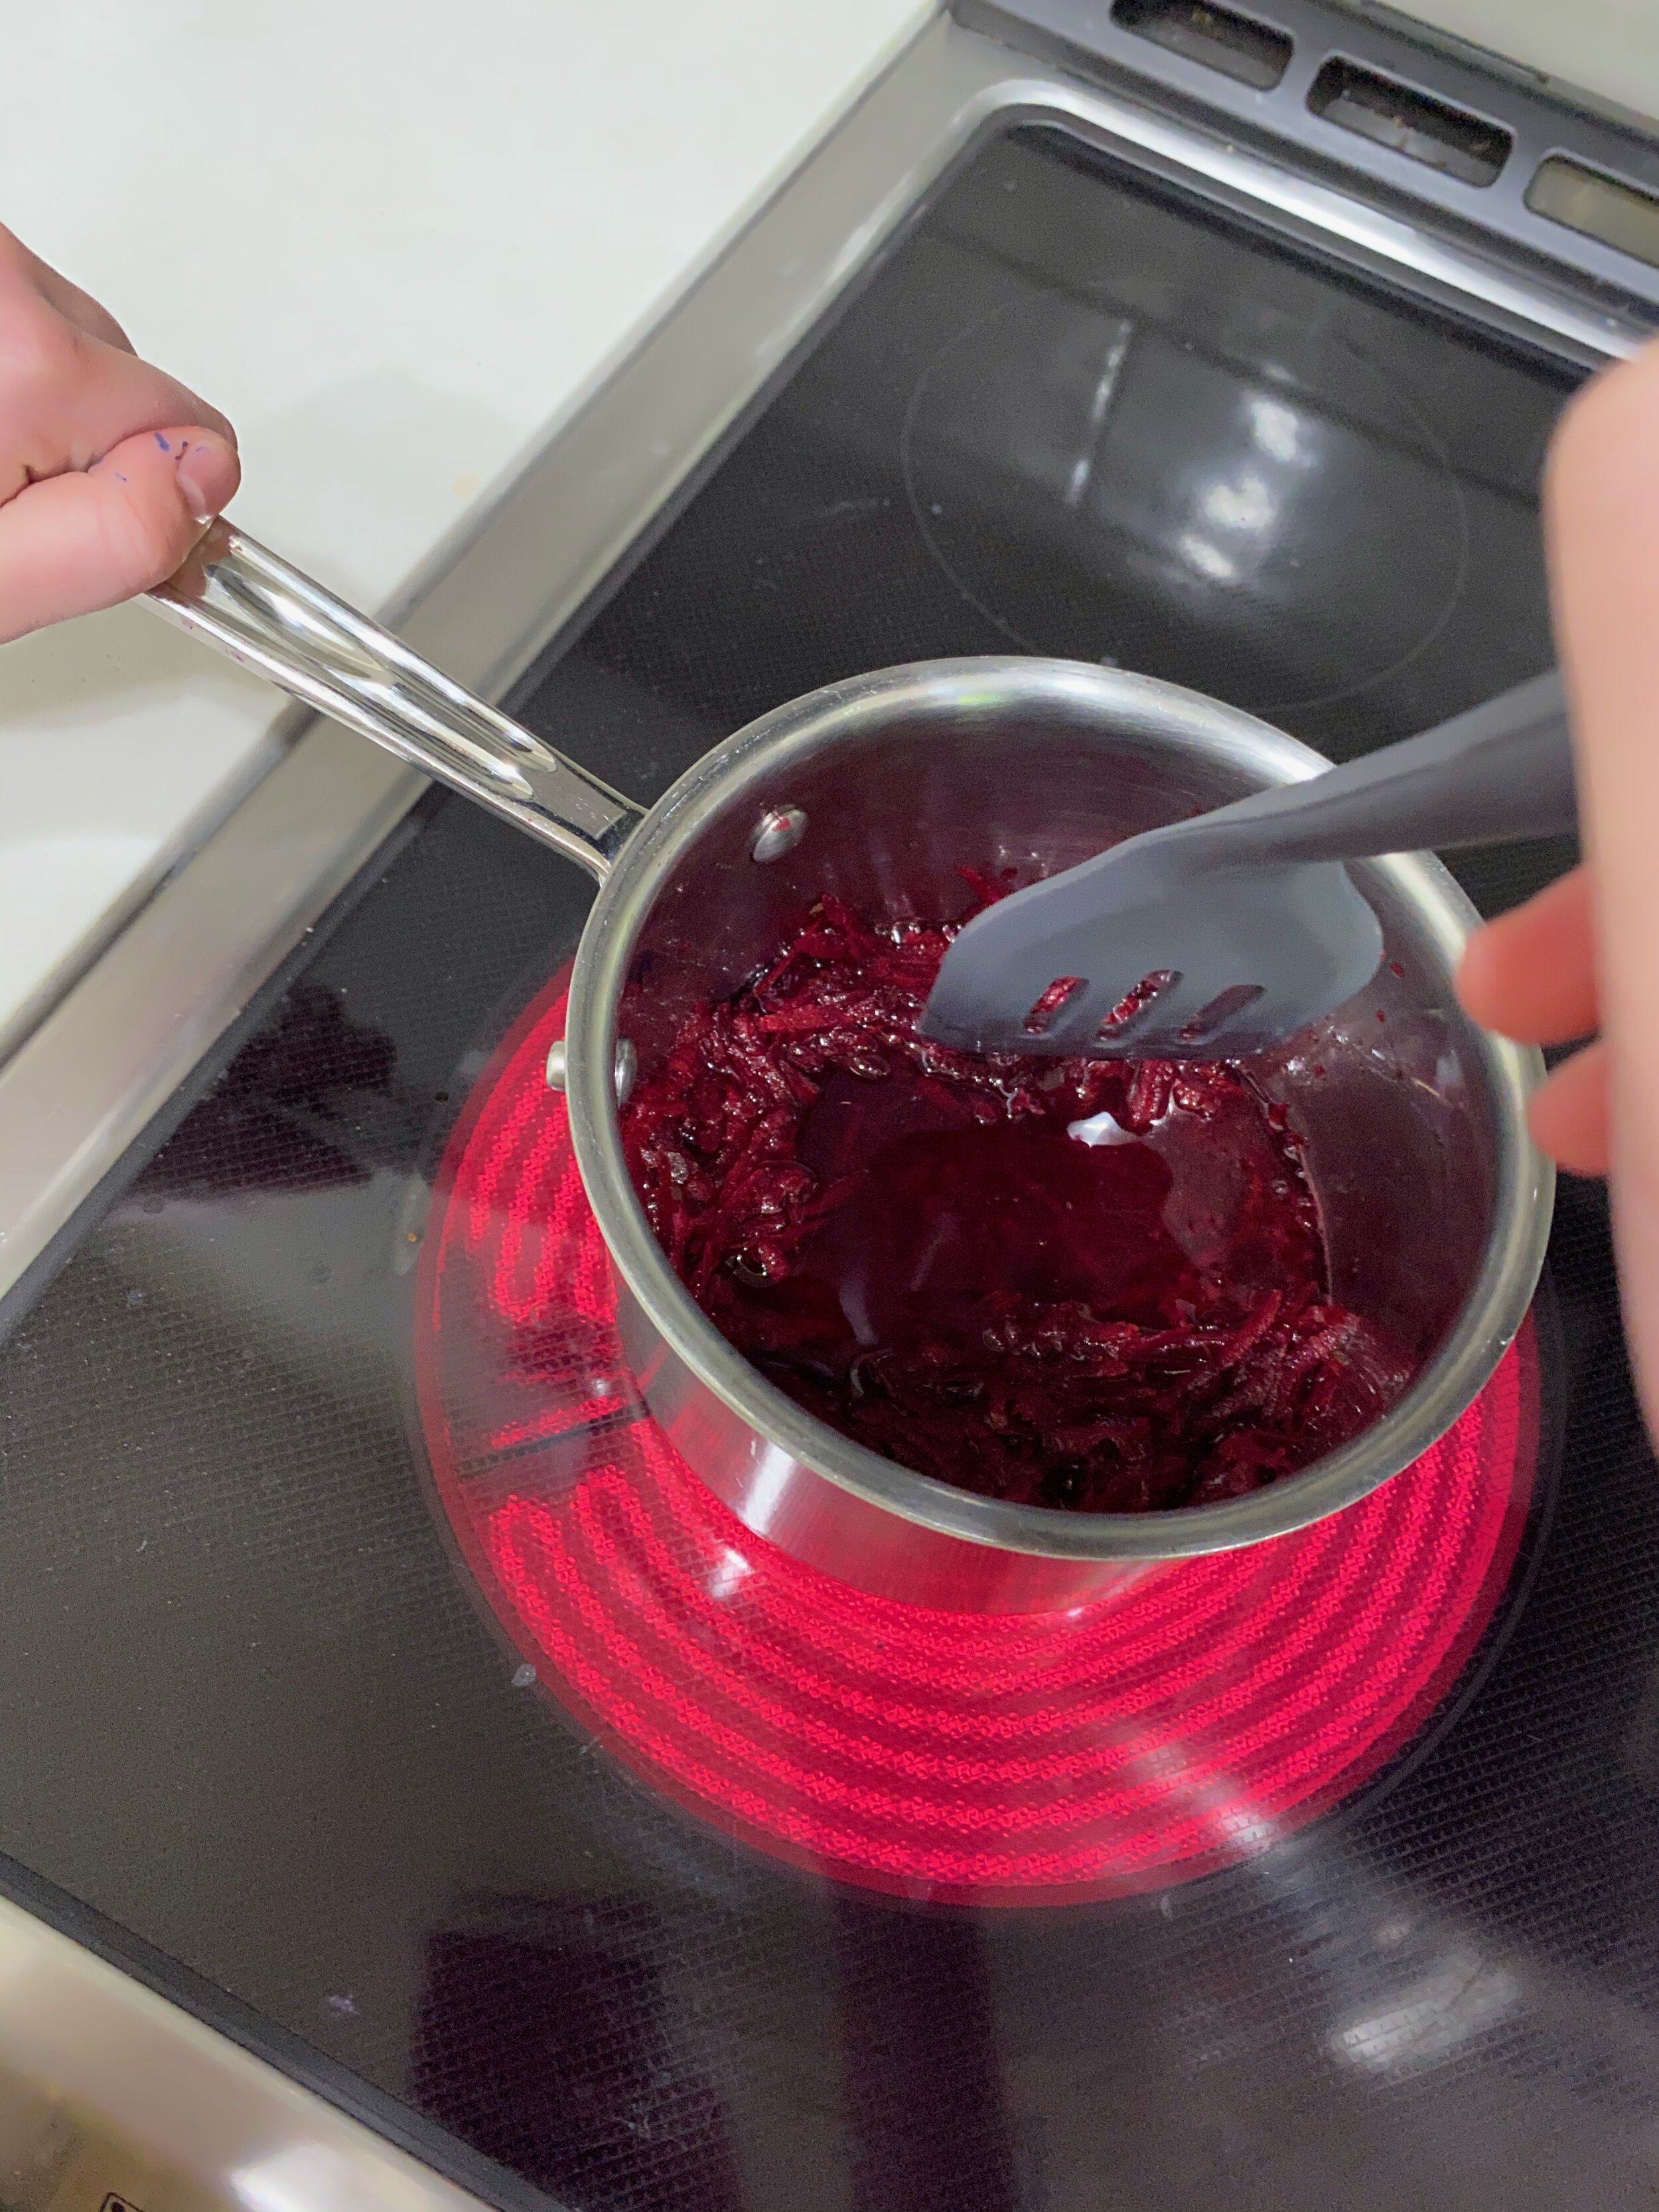
To make our dye bath we combined 1 cup of vegetable scraps with 1 cup of water. We grated the beet scraps to get maximum effect and simply broke the onion skins into large pieces. We put our vegetable scraps and water on the stove to simmer for about 30 minutes with the lid on, stirring regularly. After the dye was sufficiently simmered, we drained out the vegetable pieces and had an interesting conversation about what to do with the boiled food scraps, we decided to keep the bits of beet to add to a soup and compost the onion skins.  We transferred the remaining liquid (our dye) to a smaller container and added a mordant – we chose vinegar. Then we waited for our dye bath to cool. 

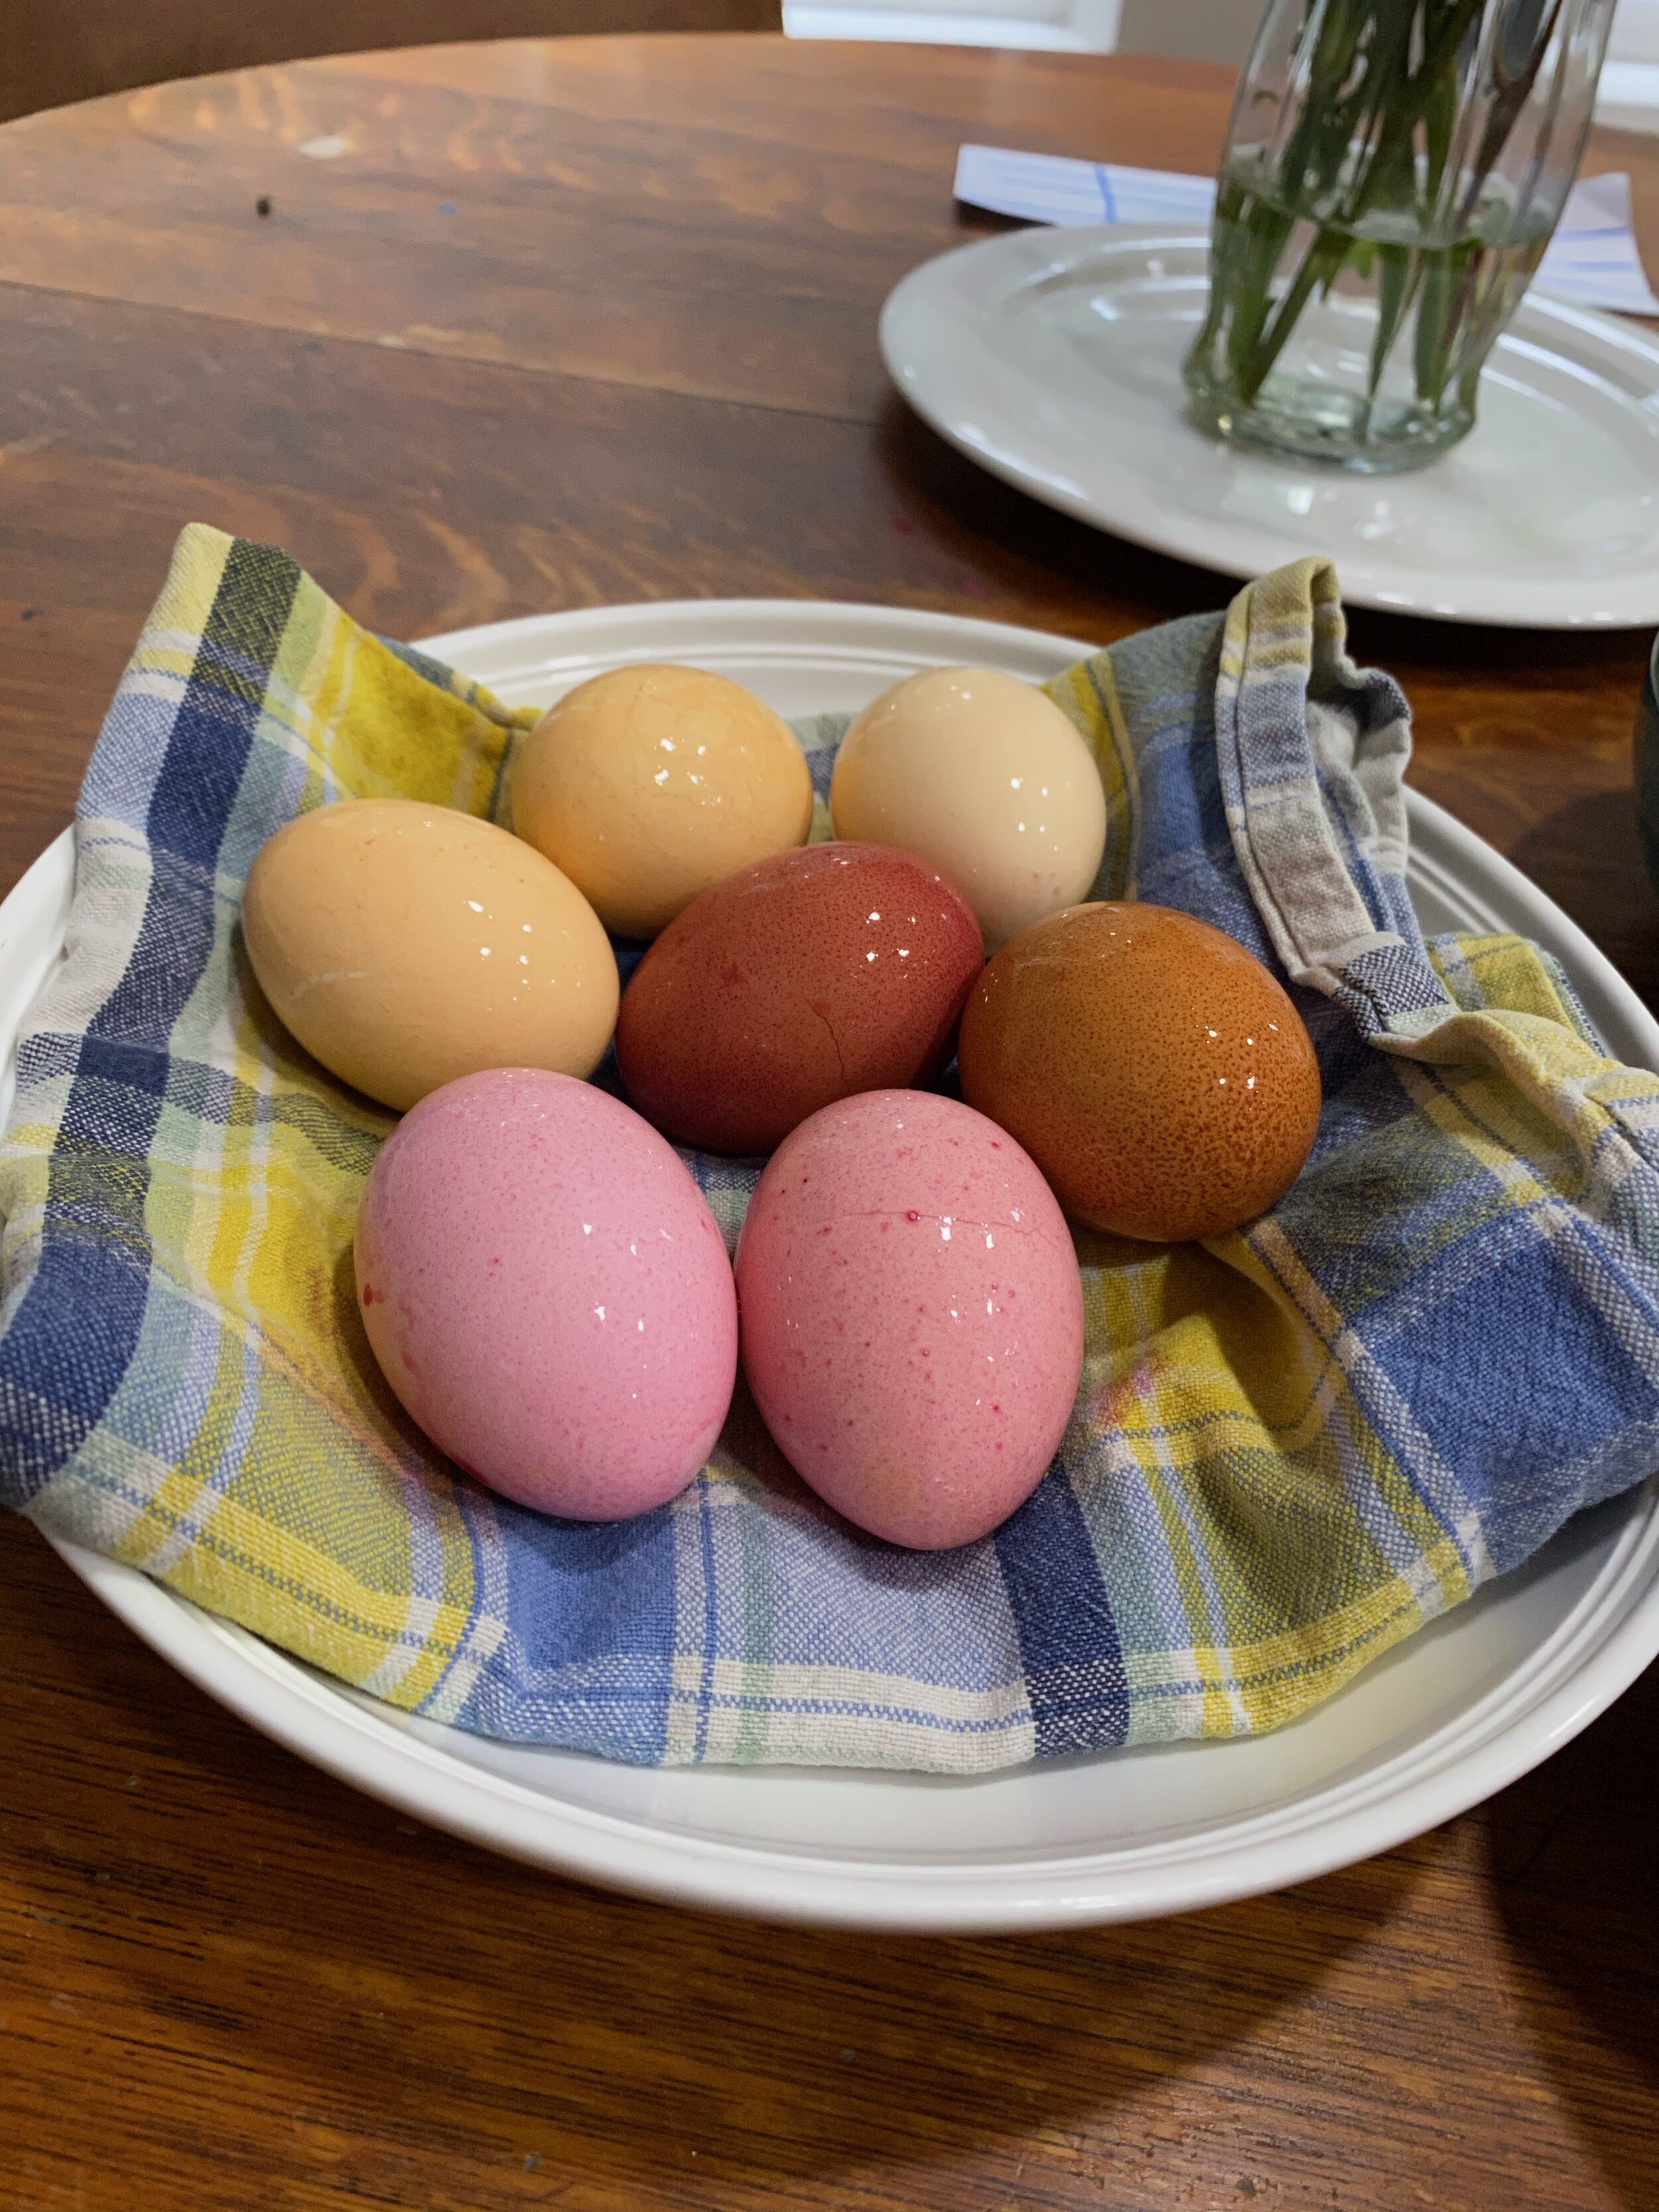
Then it was time to dye our eggs! We opted to dip our eggs several times to get the desired shades. Our eggs turned really nice shades of yellow and pink. We learned a great deal about how dye is made – and even watched a YouTube video about pigments. We are very proud of our eggs and plan to refrigerate them until their big reveal on Easter morning – when we will eat them for breakfast, along with loads of chocolate!

The Science of Mordants and Experiments with Mordants:

Mordants are what fixes or binds colour to an object through a chemical reaction. Dying is simply a fixation of colour to a mordanted material. Some dyes have natural mordants, but others don’t - these would visibly create colour, but not attach to the medium you are trying to dye. Through this process of reactions, you can also modify the colour that natural dye ingredients provide by using different mordants. For example, see the picture below for an example of the different colours that can come from the same original dye bath of yellow onion skins on fabric, depending on the mordant added.

Image Source: https://www.cedardelldesigns.com/blog/dyeing-with-onion-skins

Image Source: Cedar Dell Designs

 Natural Mordants:

  • Vinegar - 1 tablespoon of vinegar per 1 cup of water

  • Salt - 1 tablespoon of salt per 1 cup of water

  • Lemon Juice - 1 tablespoon of lemon juice per 1 cup of water

  • Cream of Tartar - 1 tablespoon of cream of tartar per 1 cup of water

  • Baking Soda - 1 tablespoon baking soda per 1 cup of water

 Formula to Experiment with Dye Baths:

  • Create your dye bath → 1 cup of food scrap, per 1 cup of water (use just one type of food scrap per dye bath)

  • Boil for 30 minutes to 1 hour

  • Strain your dye and pour into smaller containers and add a different mordant into each smaller dye batch while still hot

  • Let cool

  • Dip your eggs into the different dye baths to see if you notice any changes in colour from using different mordants

  More things to try:

  • Try dipping multiple times for increased colour take-up

  • Try layering different colours

  • Experiment with leaving the egg in for different lengths of time

7 Ways to Reduce Food Waste in the Kitchen

foodwaste1.png

Curious about how you can reduce food waste in your kitchen? Despite the abundance of food production, more and more food is being wasted, and many Canadians do not have access to healthy foods. According to this study by Second Harvest, 1.4 million Canadians struggle to access healthy foods, and 60% of the food industry’s environmental footprint is from food waste. 58% of food is wasted, and 32% of this food could have been rescued. Today we’re here to show you what you can do on an individual part to help reduce your food waste impact.

Talk with your kids about their ideas too!

1. Proper Storage

The first step to consider with food waste is storage. A quick internet search will show you great ways to store the unique items you may have. For a general guideline, check out this awesome resource here. When storing food, remember to organize them as visually appealing as possible (resist shoving food items to the back of the fridge, or out of sight) and get in the habit of bringing older food items to the front of the fridge.

foodwaste2.png

2. Use Every Part
Did you know, some of the most nutrient-dense parts of our produce items include the skin, stems and tops? Try mashed potatoes with the skin, or perhaps a carrot top pesto. Radish and beet tops make great additions to salads or stir fries, and dark leafy green stems can be used in cooking as well. All of these are also incredible for making broths, in addition to garlic, onion and celery scraps. Citrus peels can be dehydrated and used in tea. Get creative by including parts of foods that aren’t normally used, and tweak recipes to include these incredible ingredients. Shopping at the farmers’ market allows you to ask the farmer for any recipes they recommend. Check out this website for some recipe inspiration.

3. Save The Pulp

For those who love to juice and make dairy-free milk, the leftover pulp from these is so easy to use! Juice pulp can be used in soups and even desserts (Farah from our team recently made a vegan, gluten-free carrot cake with carrot pulp). With dairy-free milk, the pulp can be used in baking, smoothies, and even as toppers to meals.

4. Freeze & Preserve

A fun BC summer activity for the entire family is picking berries, and you can freeze them over the winter. If you do find yourself with an excess of food, freezing is a great way to maintain its integrity. Taking it a step further, you can also try fermenting, dehydrating, drying, and canning excess foods.

5. Grow Food from Scraps

Did you know you can grow food from food scraps? Whether it’s from the ends or seeds, there are tons of produce items that can be re-grown. Check out this video from the UBC Botanical Garden on different food items you can grow from scraps. 

This is an especially enthralling activity to do with the kids your house or classroom!

6. Skincare 

Many conventional skincare products contain harsh ingredients and chemicals that can be quite harmful to our health. Not to mention they can be quite costly as well! Why not try making some products at home? Coffee grounds alone, or mixed with sugar and oil makes a great body scrub. Excess cucumbers or cooled, used tea bags can be applied to your eyes to reduce puffiness. Banana peels and avocados can be applied topically and make great face and hair masks.

7. Compost

Where allowed, composting is a great option for reducing food waste. Compost is highly beneficial for plant health, and food decomposes much faster in the compost than a landfill. Check your housing regulations to see if composting is allowed, and if not, a nearby farm, community garden, or co-op might take your food scraps.