Edible Education Activity

Chef Ted Anderson's Spring Leek Risotto

Chef Ted Anderson in a kitchen.

We are back with another delicious spring recipe! This one from the kitchen of our Board Chair and Concept Development Chef at Joey Restaurants, Ted Anderson.  Chef Ted uses flavour-packed ingredients to create a rich, earthy risotto that’s a breeze to make. Click here to download a PDF of the recipe, or scroll down to view.

Leeks are a sweet and mild member of the allium family, cousin to onions and garlic. An easy-growing frost tolerant crop, leeks can be harvested summer through winter and make a delightful addition to recipes year-round. Hot tip—leeks are rich in Vitamins B6 and K, as well as iron, manganese, dietary fibre, and folate. While they are often used in soups, leeks are hearty enough to withstand roasting, baking, frying and sauteing.

In this recipe, Chef Ted creates a flavourful puree from leeks and parsley that is added to a rich risotto near the end of the cooking process. Both the blanching of the greens in the early stages and the late addition of the puree to the risotto help the dish maintain a stunning shade of light green. Serve with seared scallops, or top with a crisp julienne of green apple for a vegetarian version.

Have you made this recipe? Tag us in your social media posts so we can see your creations!

A recipe card for a spring leek risotto by Chef Ted Anderson

Chef Andrea's Asparagus Pesto

If you are subscribed to our newsletter you will have seen that we are launching a new series of kid-friendly recipes shared by professional chefs. Each quarter we’ll share a delicious recipe created by some of the city’s best chefs with kids’ tastebuds in mind. Sign up for our quarterly What’s Growing On newsletter to be one of the first to try out a new dish. We also encourage you to share your recipe recreations on Instagram and tag us @GrowingChefs so we can celebrate your win!

For our spring newsletter, we reached out to our long-time friend, Chef Andrea Carlson. As MICHELIN star Chef and Owner at Burdock & Co, Harvest Community Foods, and Bar Gobo, Chef Andrea Carlson’s love for the land surfaces in organic, seasonal plates influenced by B.C.’s diverse environments. Her signature style of cooking – delicate, earthy and vibrant – captures the essence of farm-to-table dining and is a tangible reminder of her lasting impact and leadership within the culinary community.

Chef Andrea’s vibrant pesto combines the seasonal spring brightness of asparagus with fragrant lemon and earthy almonds, along with a generous helping of parmesan. Serve it with pasta for a quick and uncomplicated weeknight dinner.

Food Scrap Dyed Eggs

Click here for printable activity instructions.

It’s officially spring, and in our house, that means that we are looking forward to Easter (and dying Easter eggs). This year we thought we would try something different and dye our eggs using food scraps instead of the food colouring we usually use. The idea of a homemade dye appealed to us for a few reasons:

  • We don’t need to buy a kit or food colouring.

  • Simmering our own dye mixture is a chance for us to be creative and learn about the science of making and applying dye.

  • Making our own dye adds some intrigue – we won’t know what colour our eggs will be until we are done! 

For our egg dye, we decided to make two dye baths using yellow onion skins and beet trimmings.

You may be wondering what colours these food scraps will make - and the answer is more surprising than you may think! Each of these food scraps have the potential to make several different colour results - depending on a few factors:

  1. What egg you apply the dye (white eggs vs. brown eggs).

  2. Mordants - This is what binds the dye to an object and can greatly alter the colour result. An example of a mordant is vinegar or salt. Read more on the science of mordants below.

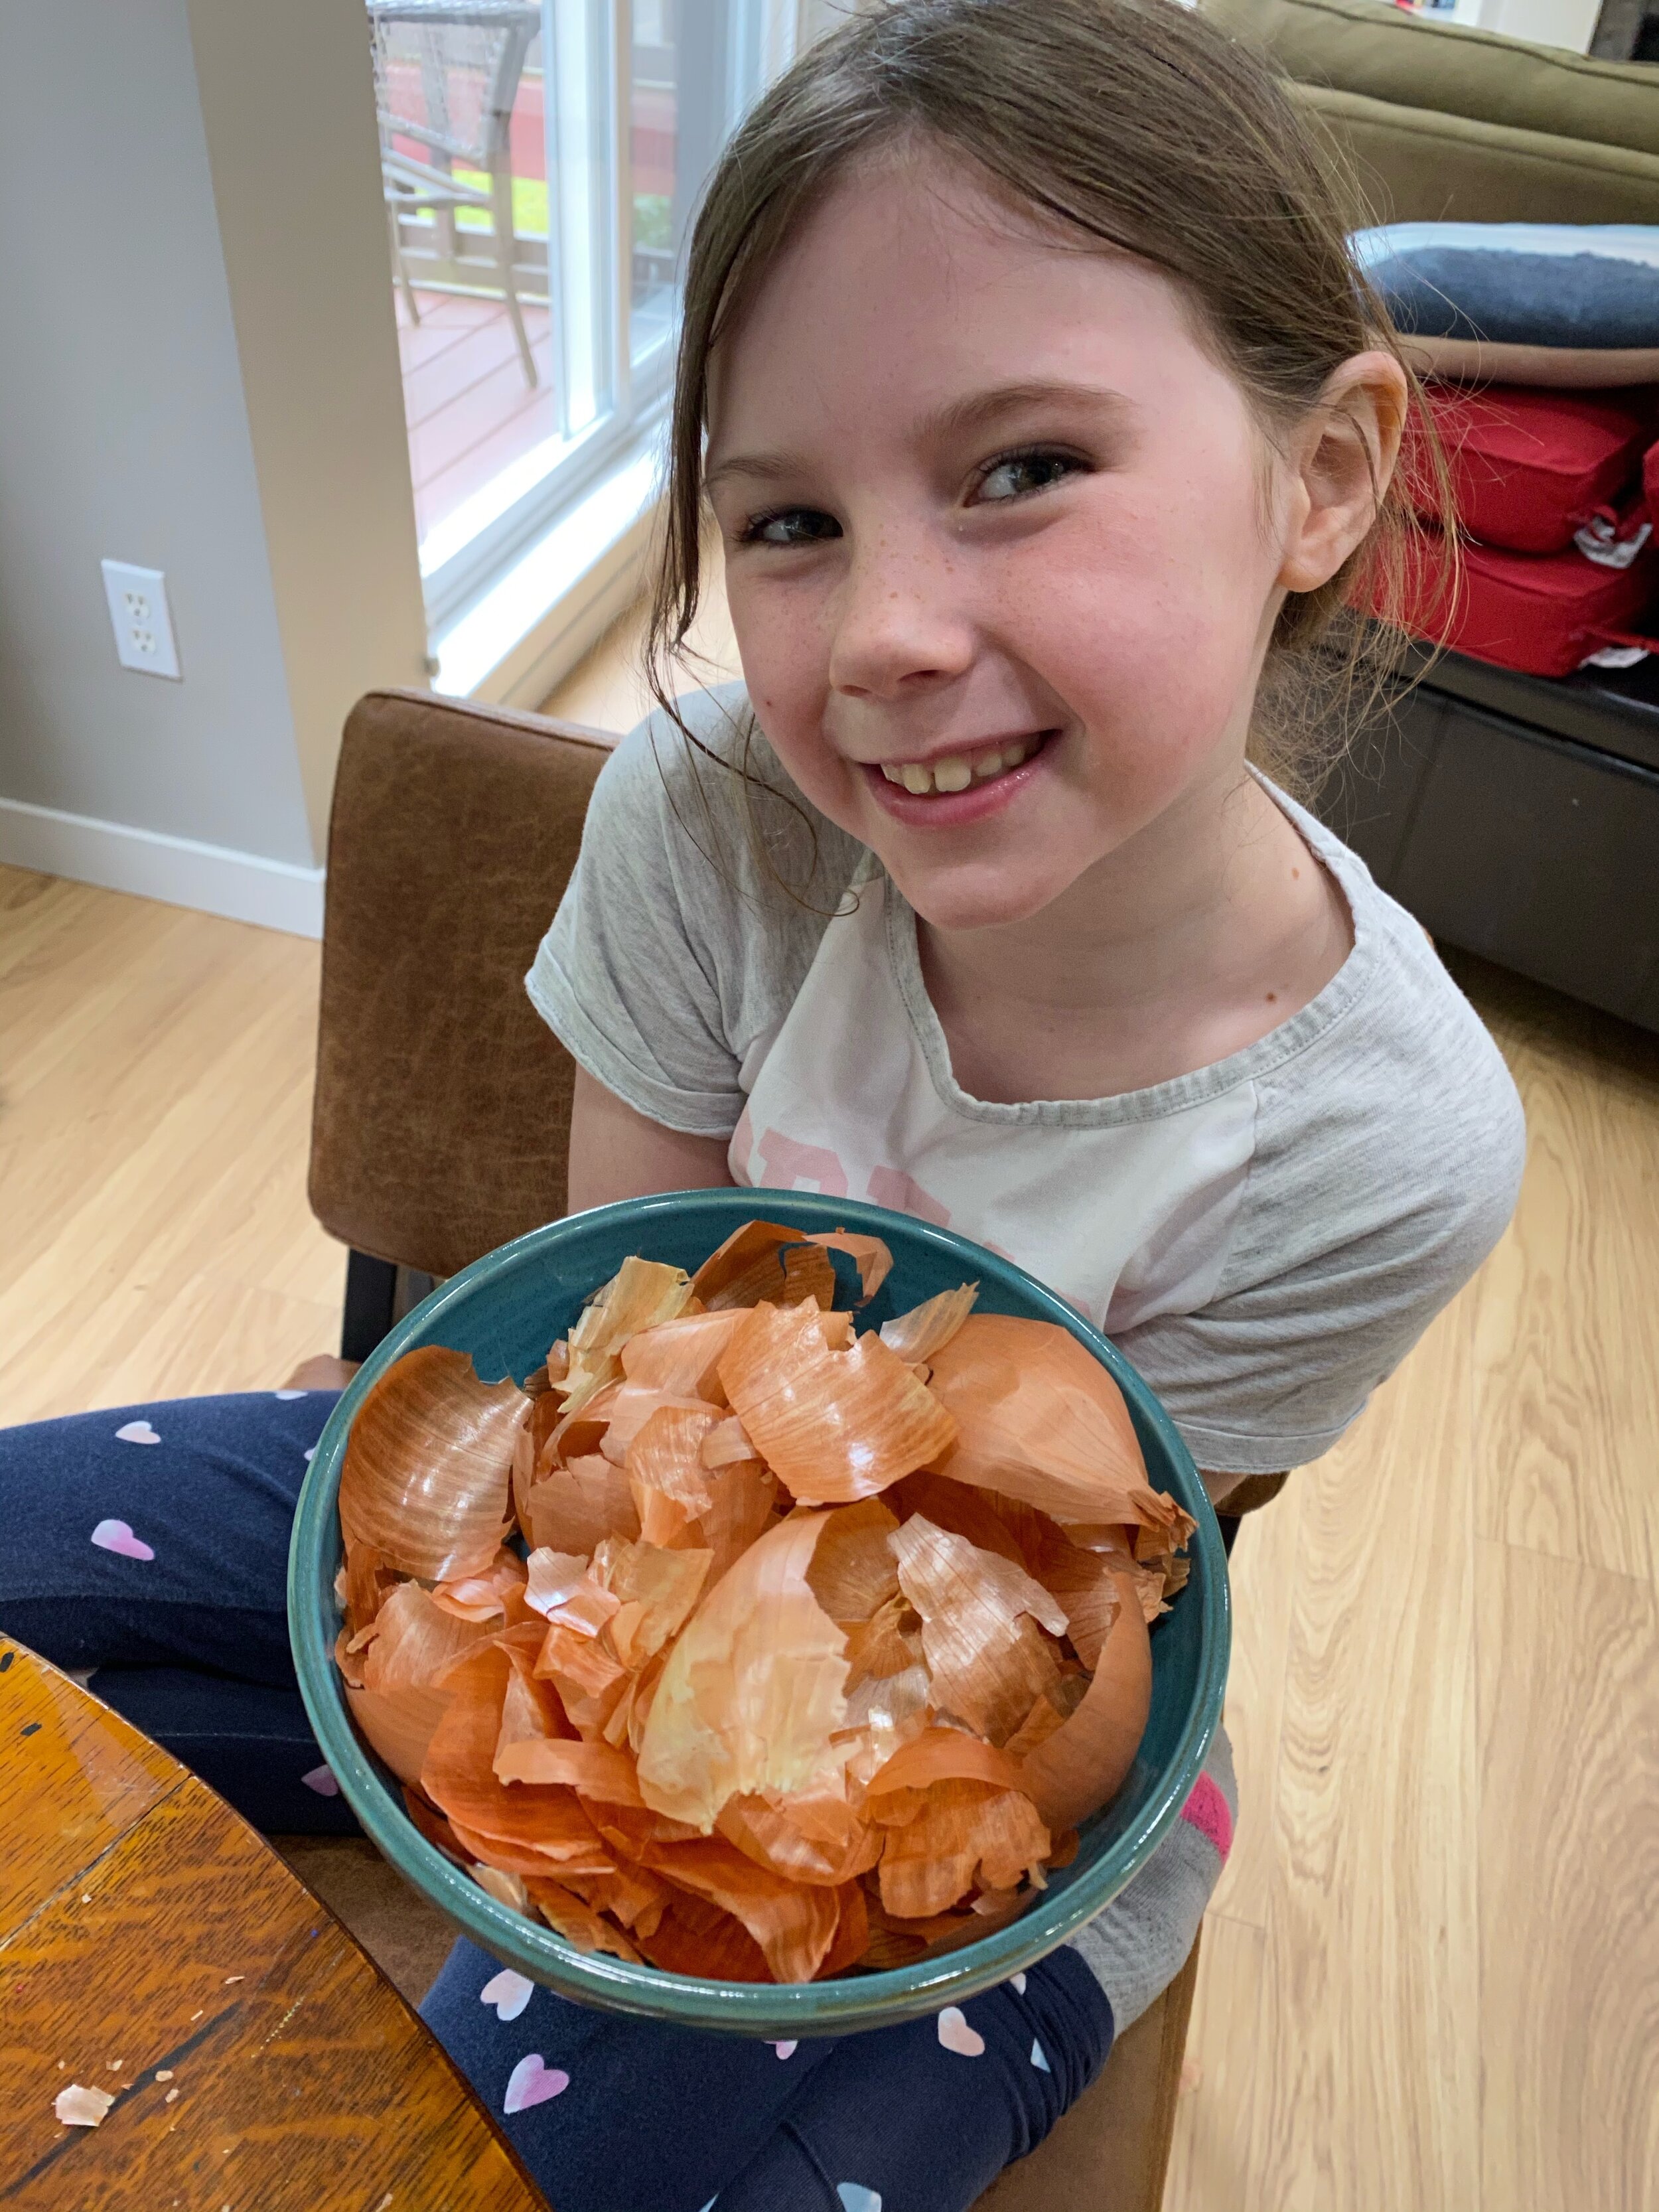
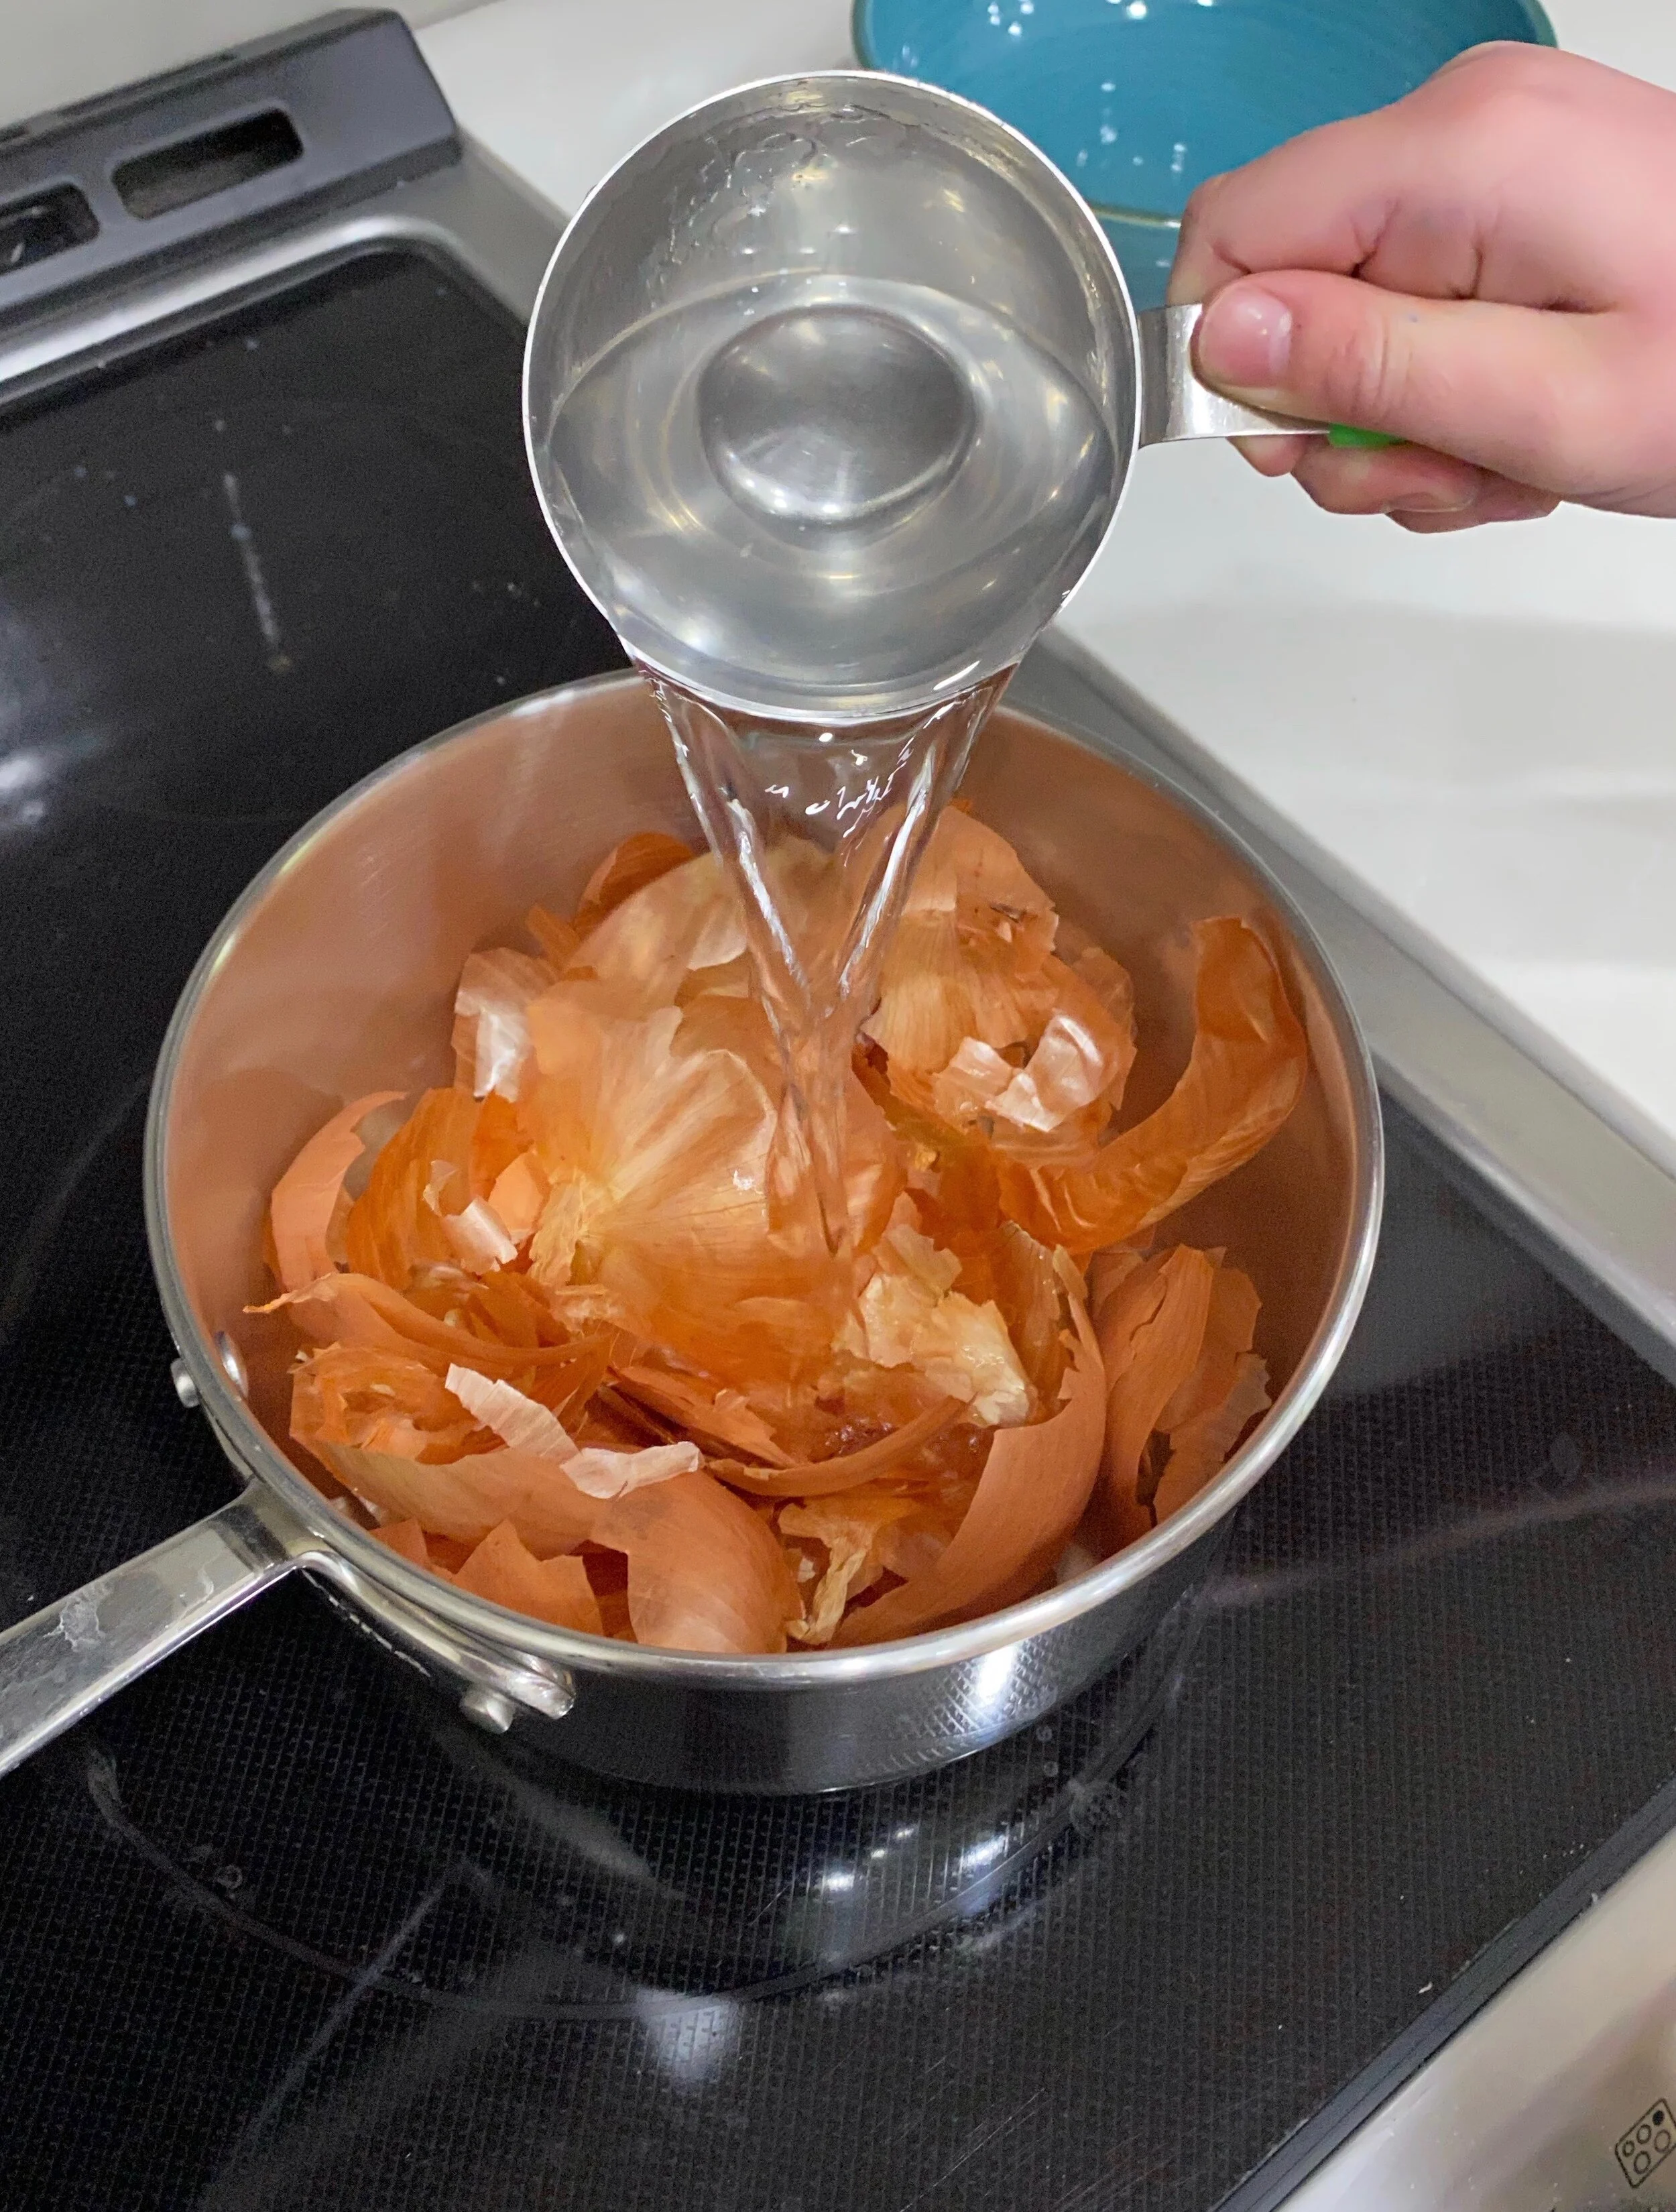
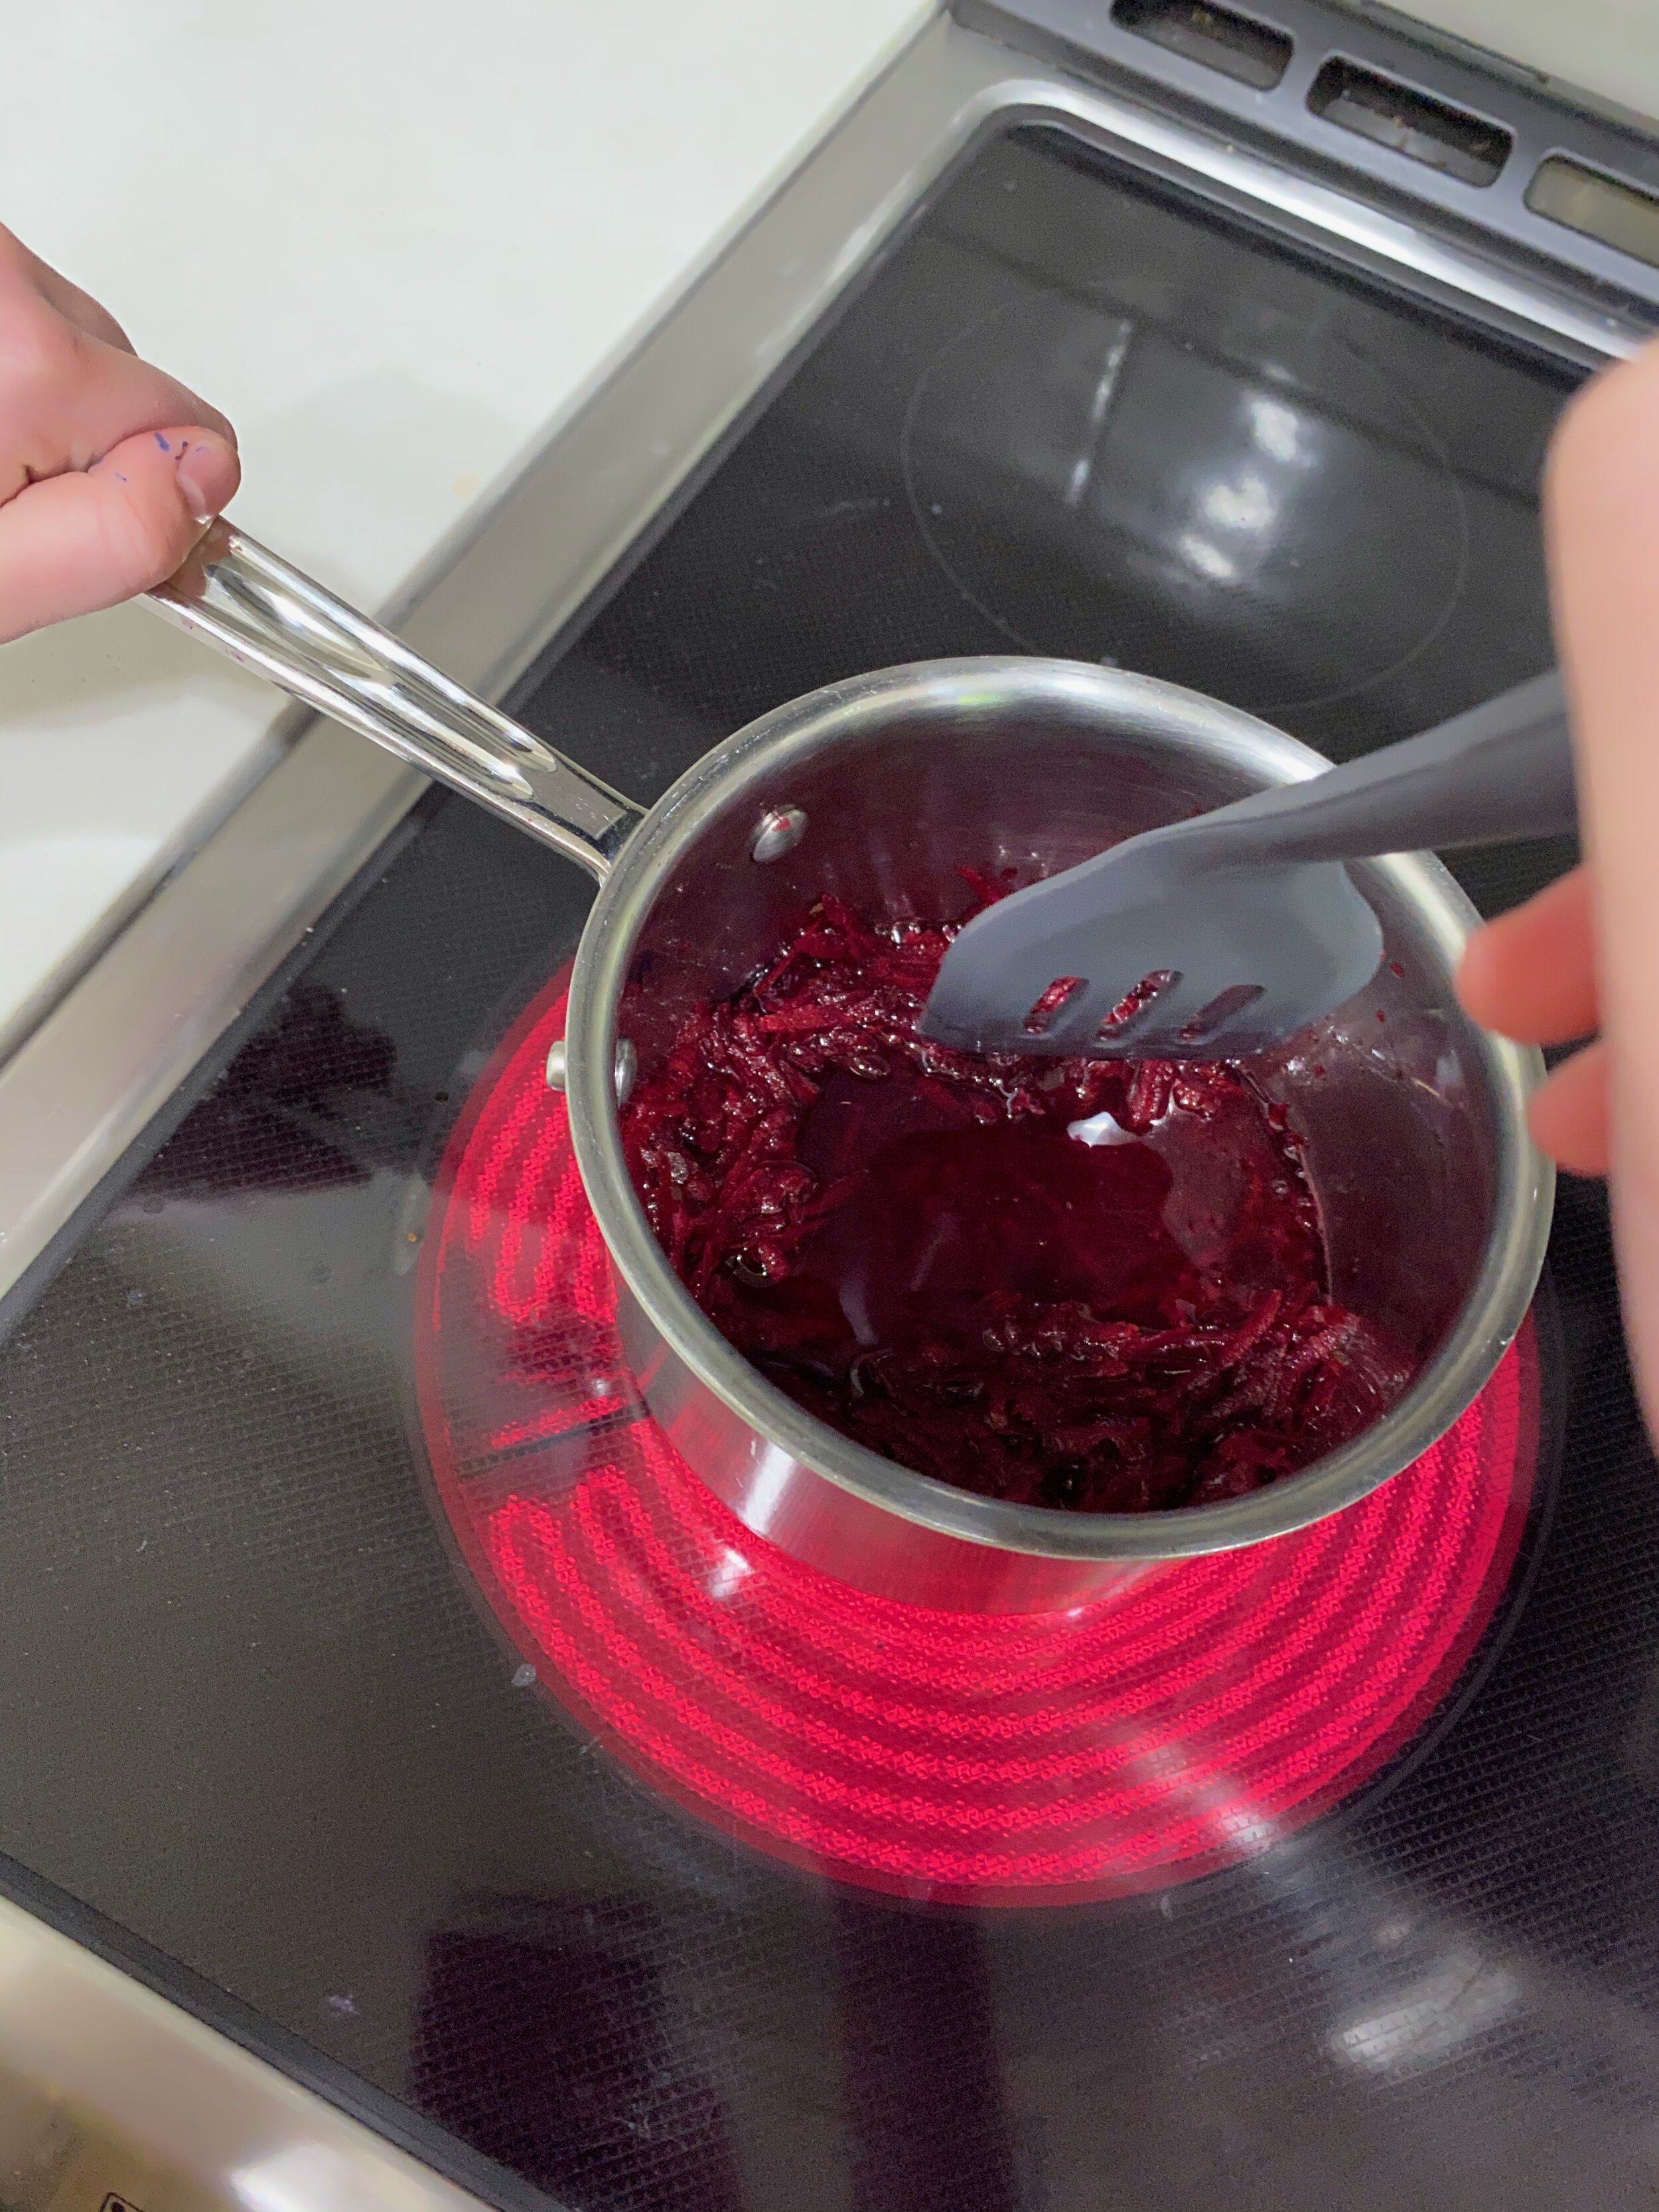
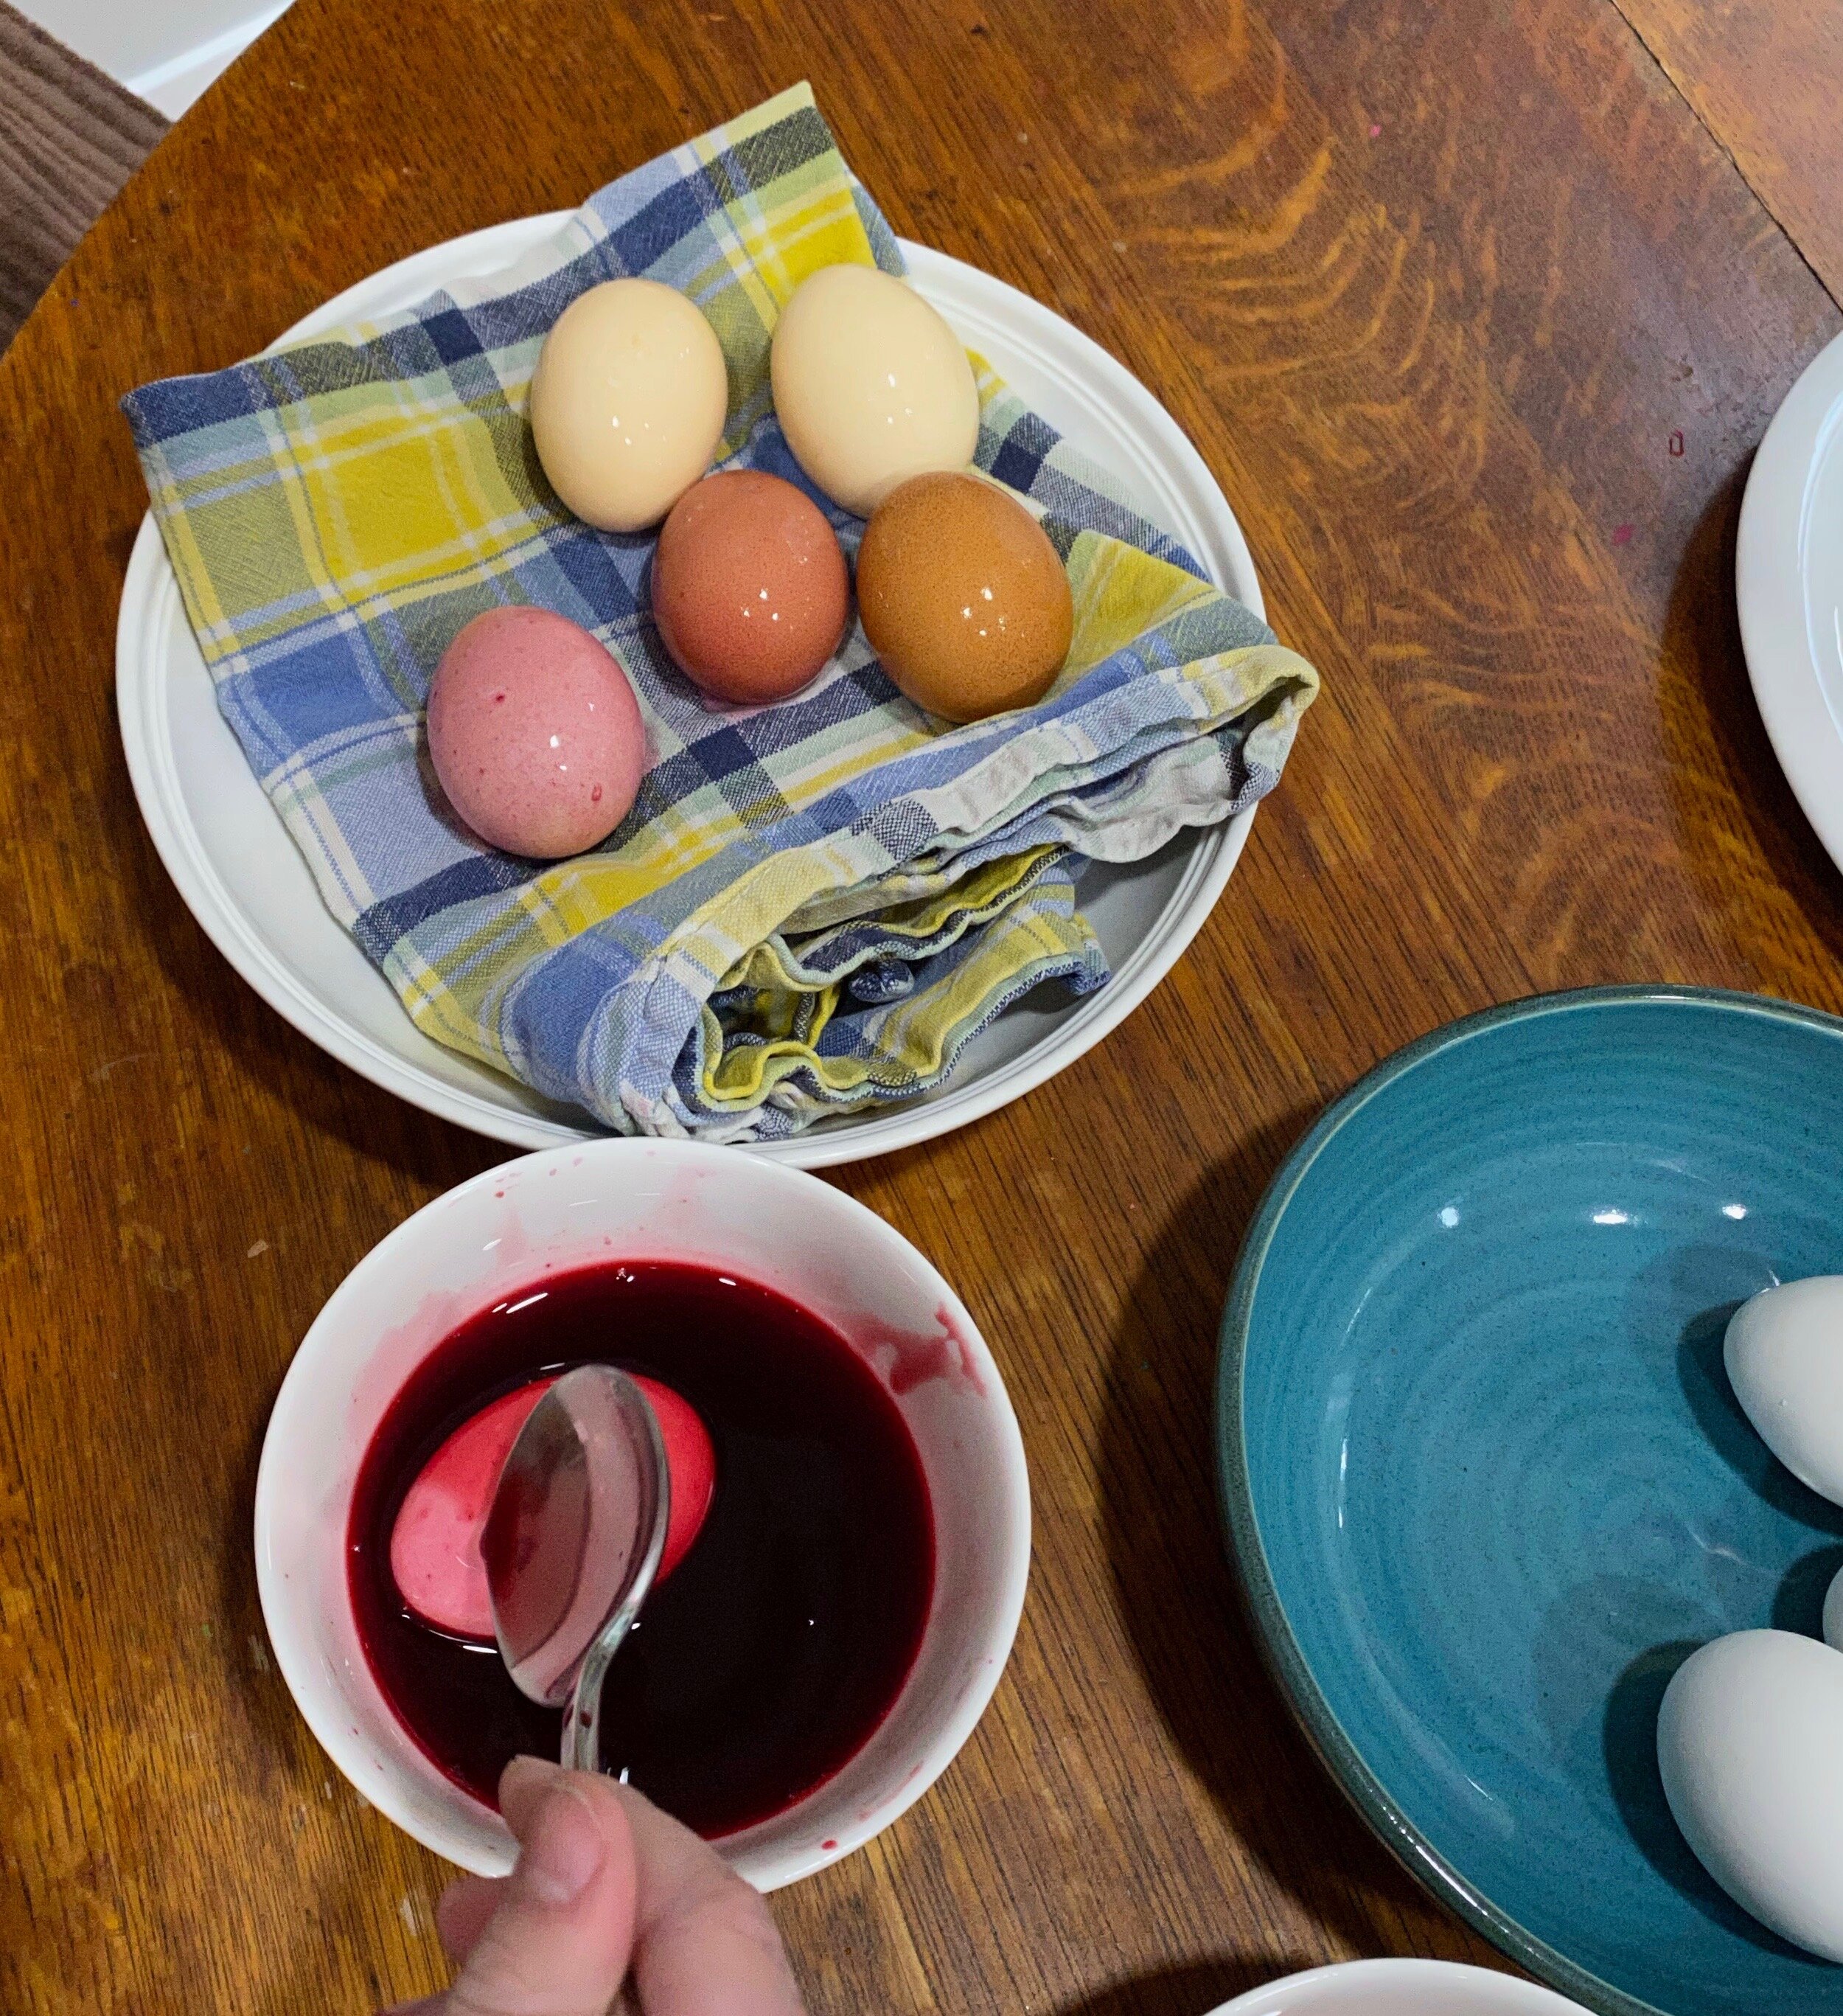
To make our dye bath we combined 1 cup of vegetable scraps with 1 cup of water. We grated the beet scraps to get maximum effect and simply broke the onion skins into large pieces. We put our vegetable scraps and water on the stove to simmer for about 30 minutes with the lid on, stirring regularly. After the dye was sufficiently simmered, we drained out the vegetable pieces and had an interesting conversation about what to do with the boiled food scraps, we decided to keep the bits of beet to add to a soup and compost the onion skins.  We transferred the remaining liquid (our dye) to a smaller container and added a mordant – we chose vinegar. Then we waited for our dye bath to cool. 

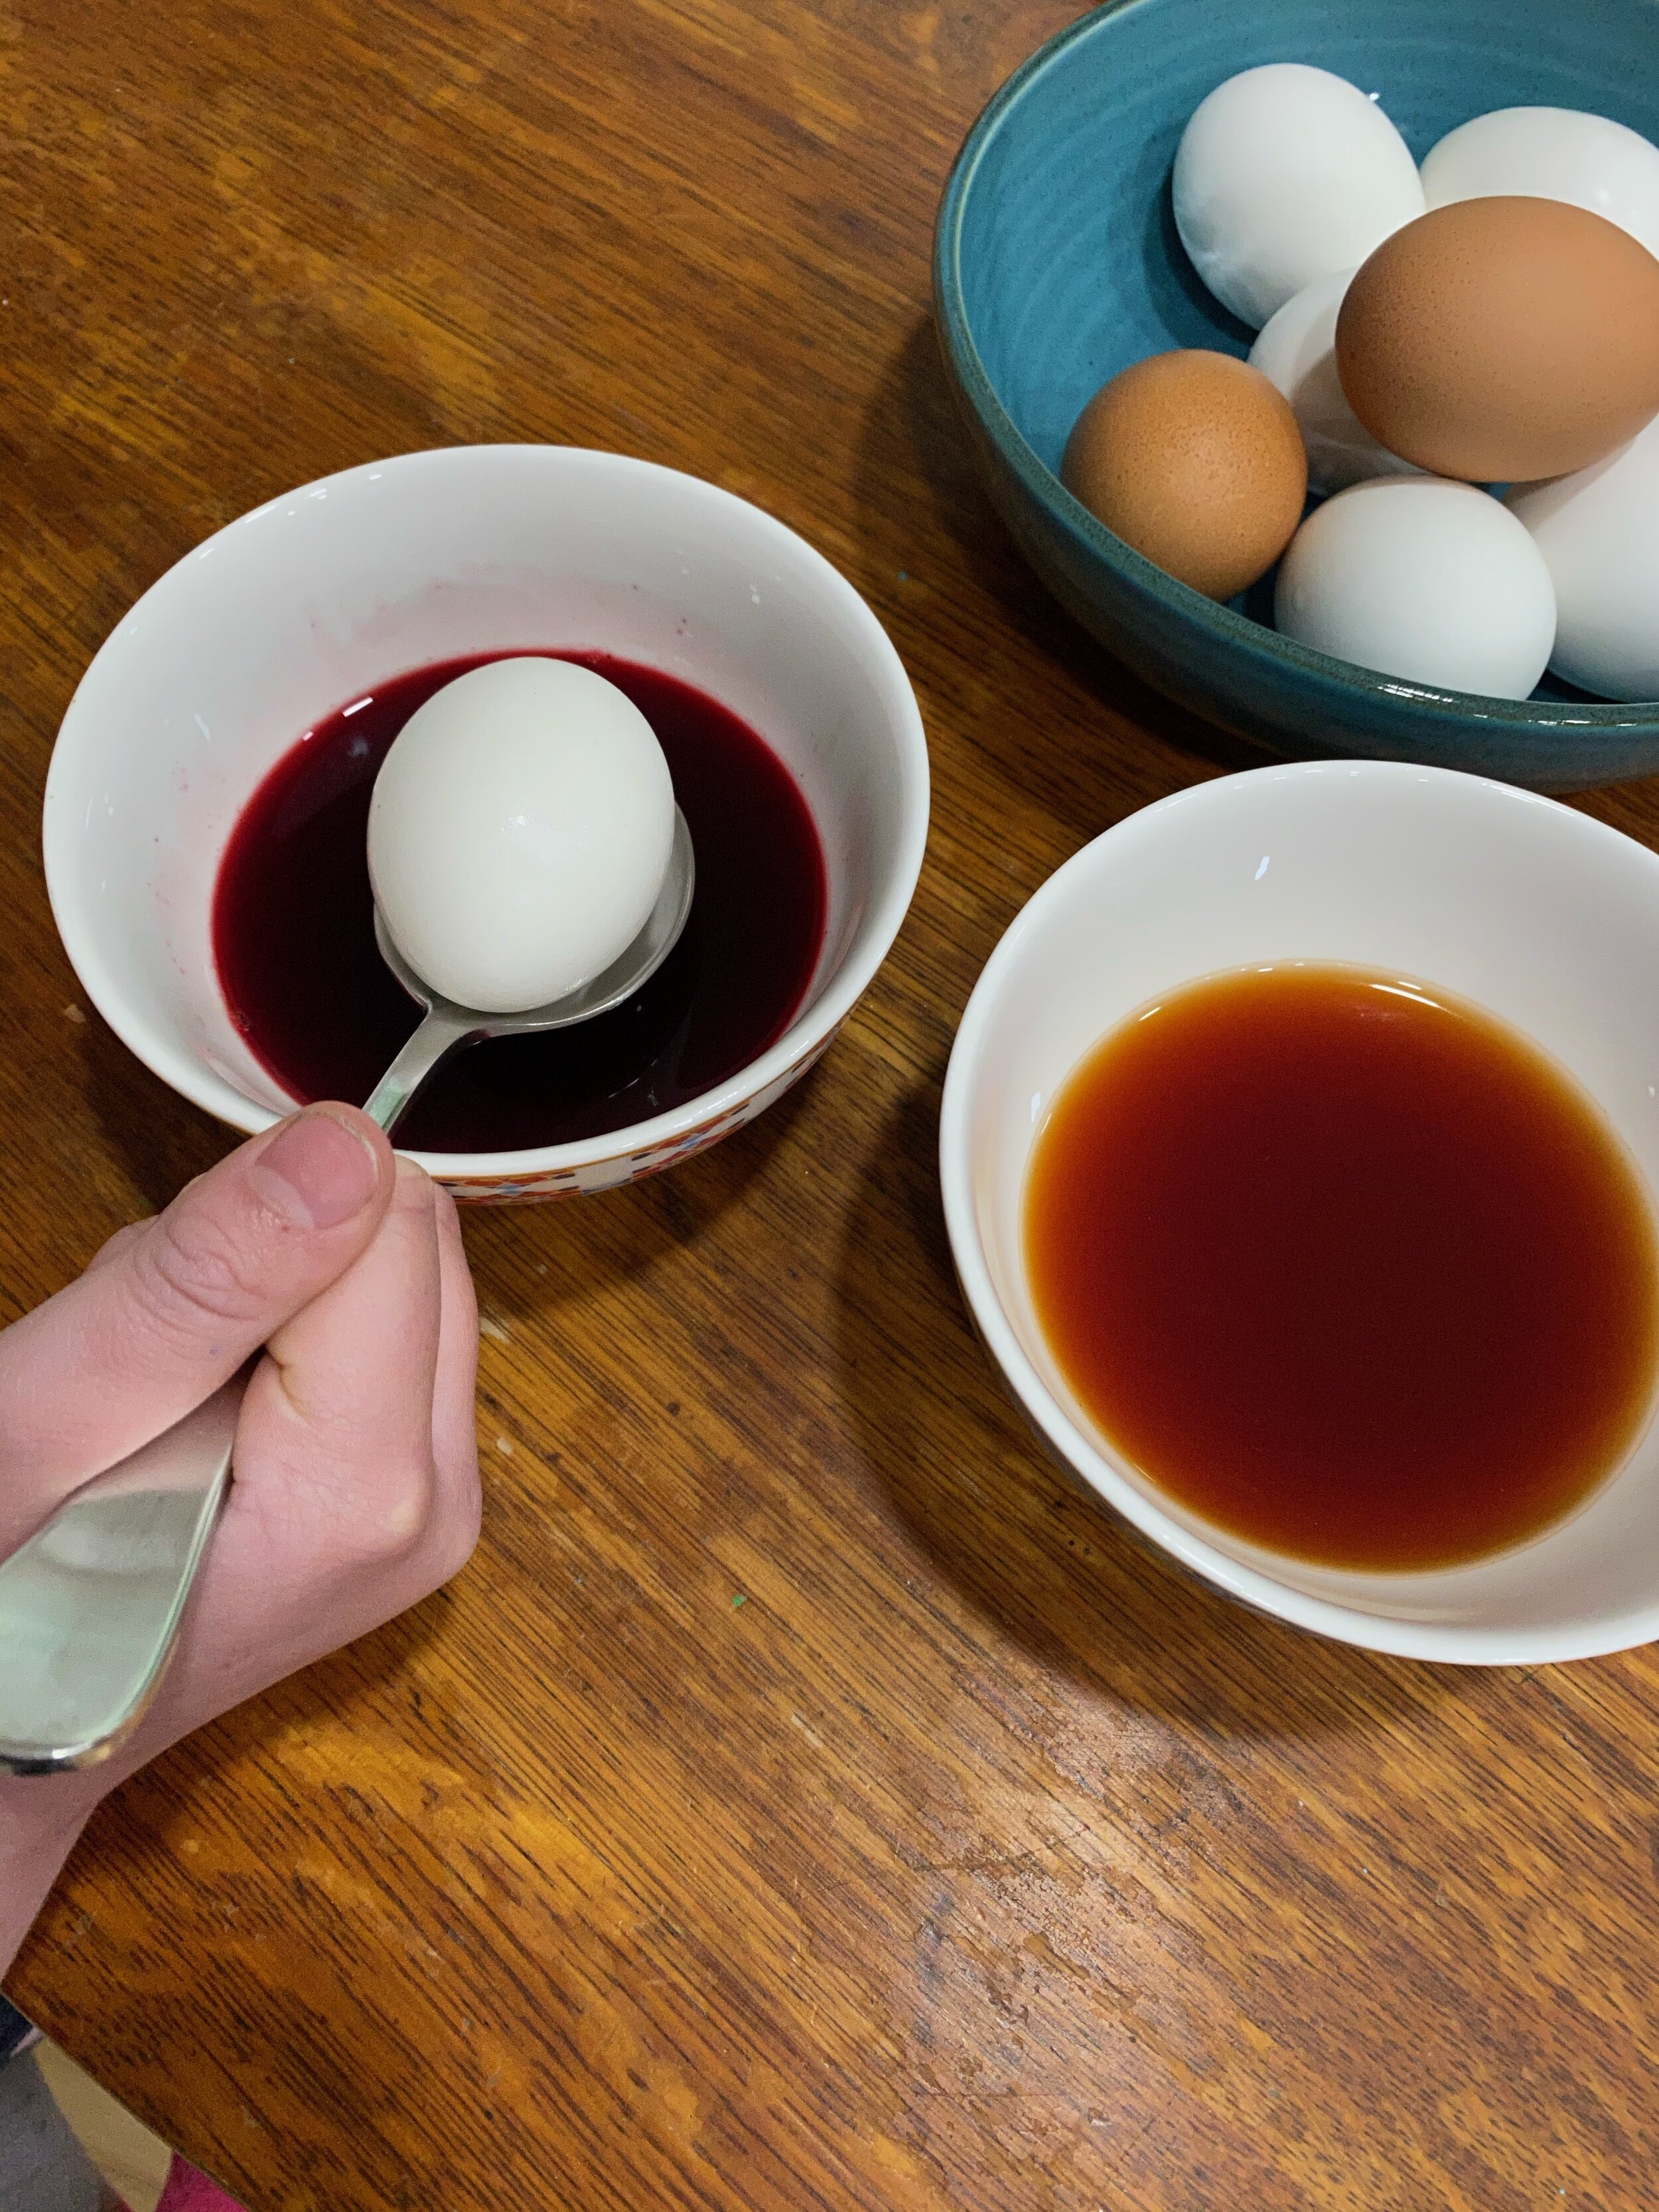
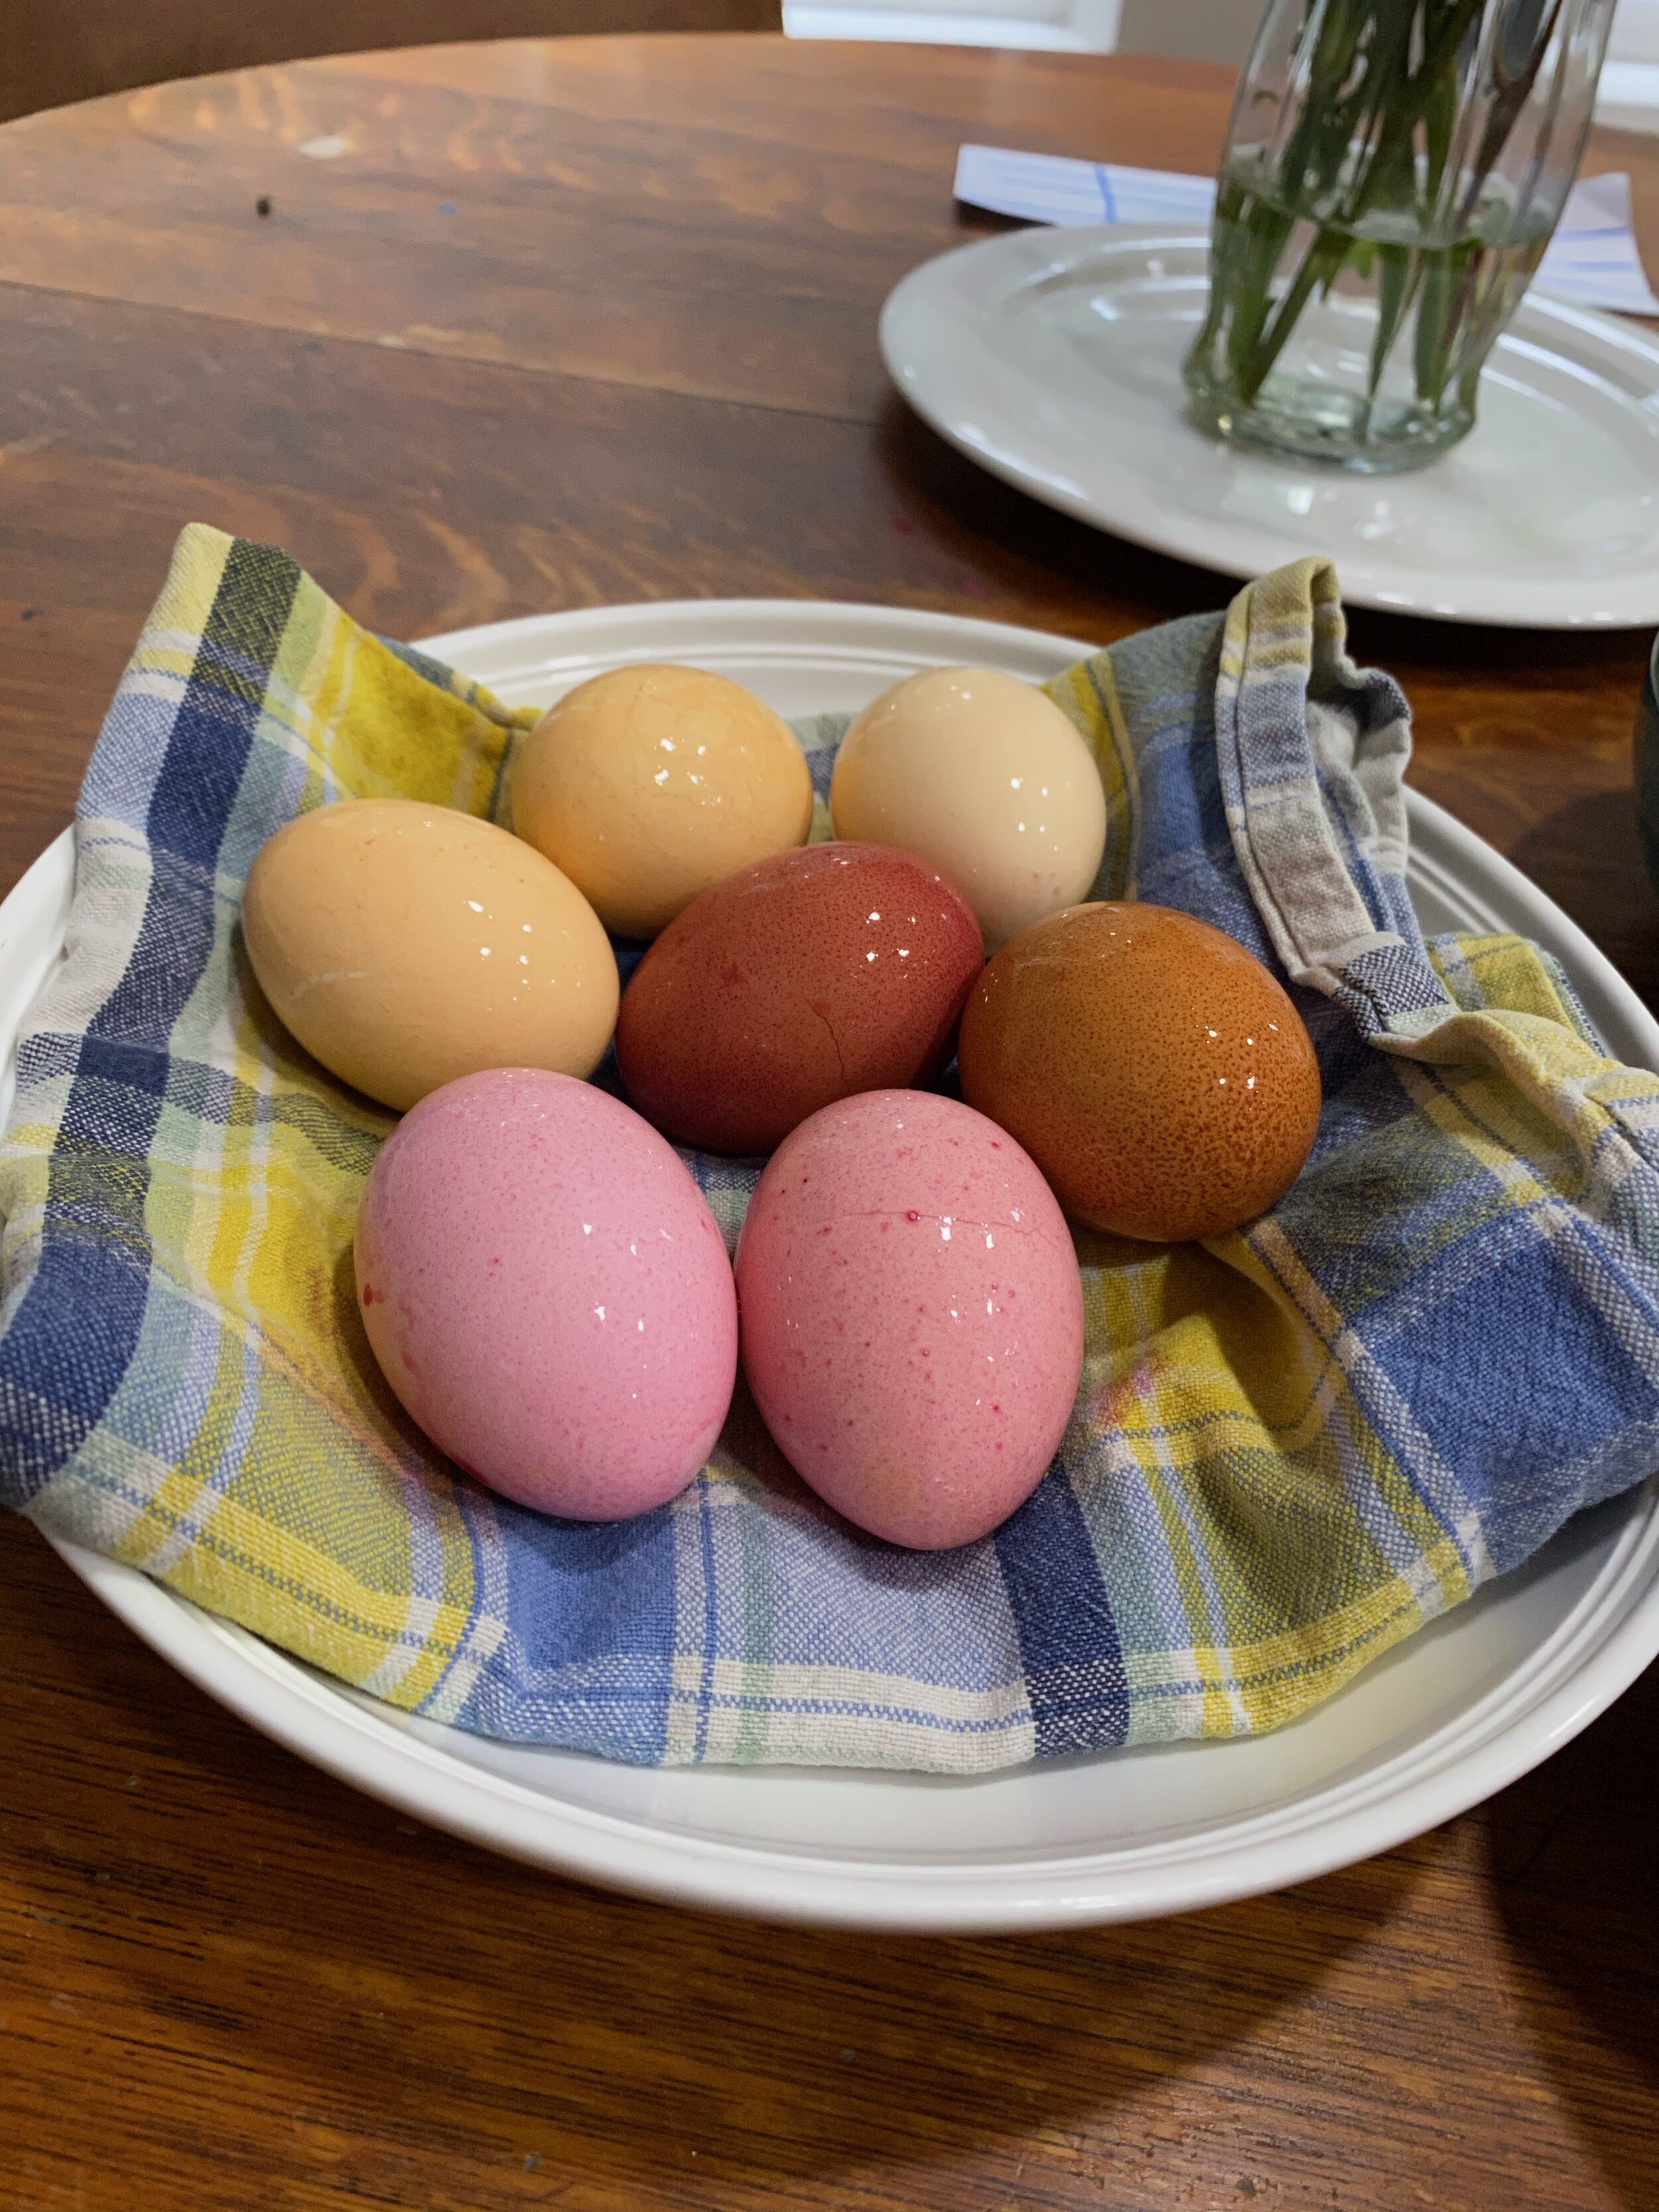
Then it was time to dye our eggs! We opted to dip our eggs several times to get the desired shades. Our eggs turned really nice shades of yellow and pink. We learned a great deal about how dye is made – and even watched a YouTube video about pigments. We are very proud of our eggs and plan to refrigerate them until their big reveal on Easter morning – when we will eat them for breakfast, along with loads of chocolate!

The Science of Mordants and Experiments with Mordants:

Mordants are what fixes or binds colour to an object through a chemical reaction. Dying is simply a fixation of colour to a mordanted material. Some dyes have natural mordants, but others don’t - these would visibly create colour, but not attach to the medium you are trying to dye. Through this process of reactions, you can also modify the colour that natural dye ingredients provide by using different mordants. For example, see the picture below for an example of the different colours that can come from the same original dye bath of yellow onion skins on fabric, depending on the mordant added.

Image Source: https://www.cedardelldesigns.com/blog/dyeing-with-onion-skins

Image Source: Cedar Dell Designs

 Natural Mordants:

  • Vinegar - 1 tablespoon of vinegar per 1 cup of water

  • Salt - 1 tablespoon of salt per 1 cup of water

  • Lemon Juice - 1 tablespoon of lemon juice per 1 cup of water

  • Cream of Tartar - 1 tablespoon of cream of tartar per 1 cup of water

  • Baking Soda - 1 tablespoon baking soda per 1 cup of water

 Formula to Experiment with Dye Baths:

  • Create your dye bath → 1 cup of food scrap, per 1 cup of water (use just one type of food scrap per dye bath)

  • Boil for 30 minutes to 1 hour

  • Strain your dye and pour into smaller containers and add a different mordant into each smaller dye batch while still hot

  • Let cool

  • Dip your eggs into the different dye baths to see if you notice any changes in colour from using different mordants

  More things to try:

  • Try dipping multiple times for increased colour take-up

  • Try layering different colours

  • Experiment with leaving the egg in for different lengths of time